


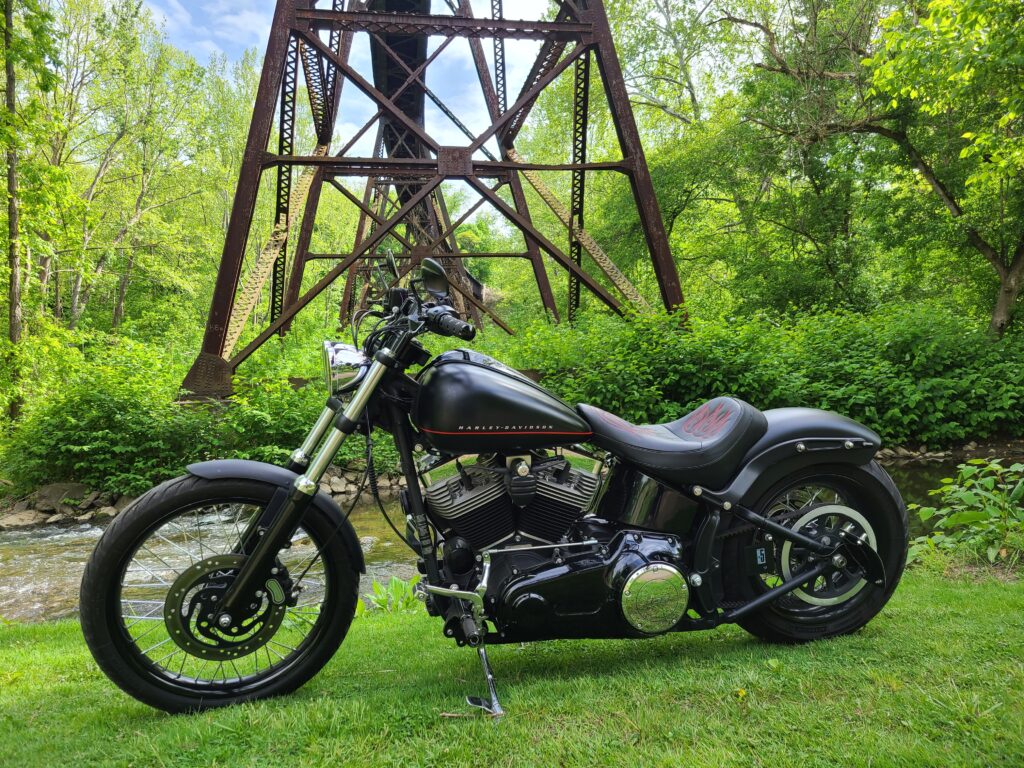
While the end of the riding season left me with a perfectly fine running, reliable and capable scooter, others weren’t as lucky. A friend and coworker of mine ended with his motor is pieces. Not a mild build by any means, it seems the crank in his 100” build just couldn’t hold on any longer. He decided to go a completely different way with his winter project and his engine’s demise turned into a windfall (or curse) for me. He offered me his 4” S&S cylinders, with very low miles and nothing more than cosmetic scuffing on the walls. for free. Receiving these freebies is where my idea of a mild build completely derailed and it sent me down a path that ultimately revealed many unplanned fires to be put out along the way.
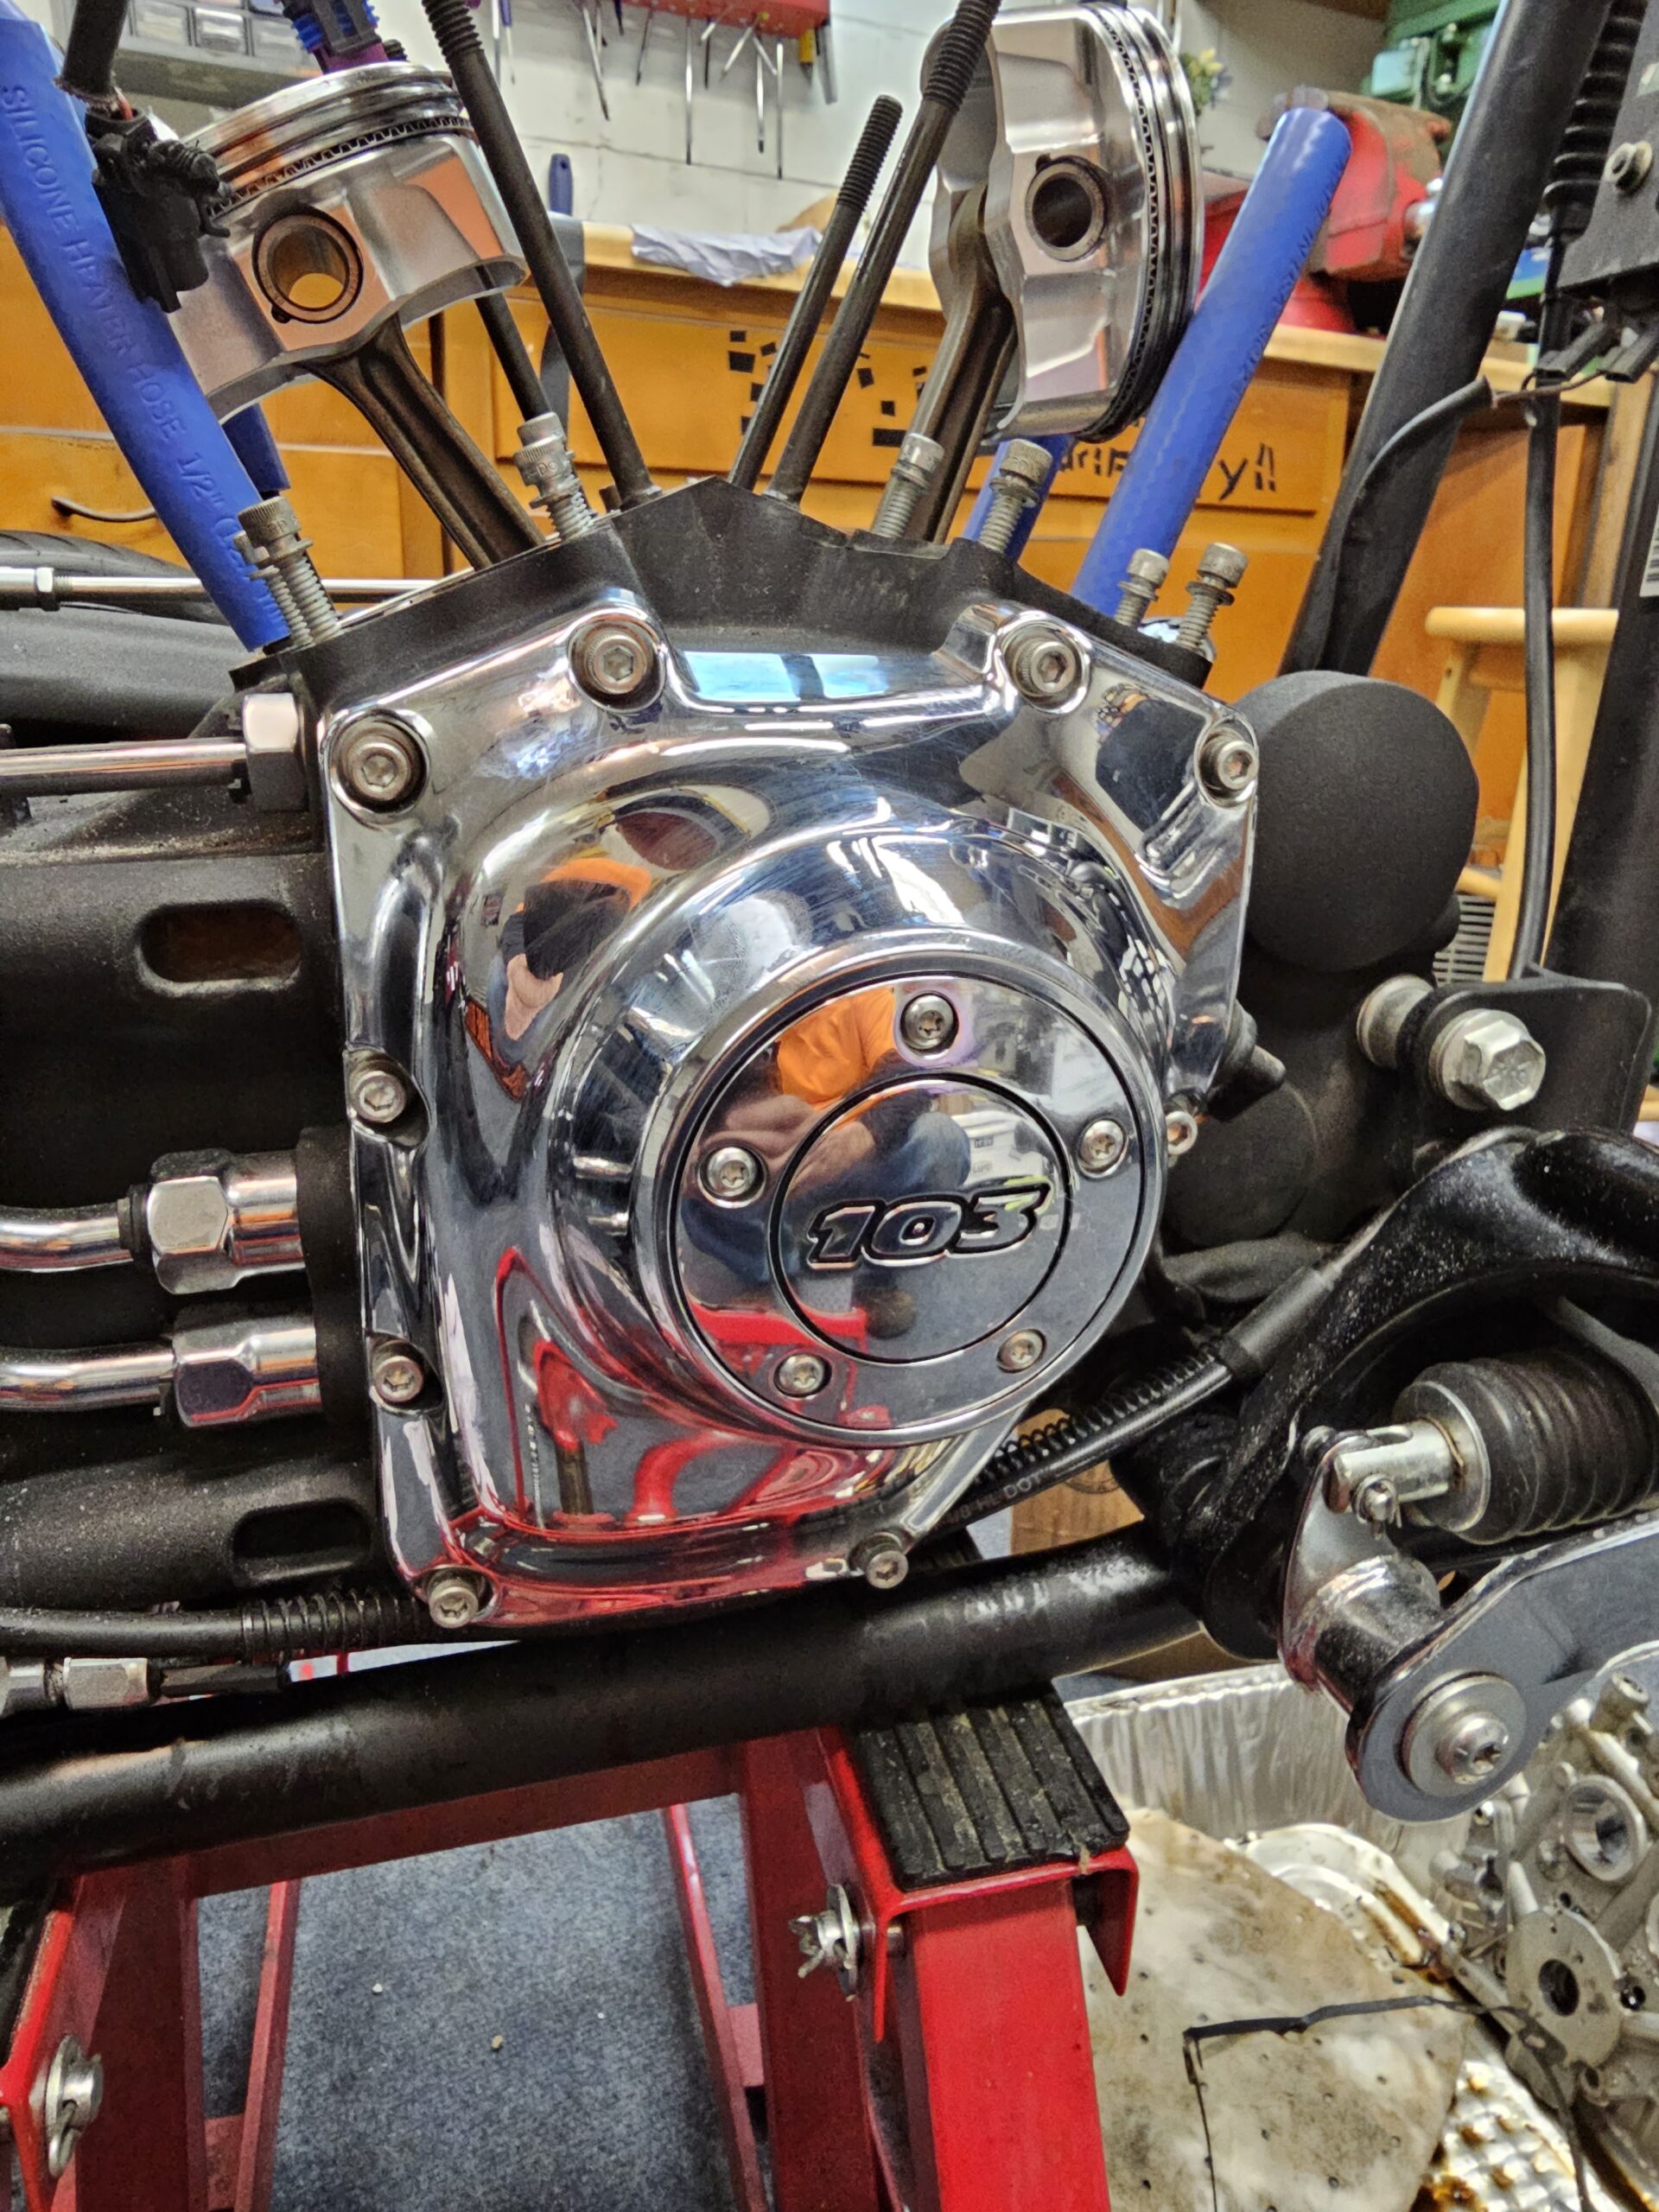
Now committed to using the 4” cylinders (bringing my 103 to 110ci,) I decided to pray to the overtime gods and dive into building an engine that growled at idle. No need to rev the engine incessantly like a heathen, pulling into bike night begging for attention. Rather, my goal was the high compression “thump” out of the exhaust, the erratic yet intended idle of high lift and long duration cams that draws attention from those who know what the inside of an engine looks like.
Without much hesitation I made a call to the guys at S&S and spent nearly an hour on the phone with their tech dept. I explained what I had, and wanted to explore options to build something that would scratch my power itch, using the 110 cylinders I had acquired. We ended up with quite the list of parts, the kind of list that makes most credit card companies send an email or give you a call.

The pile of parts from S&S with the gifted cylinders after running a ball hone through them to break the glaze.
I’ll have to break this part of the story into two sections, and as you follow along you’ll see why. As things have inevitably gone awry, all I can do is laugh when I see my partner Alyssa pulling out of the driveway on her Street Glide on random warm days of early spring – while I’m still looking at my engine laid out across the work bench in pieces…
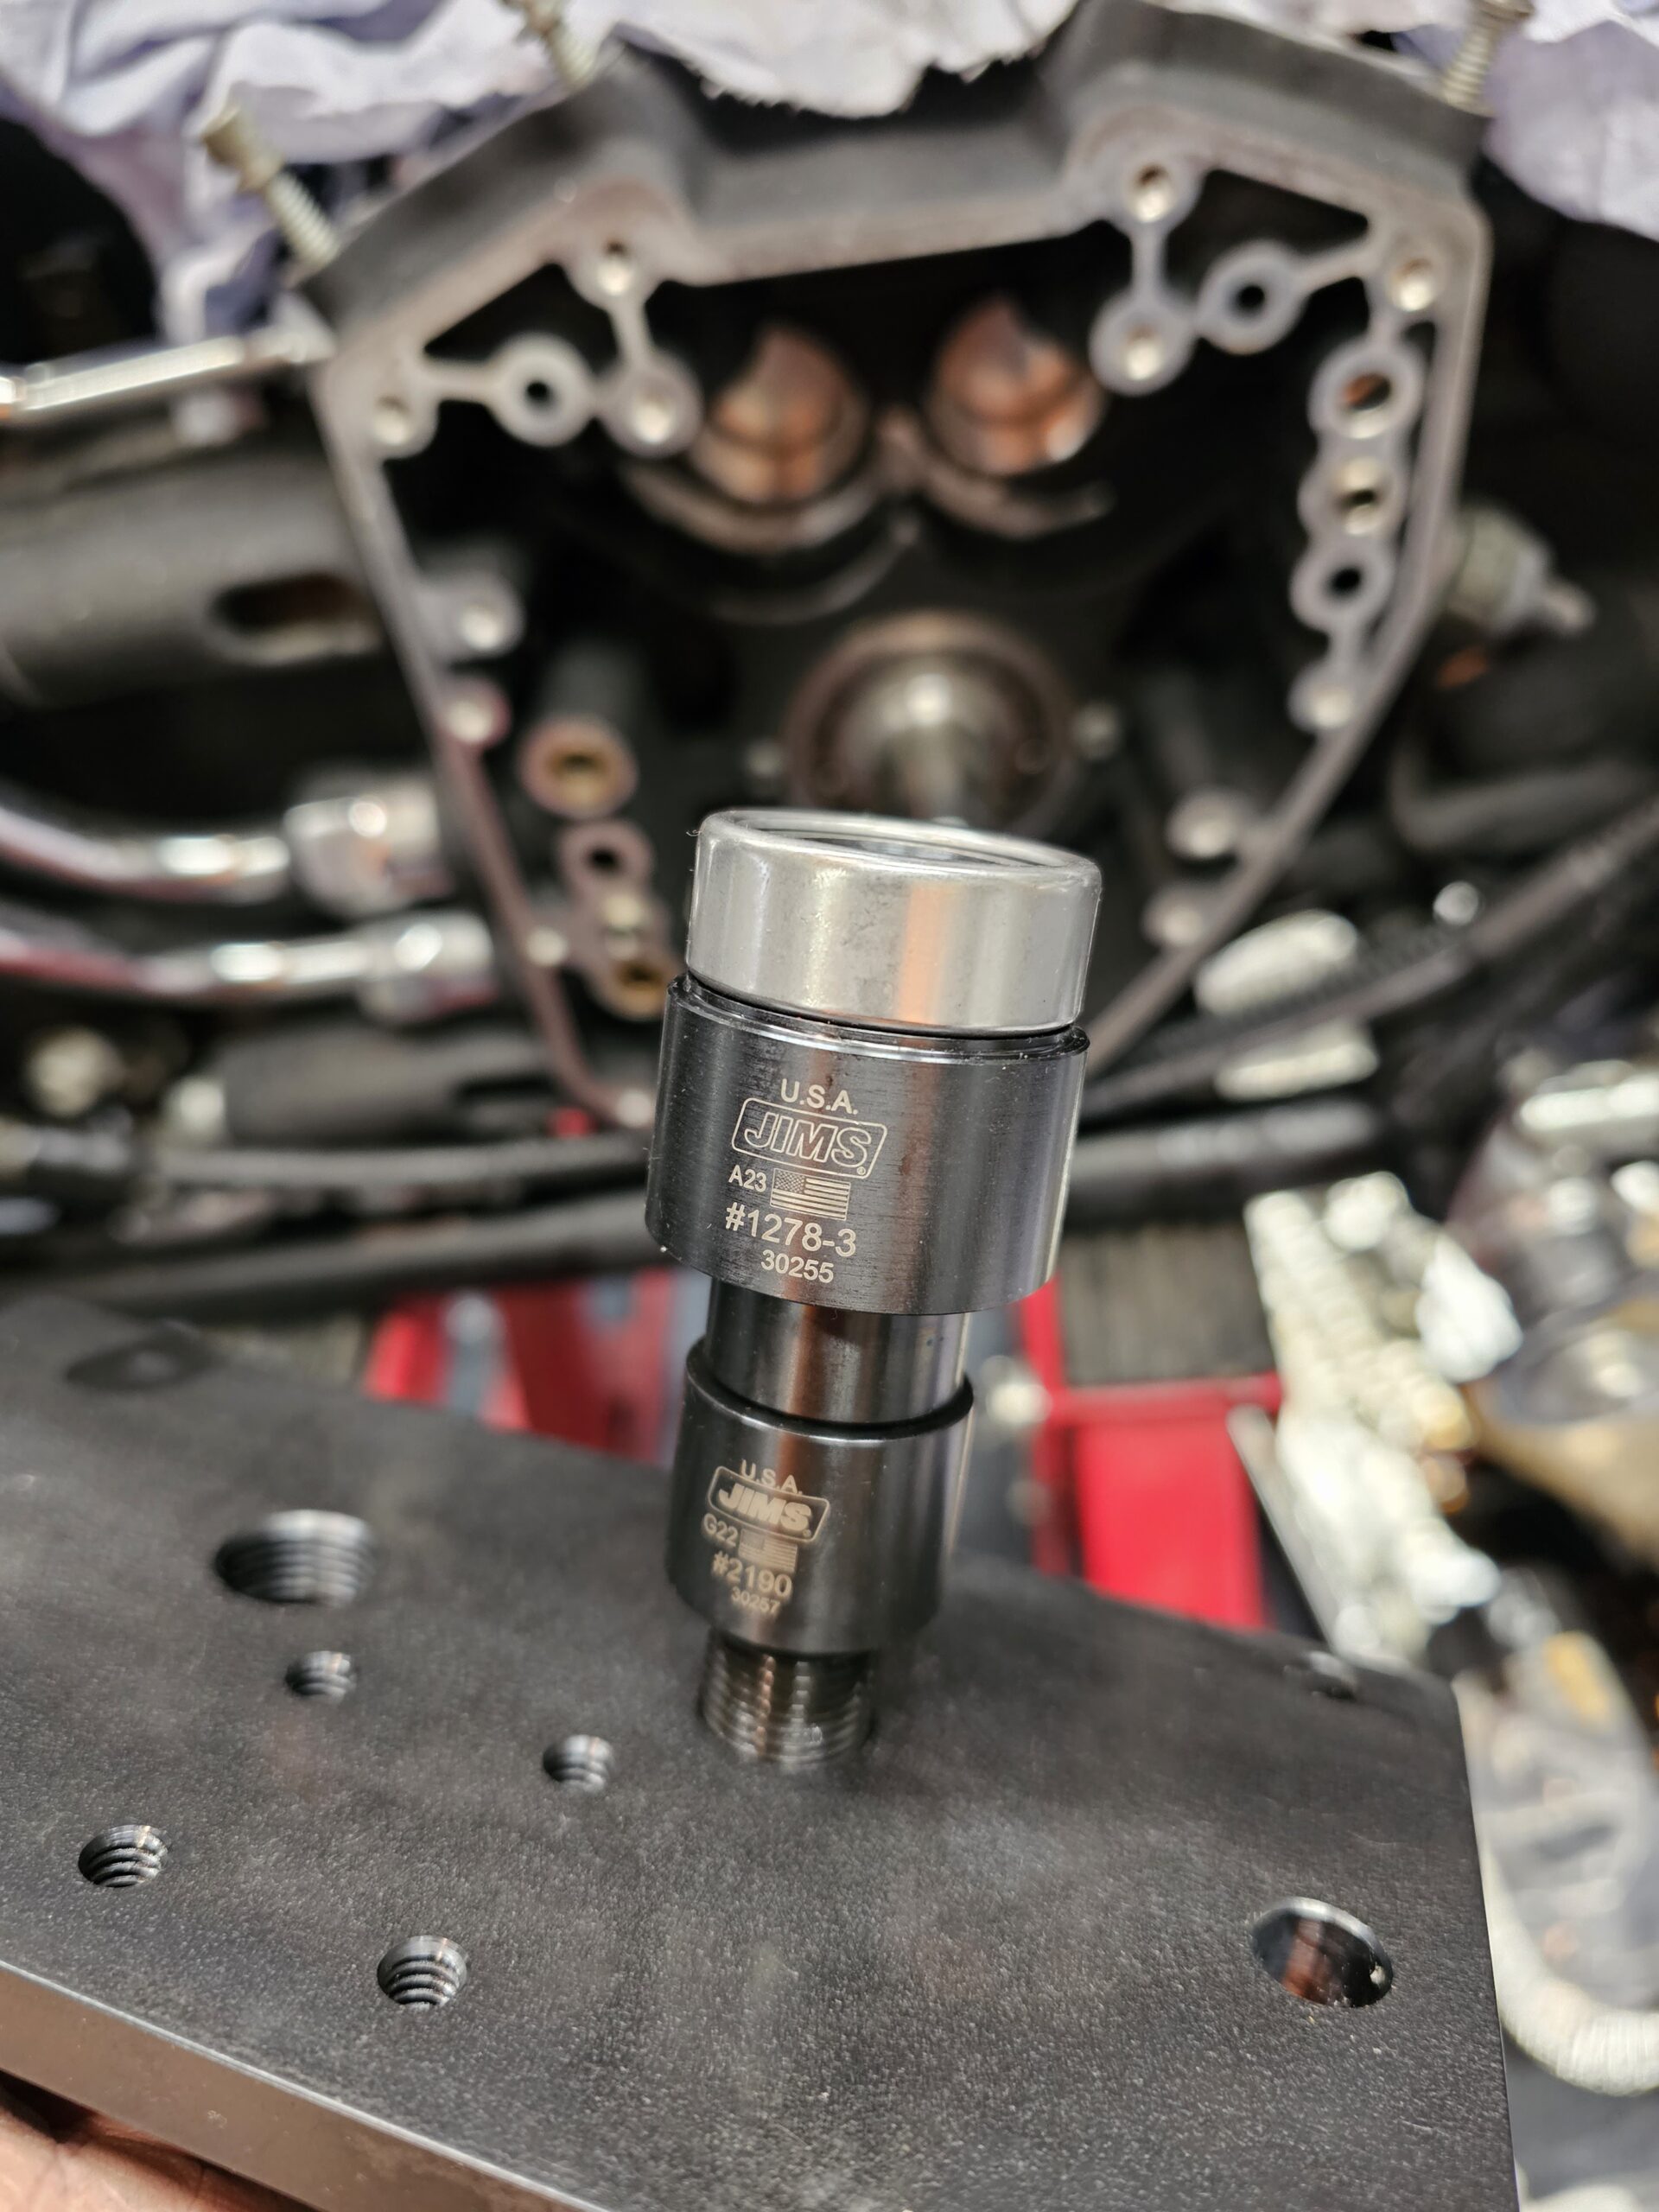
I decided to start with the S&S TC3 Cam Plate, Oil Pump, 635 Cams and Premium Lifters. To seal the motor up and keep the fluids where they belong, I made a call to Cometic Gaskets and ordered a complete Twin Cam gasket set with 4” bore .030” MLS head gaskets to give the compression a bit of a bump. Knowing that special tools were going to be needed, and never one to shy away from adding tools to the tool box, I turned to JIMS USA for their cam bearing puller and installation tools. My time spinning wrenches in the field has taught me that buying specialty tools by price is never a wise decision. When precision counts, price takes a back seat to quality.
Got the tank off and the fluids drained.
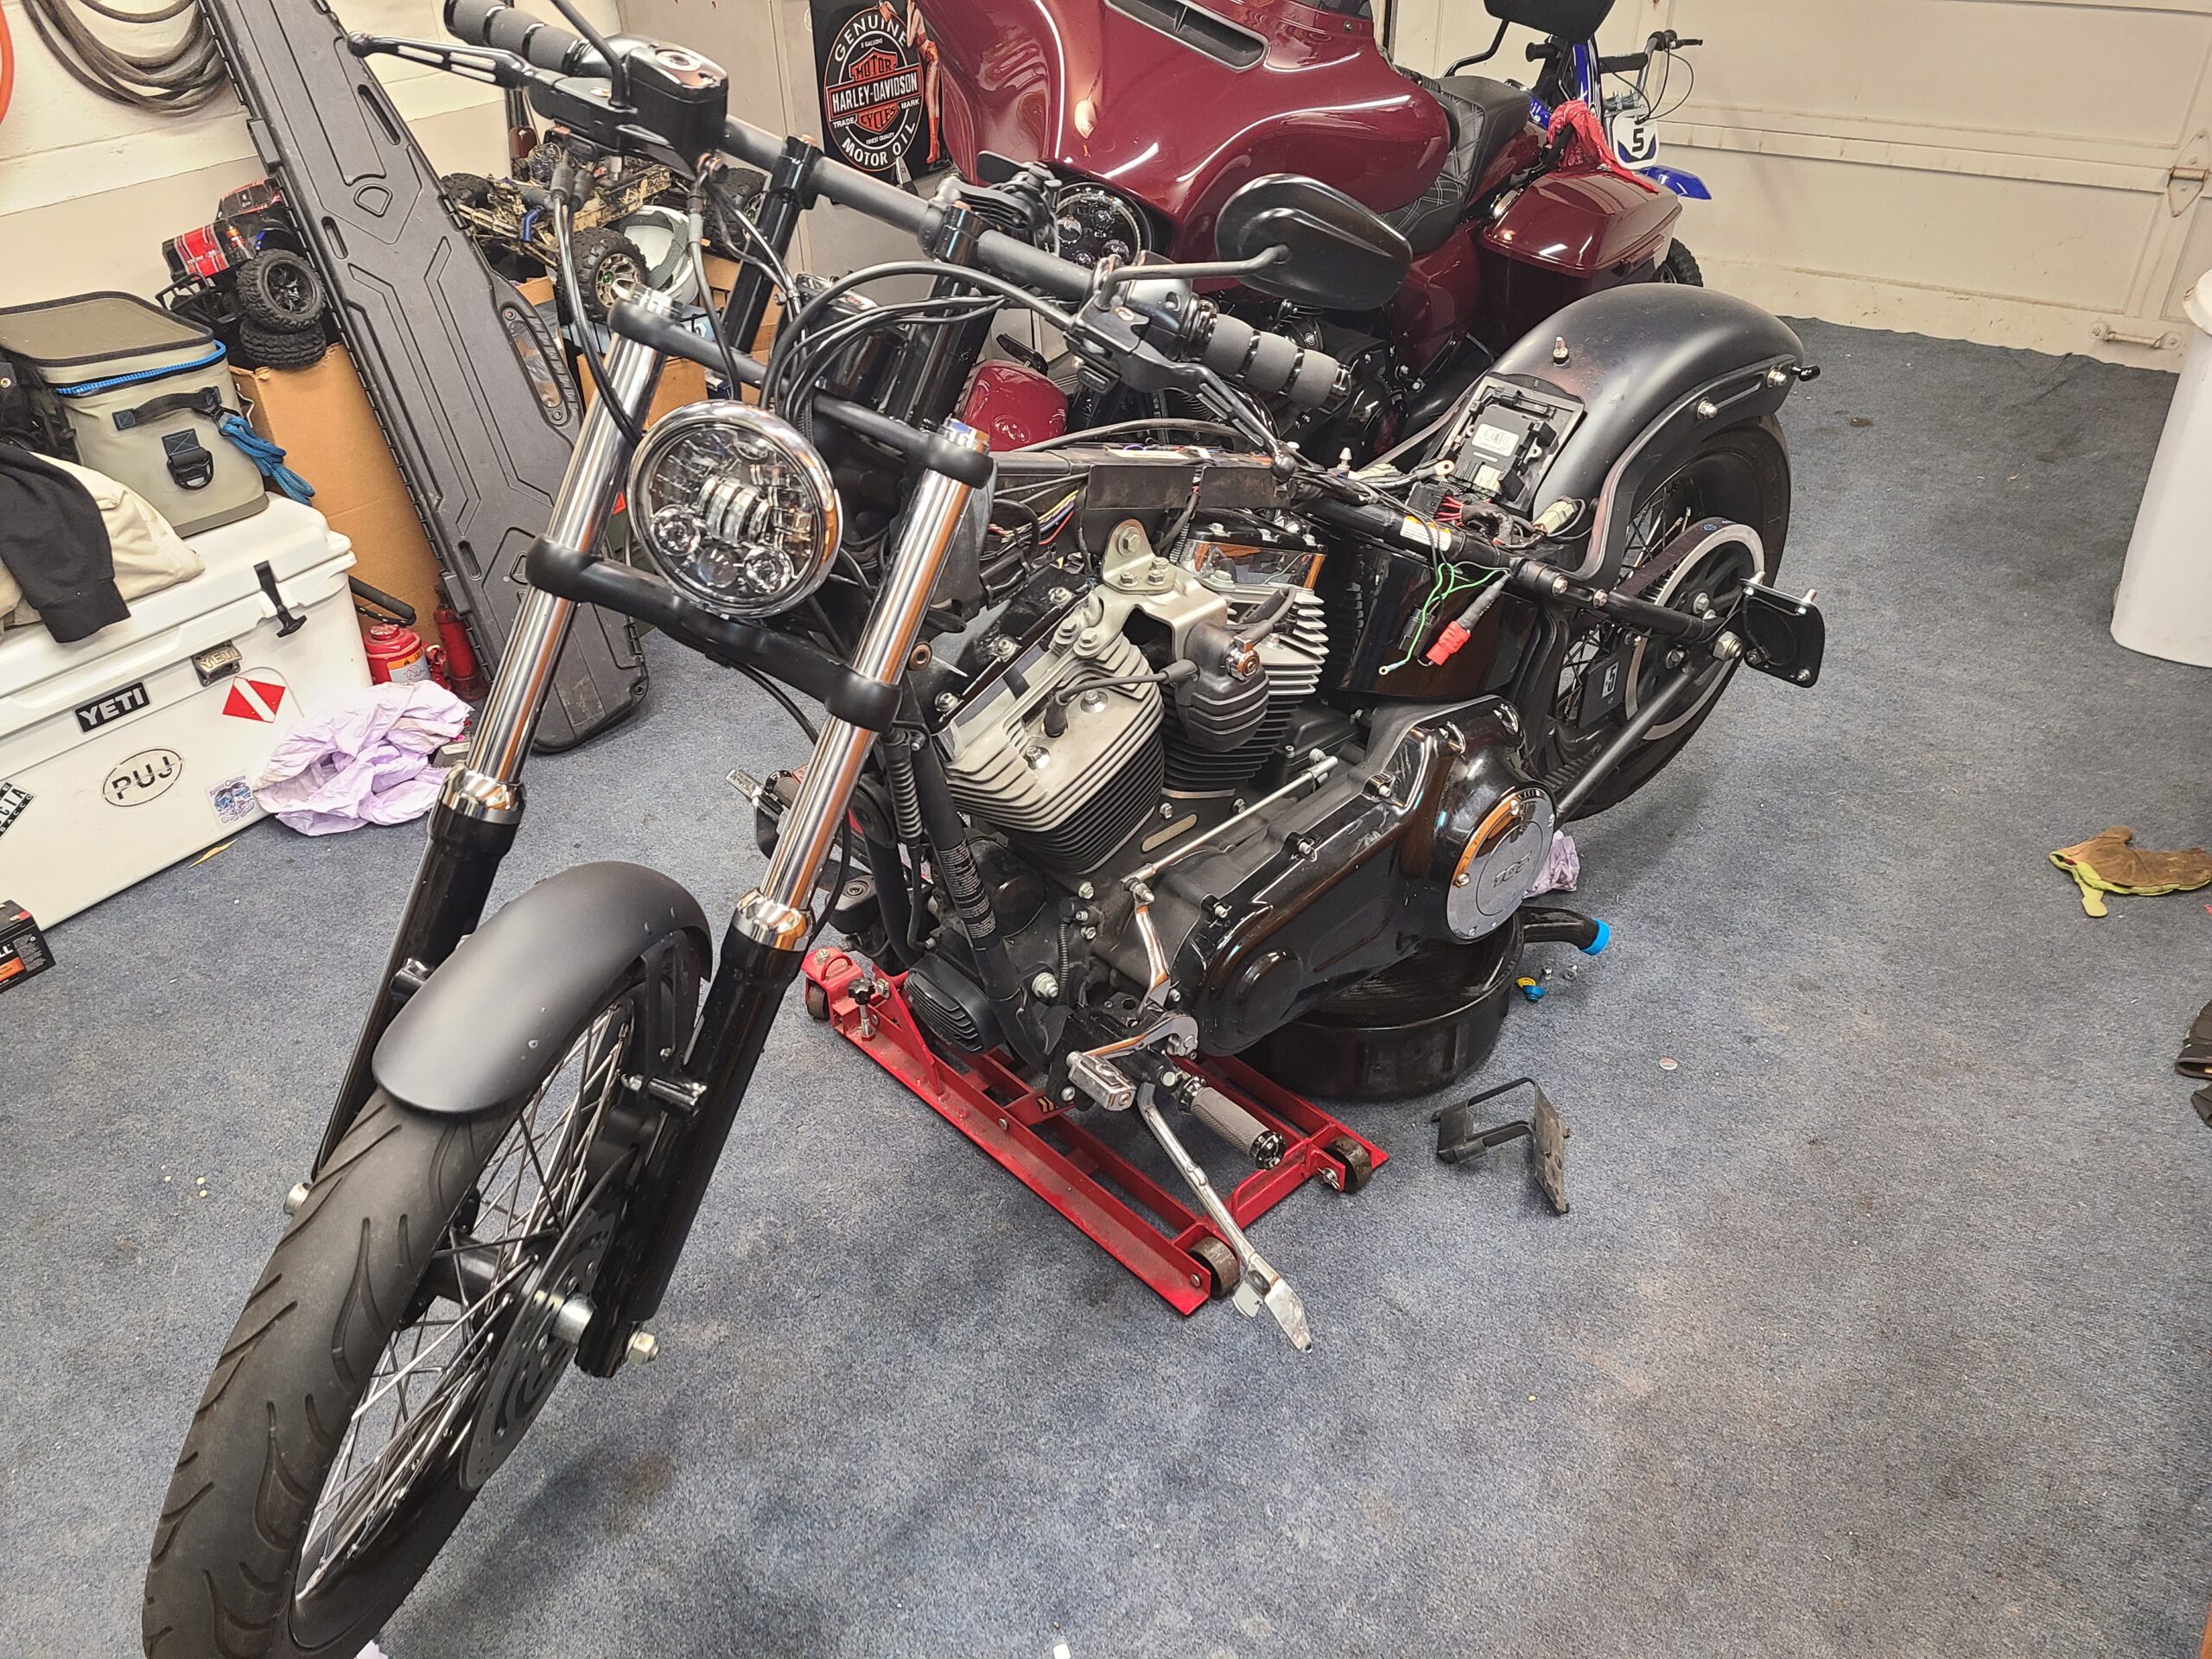
With the bike back on the borrowed jack and the garage as organized as I could get it, I started tearing the 30k mile 103 in the Blackline down to the case, leaving the crank and rods in it. With parts from S&S on the way, I didn’t want to waste time even as the snow was flying outside as I was expecting some hiccups along the way and wanted to leave some time get everything handled (As it turns out, I wildly underestimated my timeline.) The tear down went smoothly enough, no broken bolts or obvious failures. I got everything laid out in order, on one side of the bench, as boxes were piling up on the front porch.
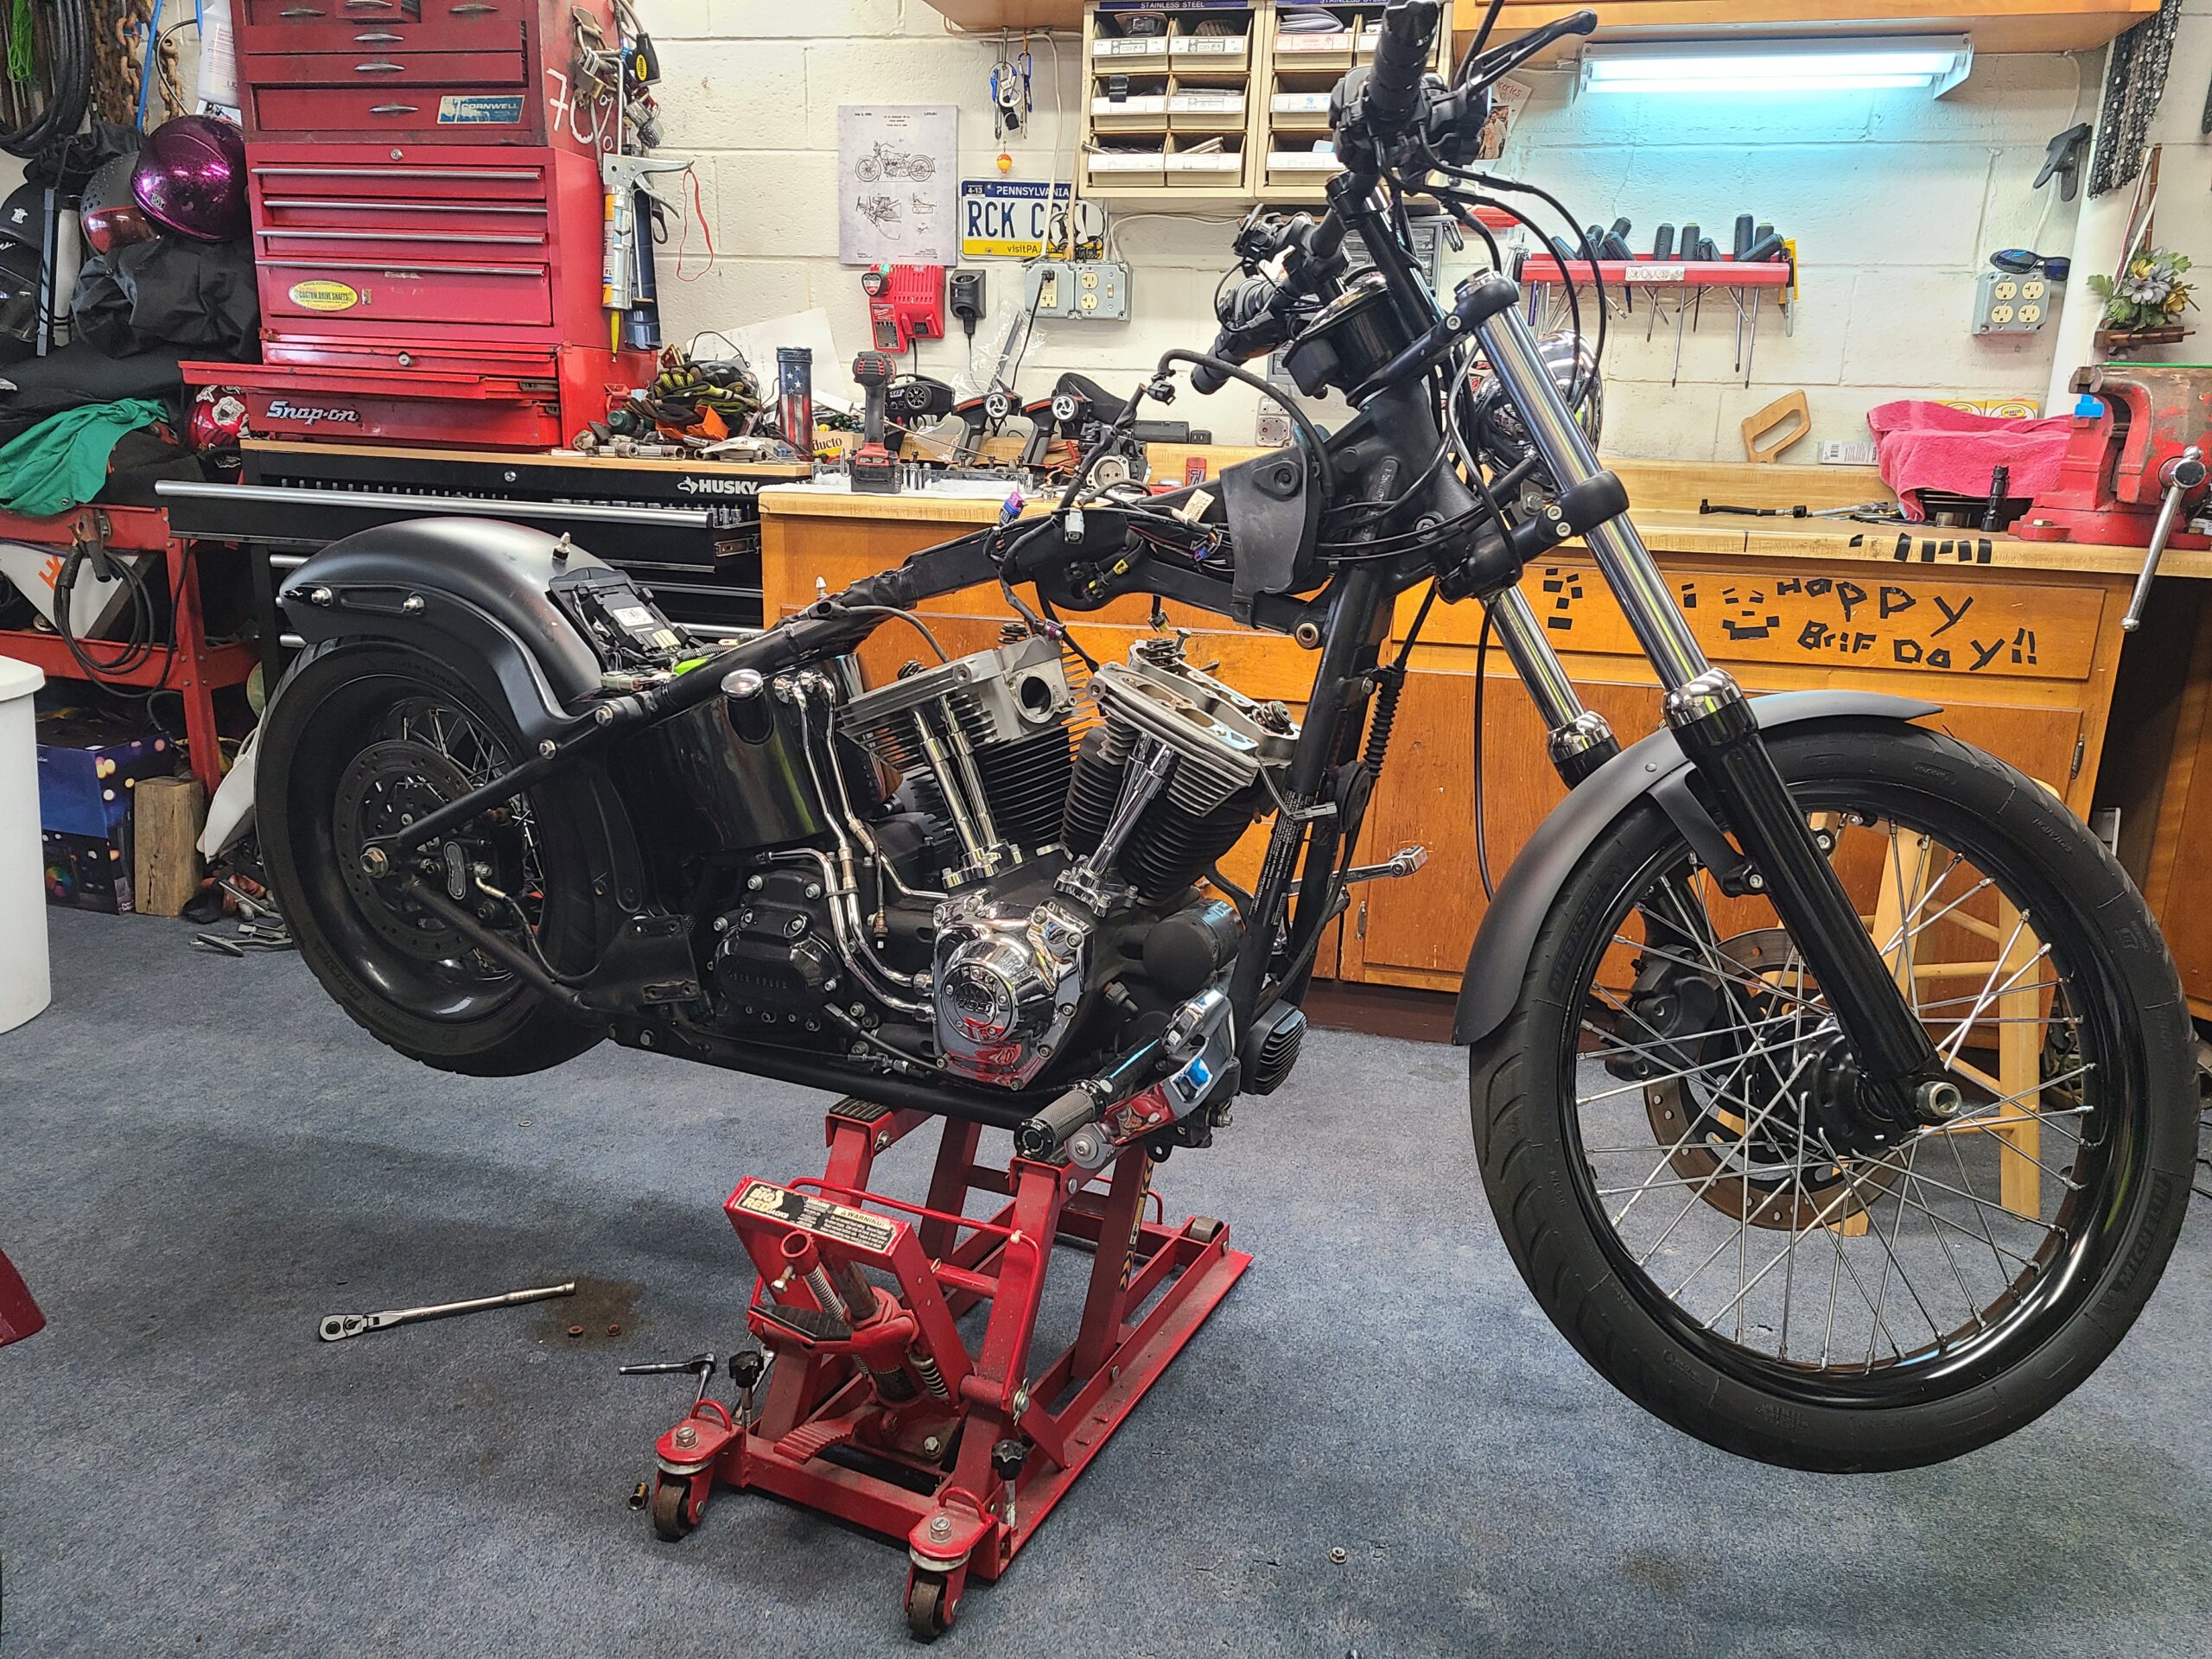
With the tank off, the top end began coming apart quickly.

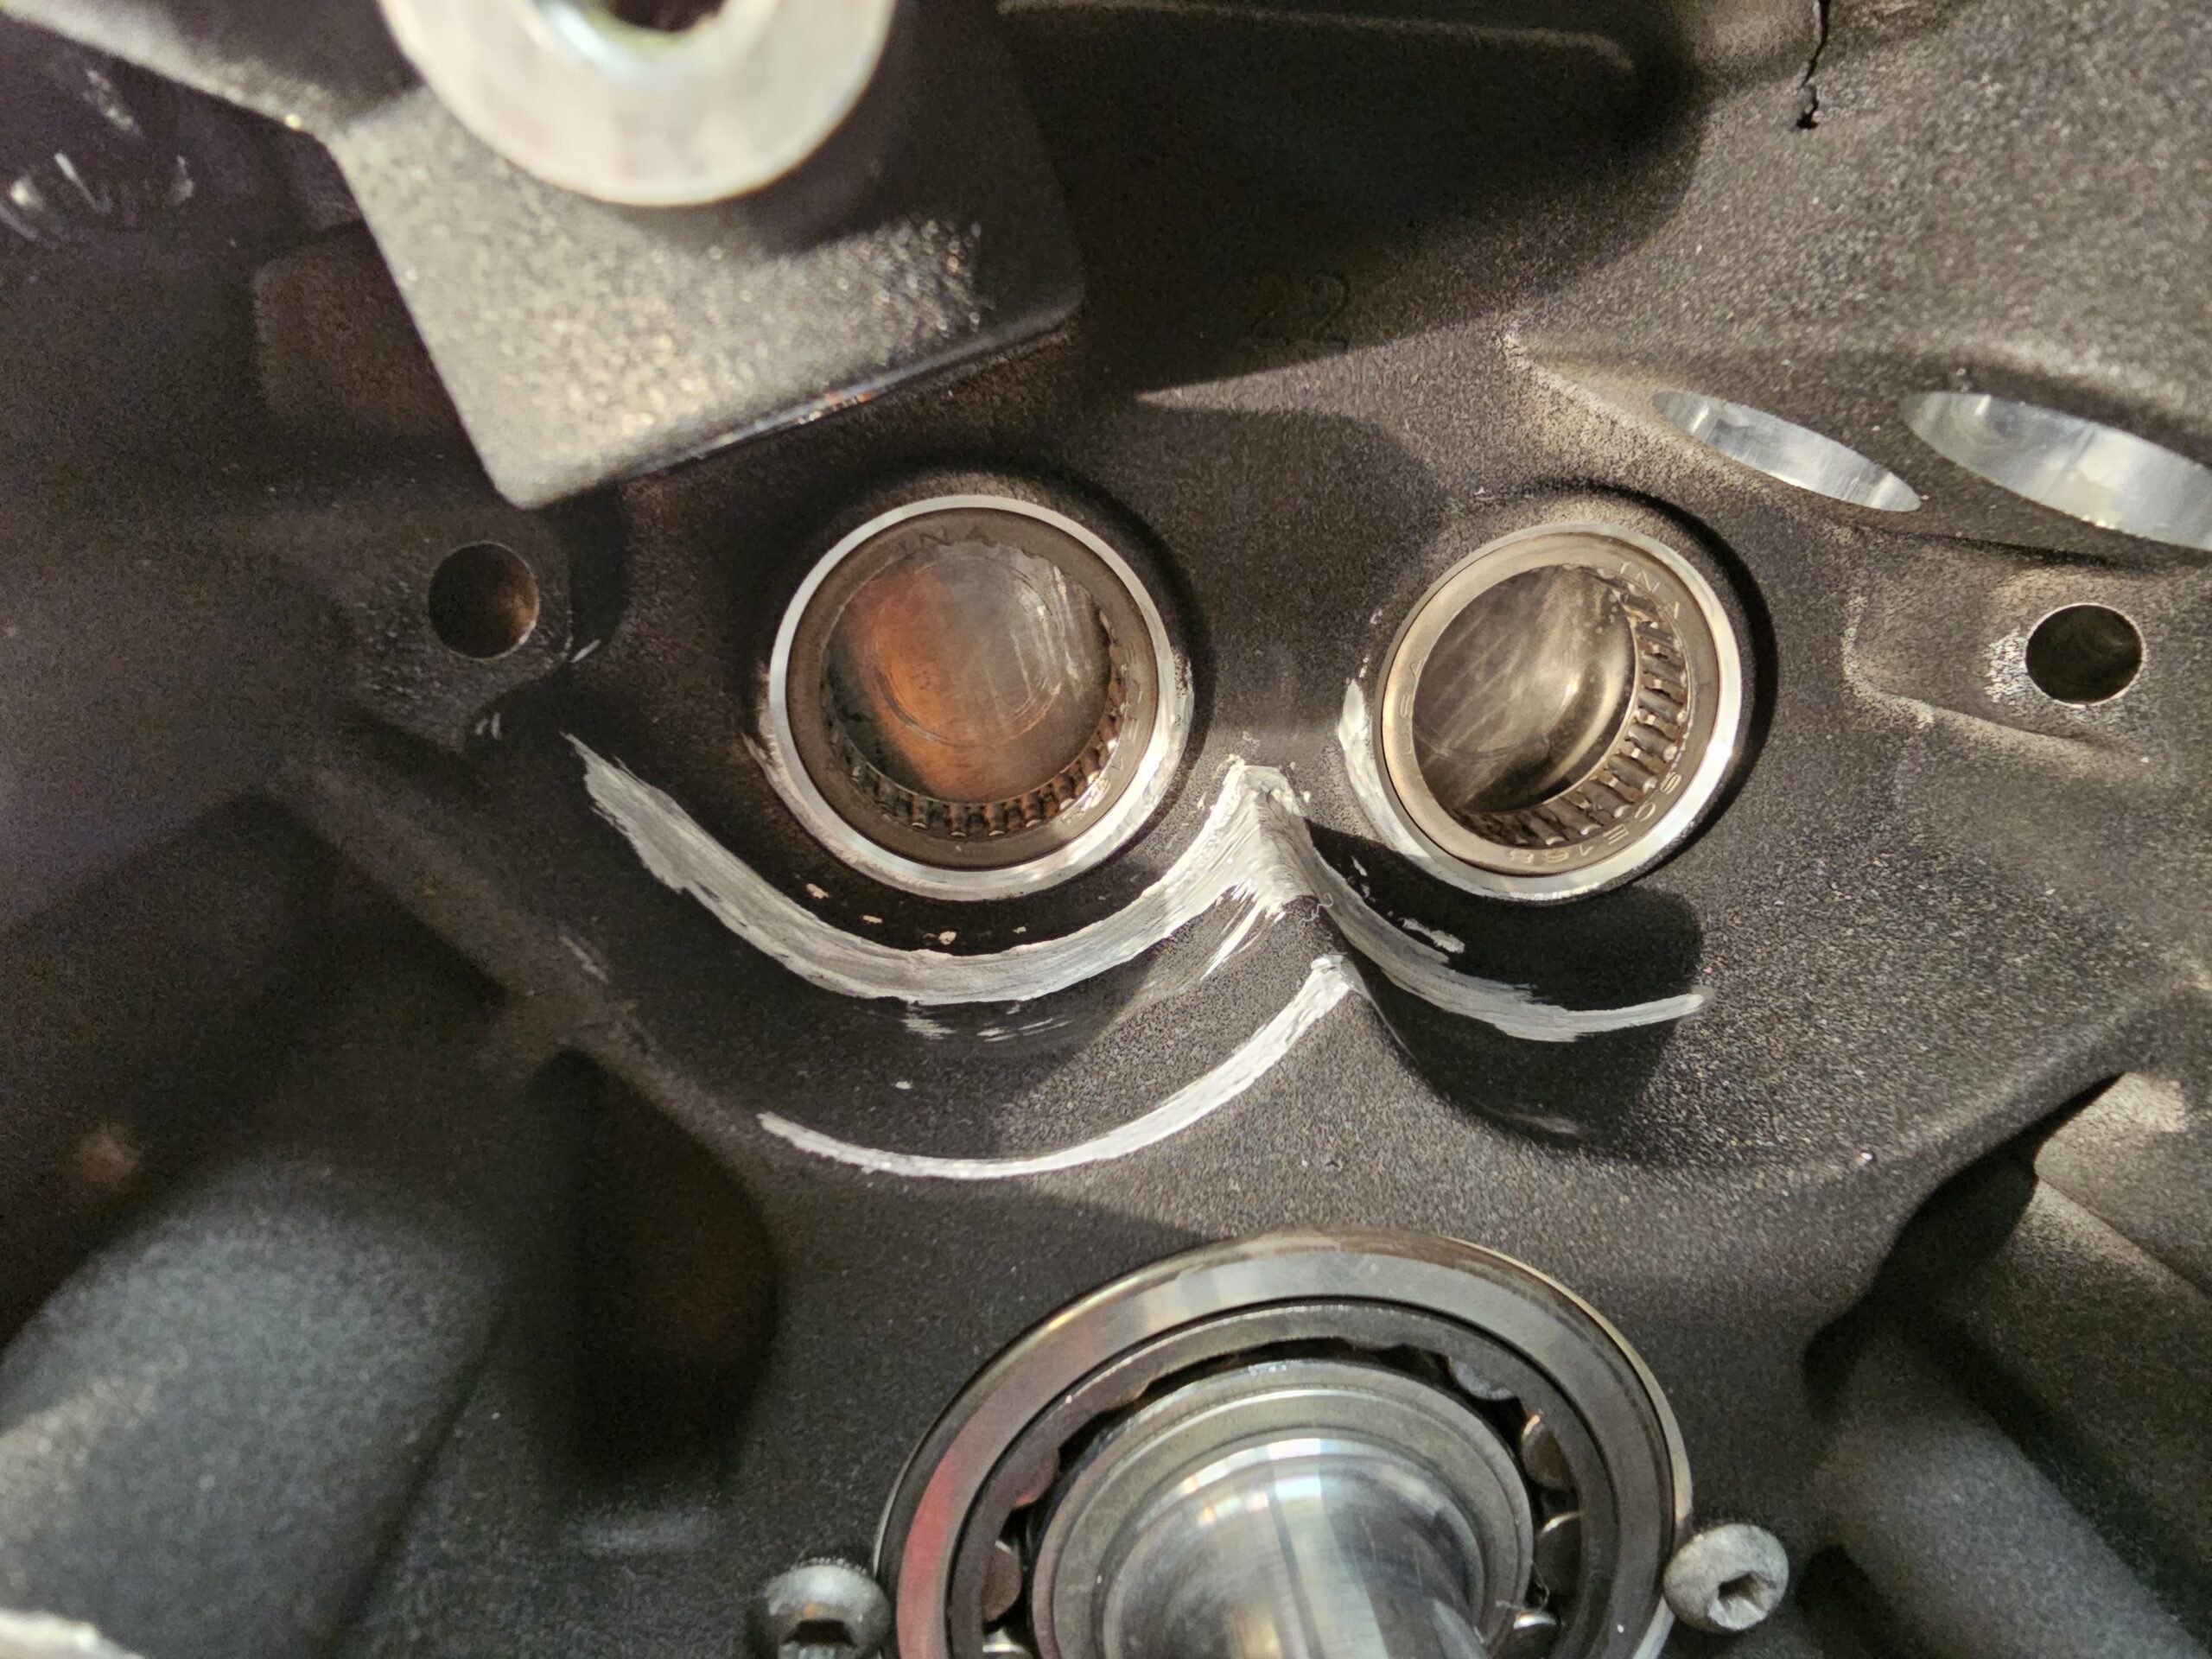
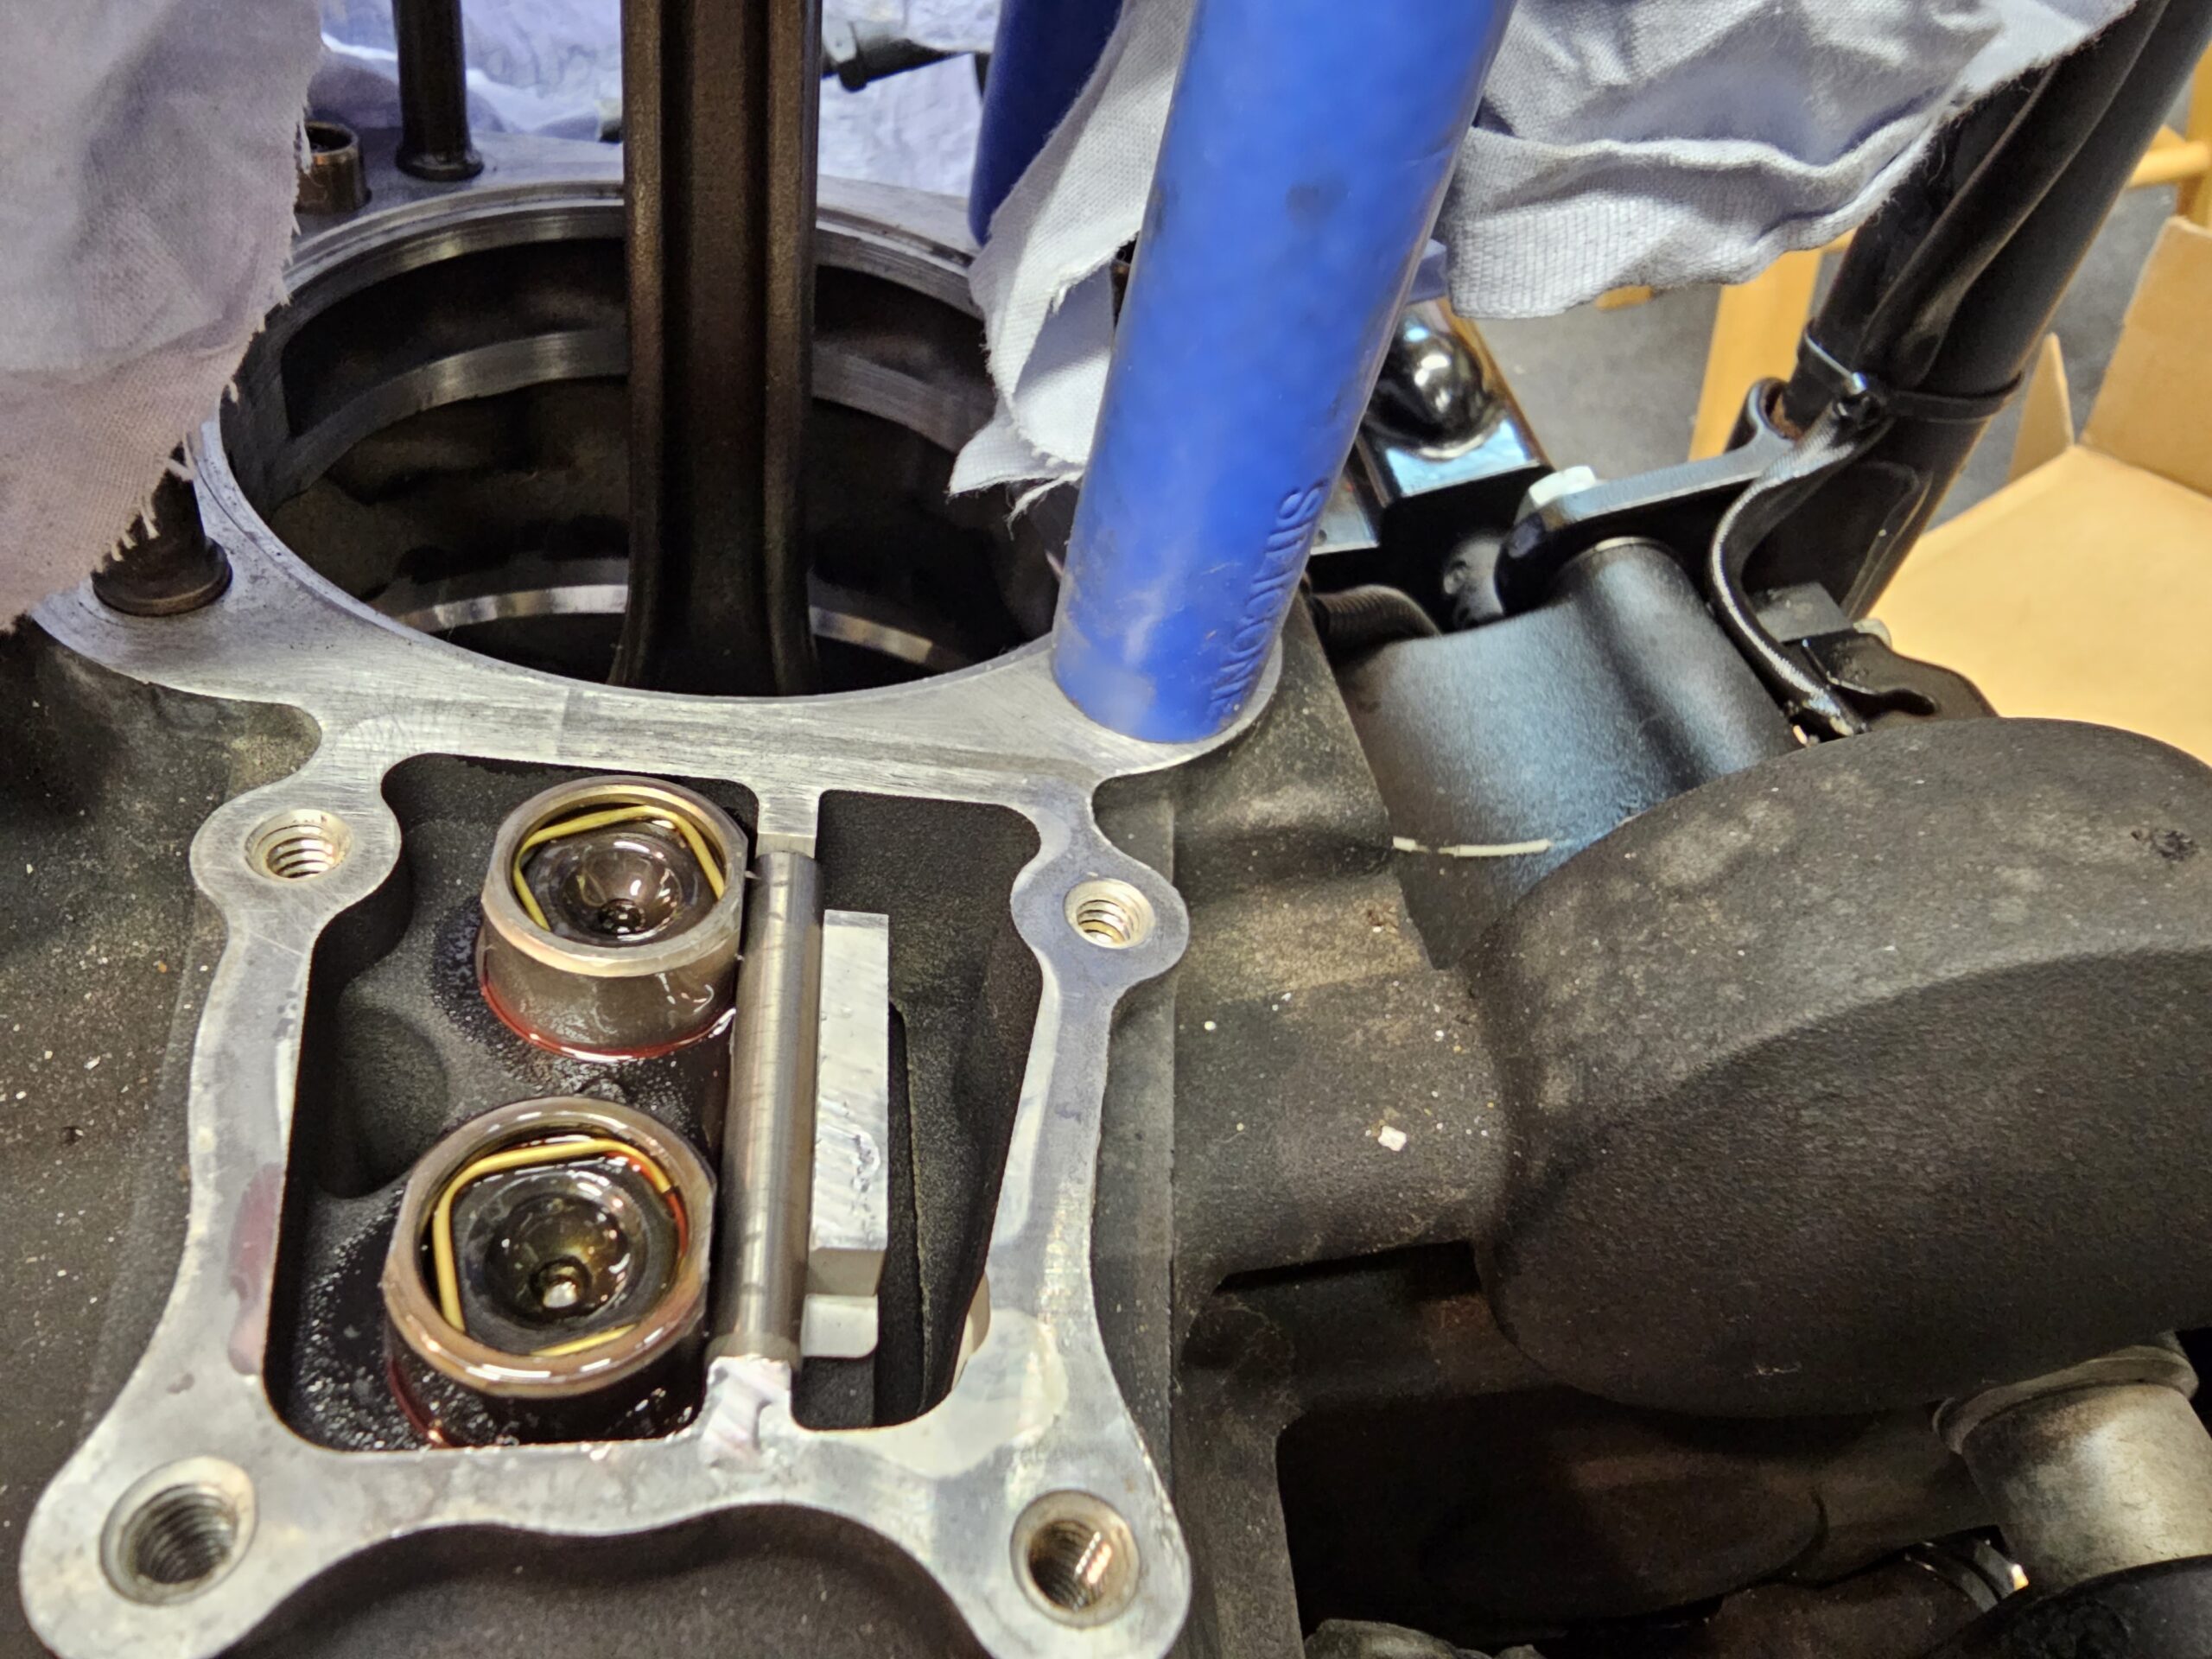
The top end off, ready to gut the cam chest and see what lies inside.
When I mentioned the 635 cam to my co-worker/resident Twin Cam guru, he said to check the clearance in the case before I put anything else together. I’m glad he mentioned that, as it turns out; with so much lift, the cam lobes were actually hitting the inside of the case. After a few minutes with the Dremel tool, I was able to get over .030” clearance between the case and the cam lobes. It may not be pretty, but it’s functional. A theme I’m embracing with this build: going fast is better than looking good.
Here you can see where the cam lobe is contacting the case.
After clearancing the case with a Dremel tool, I was able to get the .030” clearance all around.
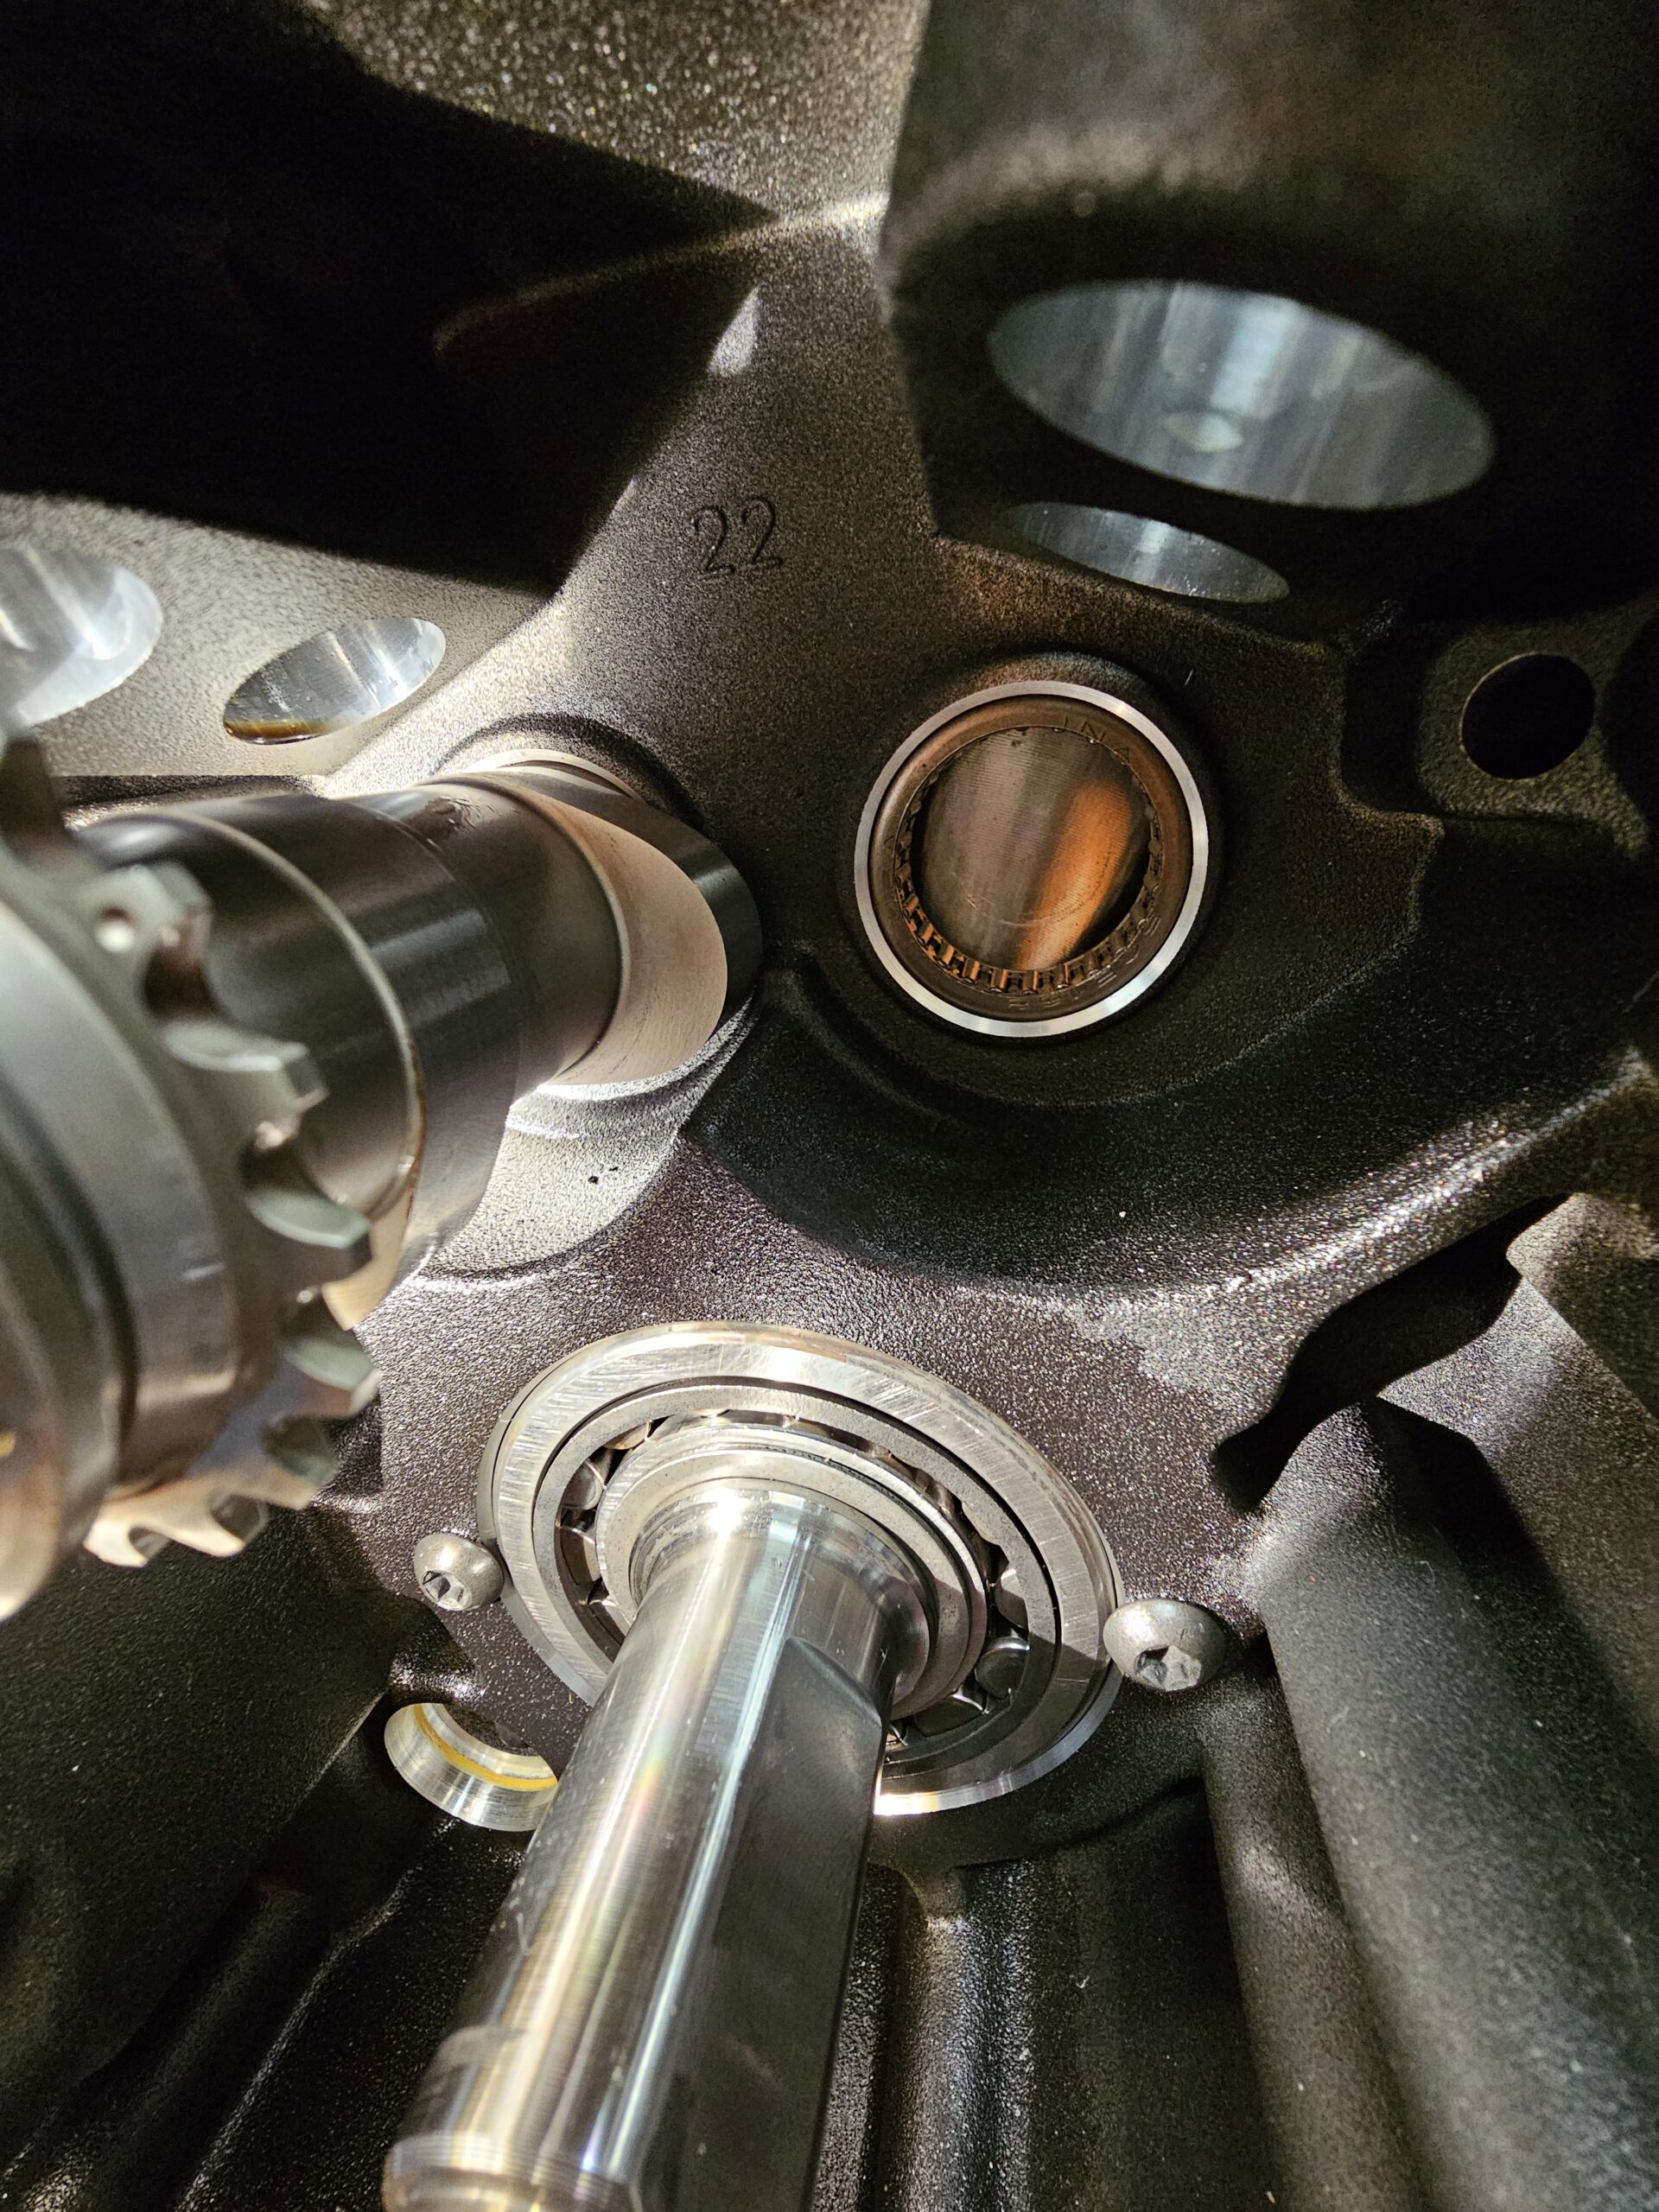
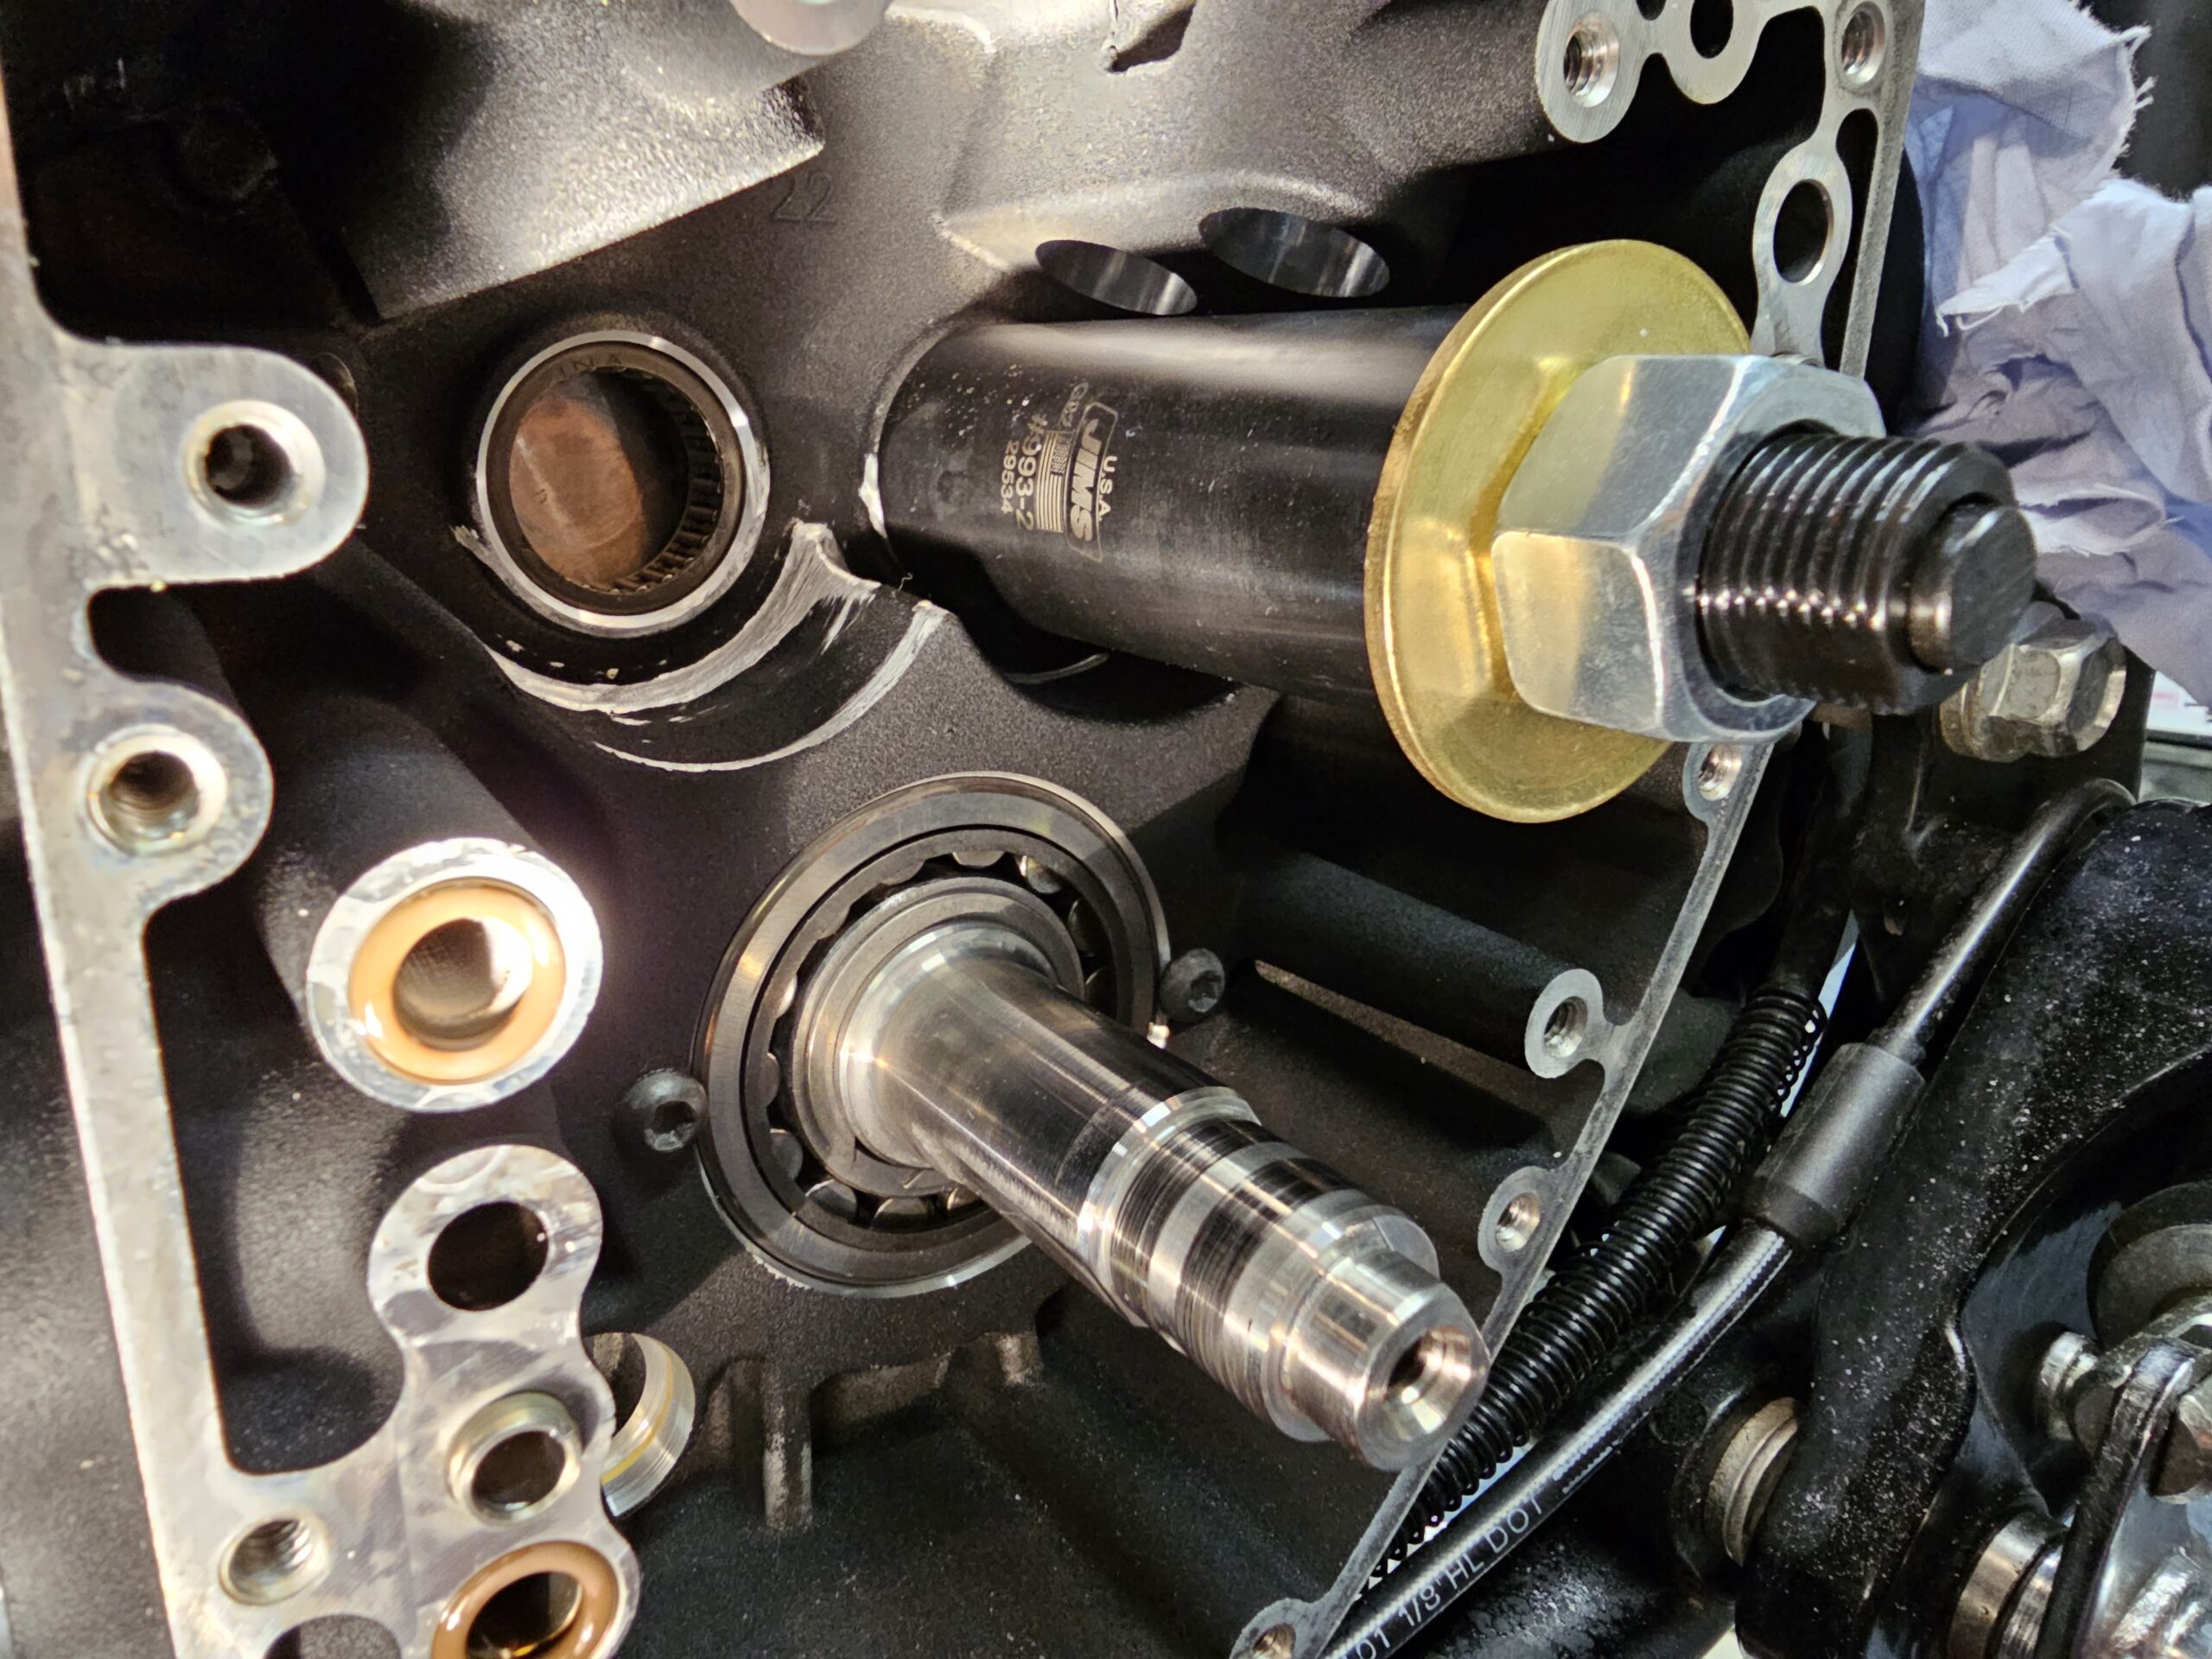
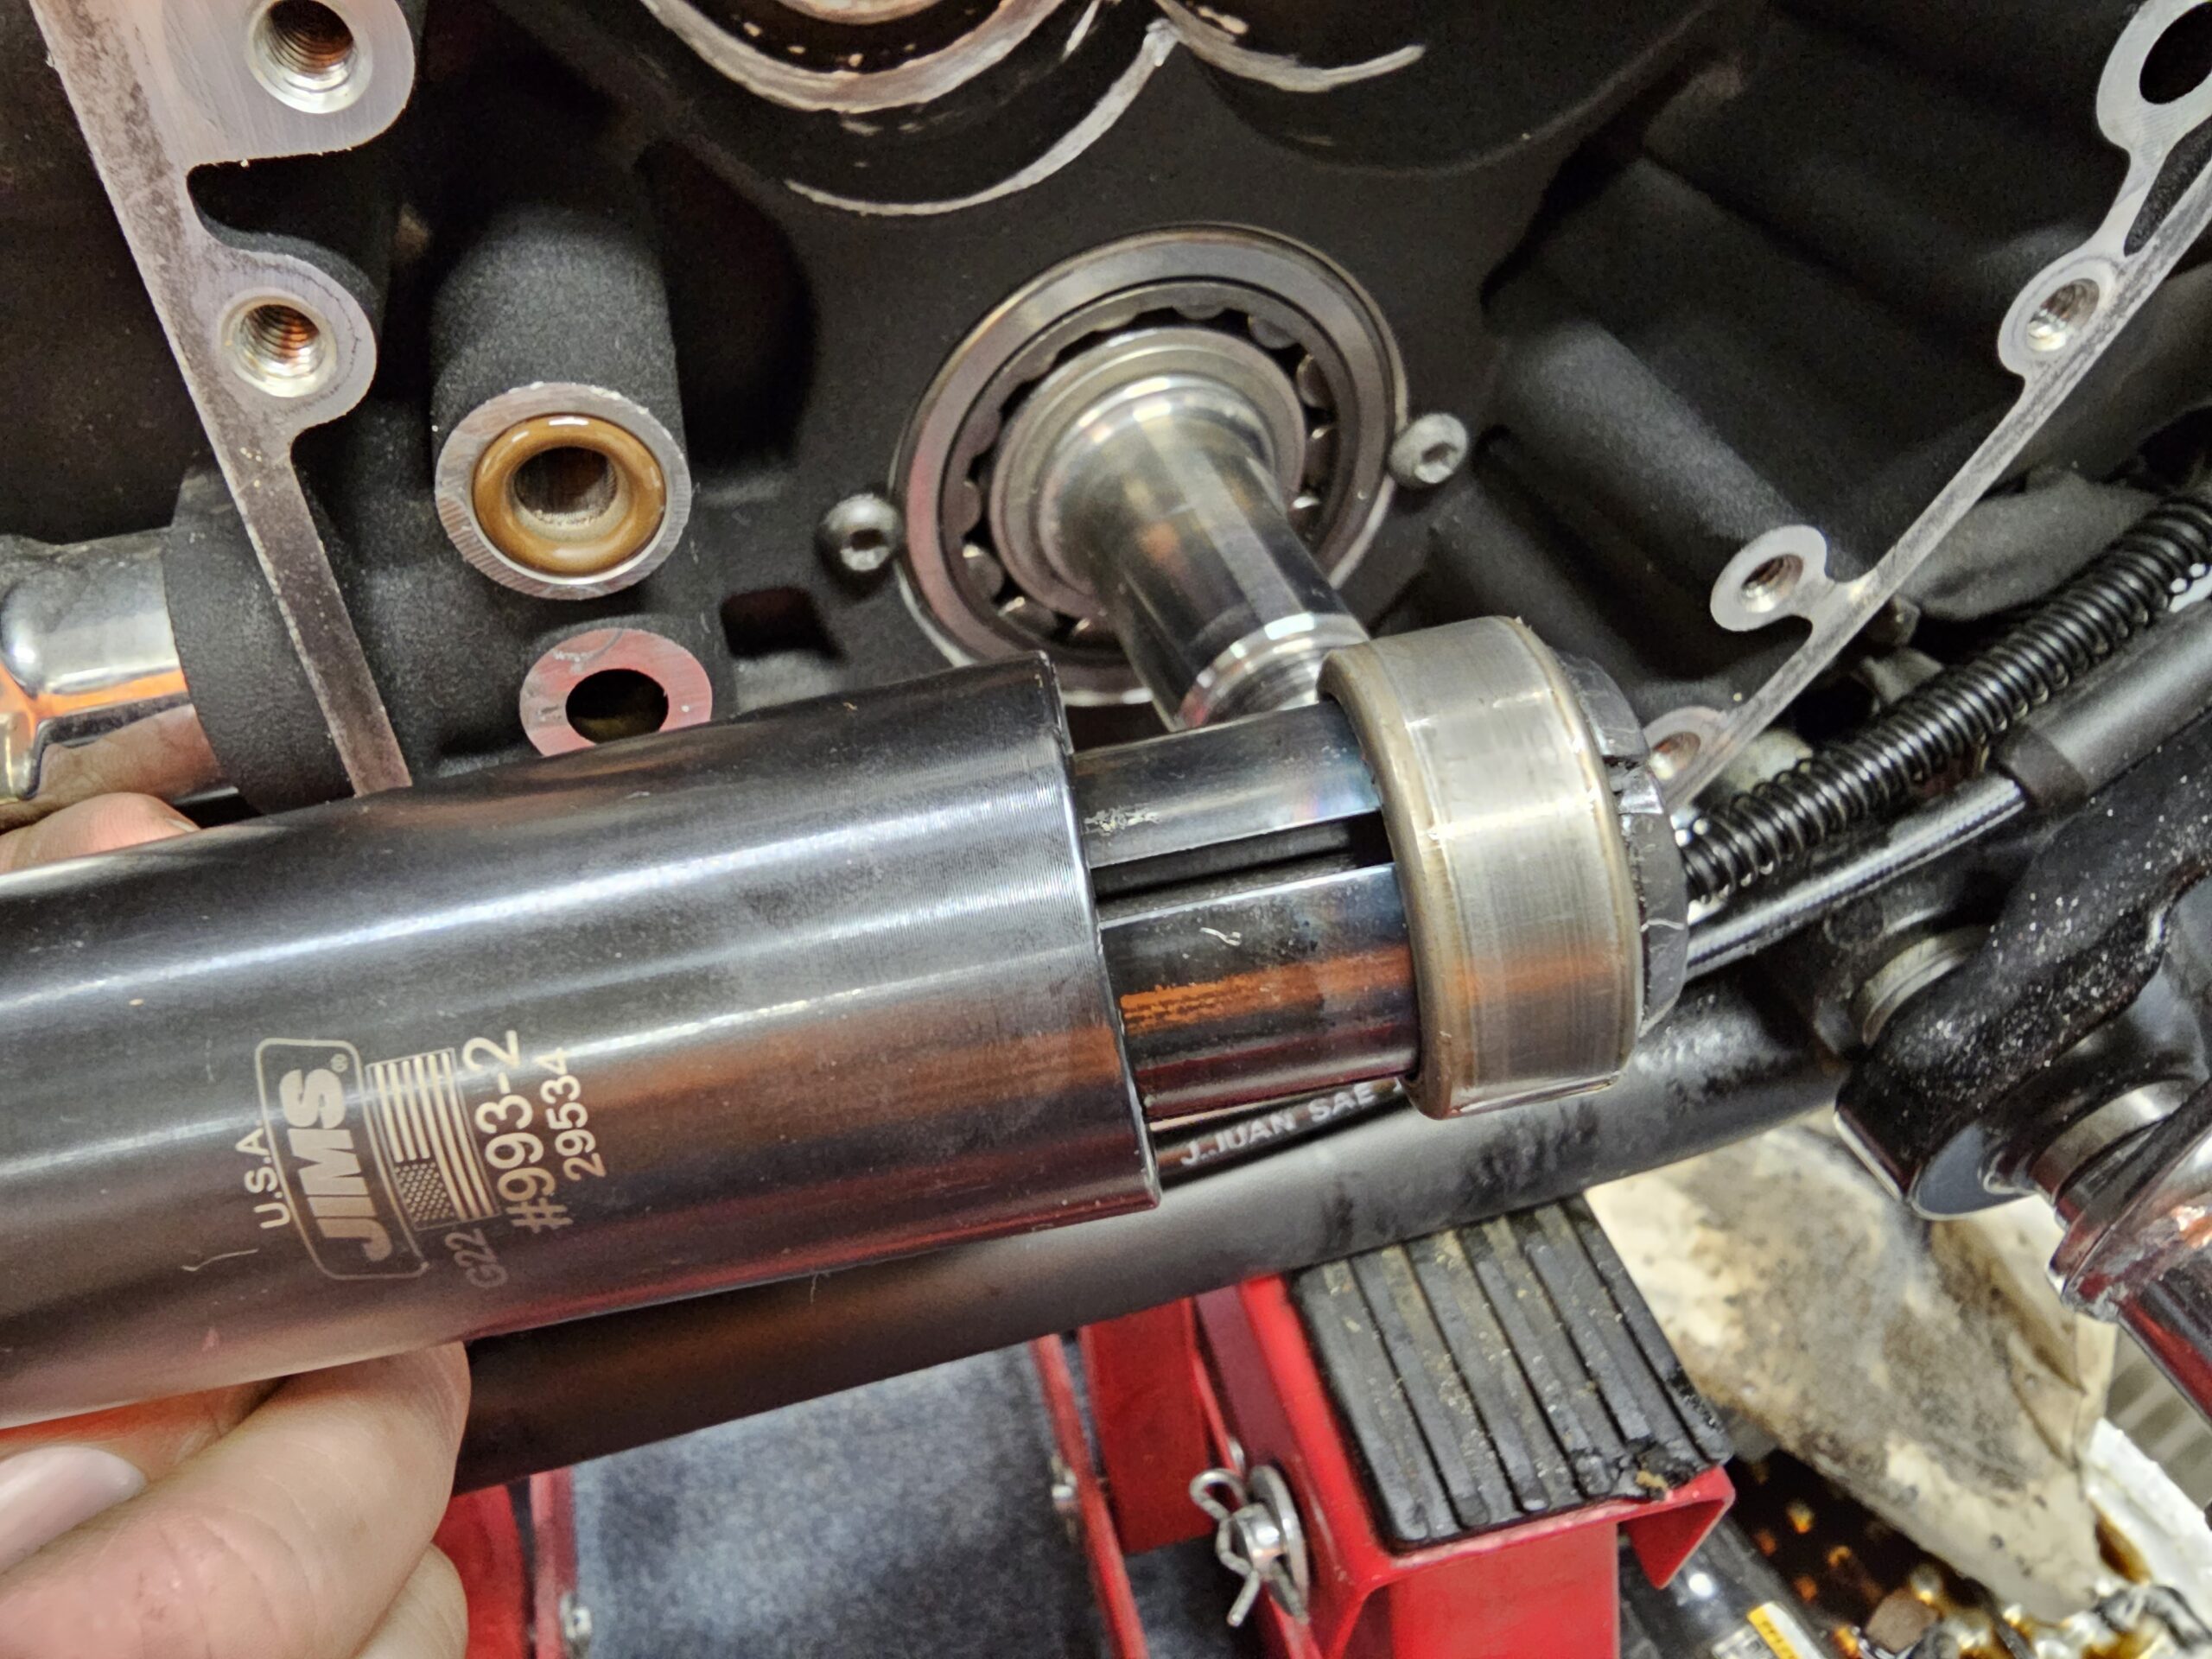
The S&S TC3 kit included new full compliment inner cam bearings, and using the tools from JIMS, the change out went very smoothly. In fact, with the JIMS tools, I was amazed how easily it went and was immediately impressed by the quality and precision of the tools. There’s something immensely satisfying when a tool does its job so well, it makes a task a non issue. The inner bearing replacement went so seamlessly that I thought I might have messed something up. But as the folks at JIMS USA assured me, these tools would work exactly as described by following their included instructions and they were right; I’m at a loss of words to describe just how easy it was. Looking at it after the new bearings were installed, I thought to myself, “How the hell am I gonna write about that?” In hindsight, that’s the benefit to quality tools. When they work as intended, there shouldn’t be much of a story about it.
The Jims Removal Tool ready to pull the bearing.
The bearing removed in short order, without issue.
Following the included directions for the Bearing Removal tool, I had both bearings out in 5 minutes. Installing the bearings was just as simple. The included instructions are simple to follow and well illustrated. The instructions for all of these tools can easily be found on the JIMS USA website if you feel the need to check it out beforehand, and there are plenty of videos online showing the procedure start to finish. I don’t see the need to parrot all the other how-tos here, preferring to focus on the quality and simplicity of these tools. If you have ever noticed the difference between two similar-looking tools, one from overseas and one made in the USA using precision techniques, you can feel it right away. Sure, there’s a cost associated with the quality tools, but there’s a higher cost for a catastrophic failure of an engine due to a cam bearing blowing apart.
The JIMS Bearing Installer can be used on both early and late style Twin Cam motors.

The quality and precision of these tools is absolutely top notch down to the anodized finish.
Now that the work was done inside the cam chest, it was time to fill it up. Like I said, I was going with the S&S 635 cams, cam plate and oil pump. Following the directions and watching the videos online, it went smoothly without any further hiccups. The TC3 Oil Pump from S&S came wonderfully packaged in cutout foam, and zip tied together to keep the parts in the proper order and placement. This is required as stated right in the box; the parts are lapped and mated to each other to provide the most efficient pumping capabilities possible. It’s obvious when handling these parts that precision is tightly controlled. Care must be taken not to mix up any parts when installing.
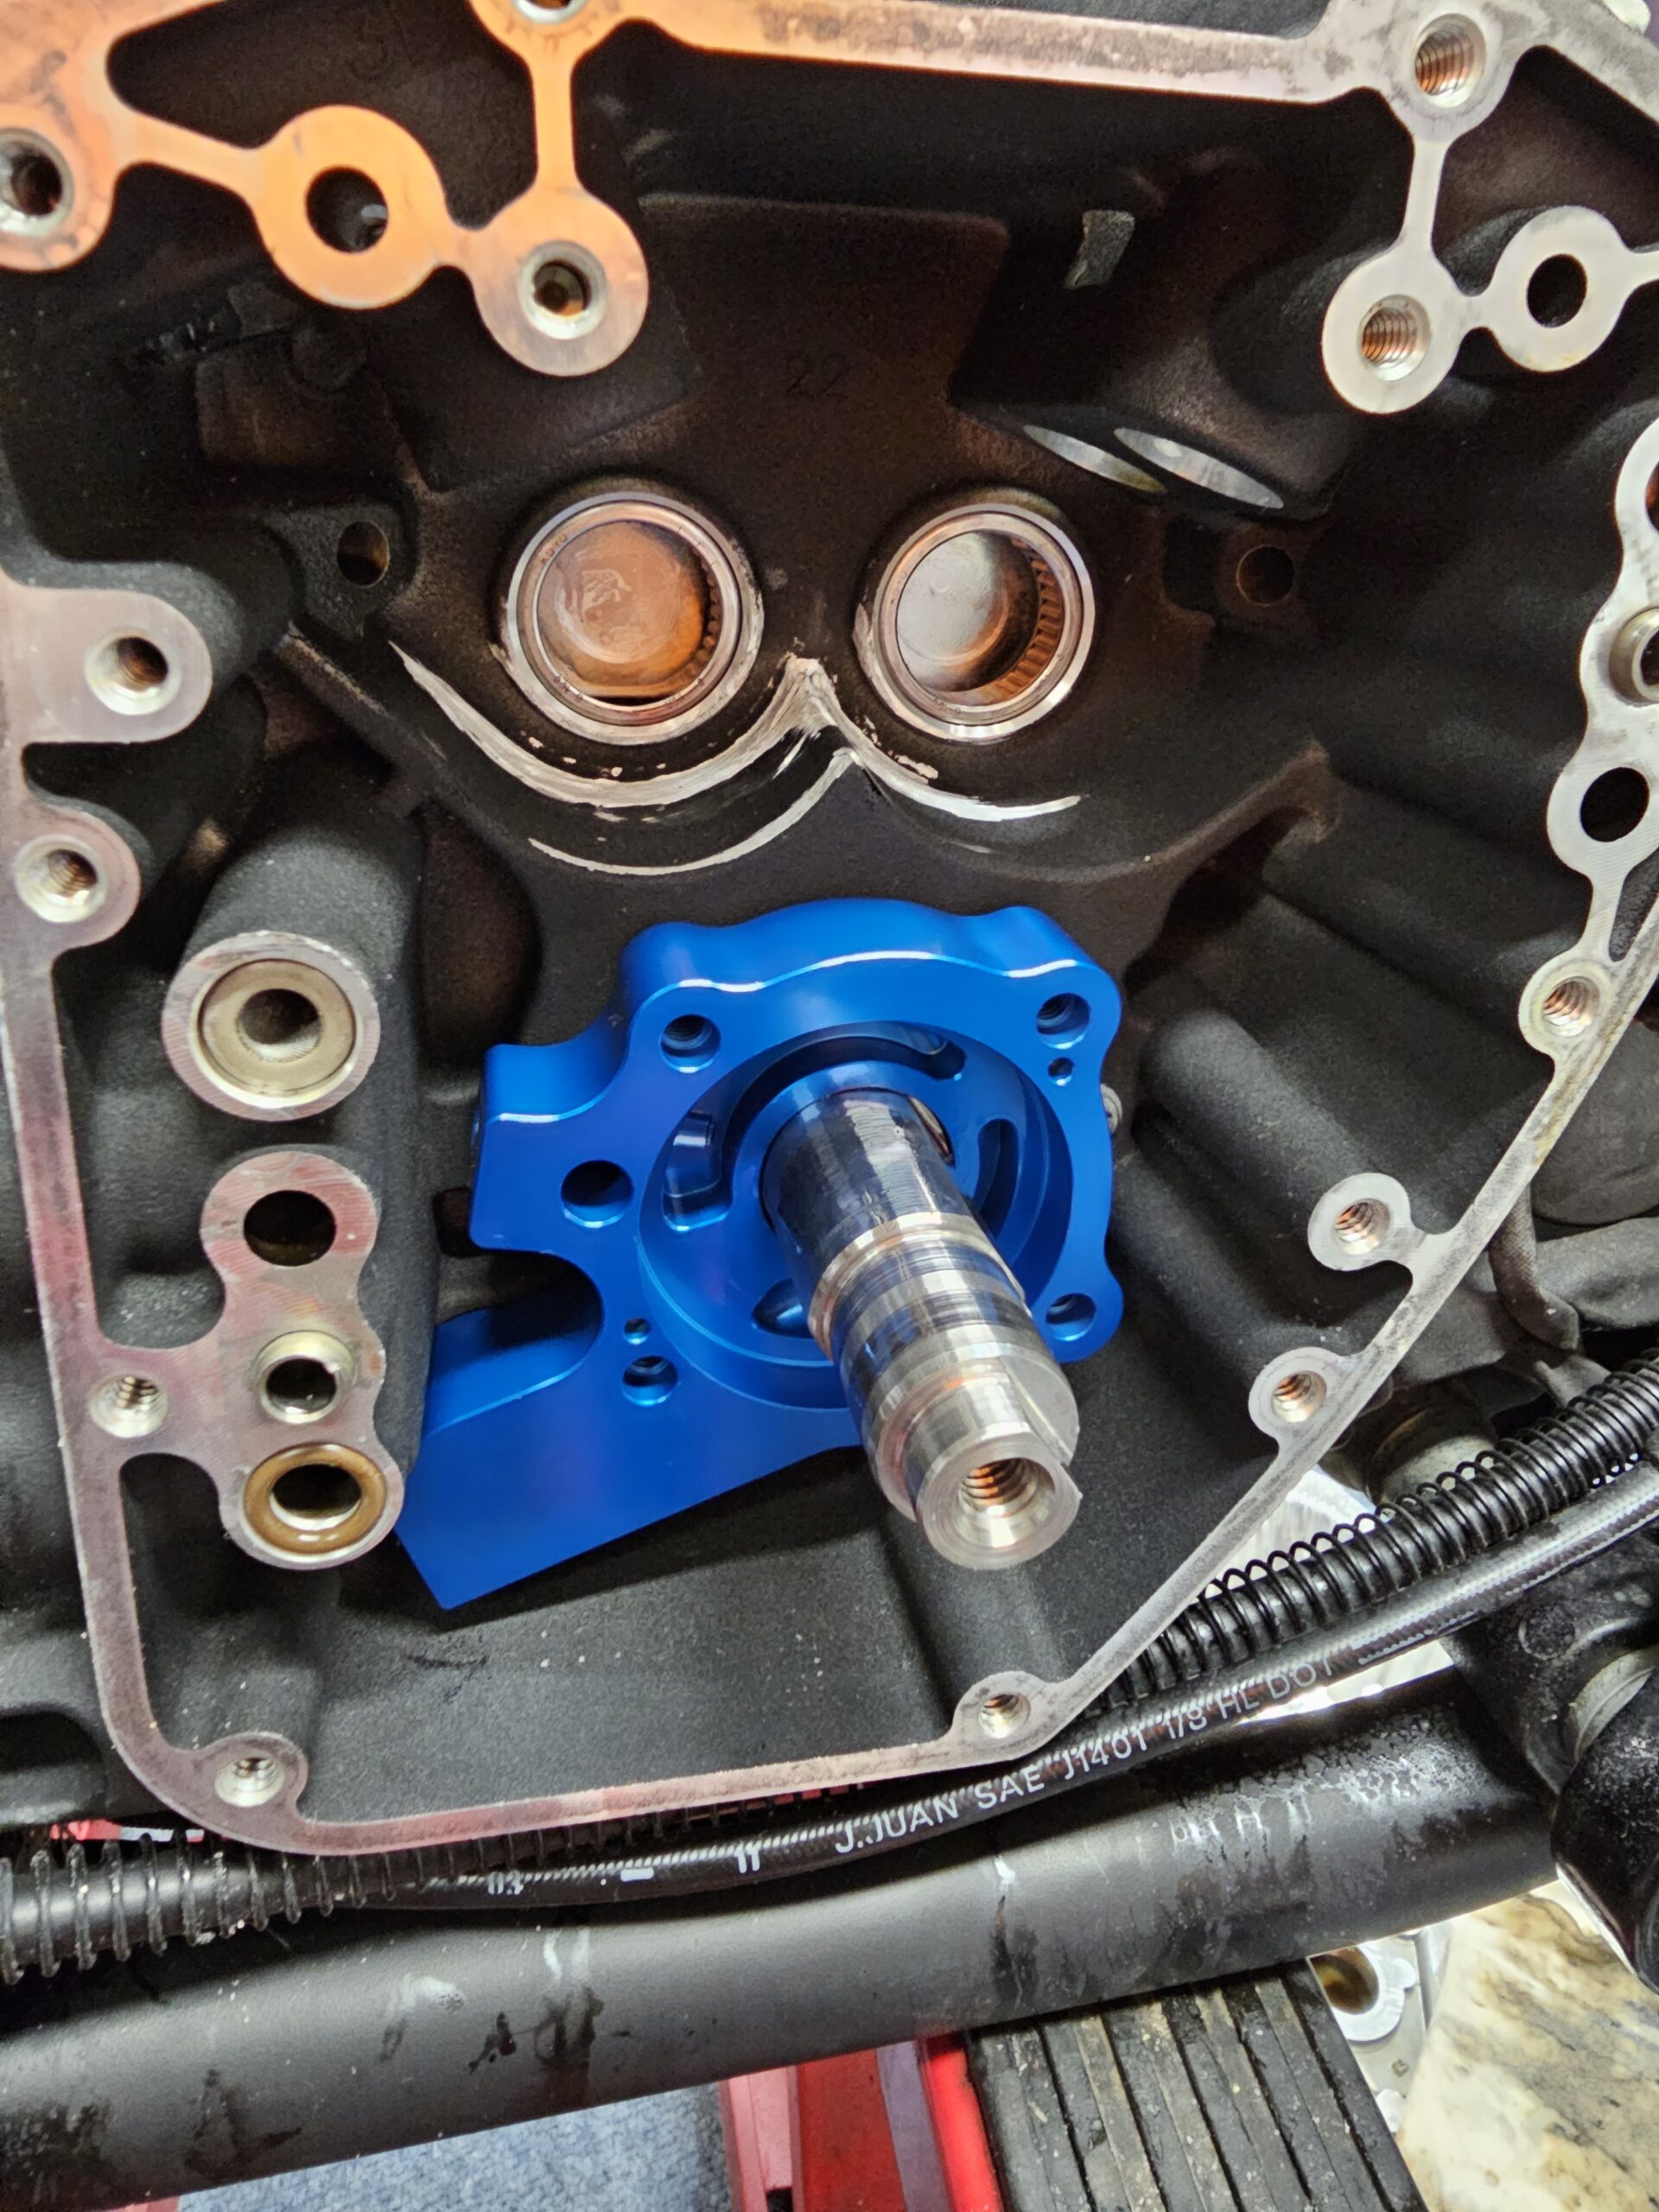
Oil pump base fully seated into the case.
A common mistake when installing these oil pumps is not fully seating the pump body into the oil return passage. Following the directions from S&S, I installed the (well oiled) O-rings into the case, then firmly pushed the pump body into the engine case until it was fully seated. After ensuring it was fully seated, it was simply just following the directions, piece by piece, layer by layer using plenty of the included assembly lube. Once all the pieces were installed, I used a straight edge across the engine case to double check that the pump was fully seated into the case
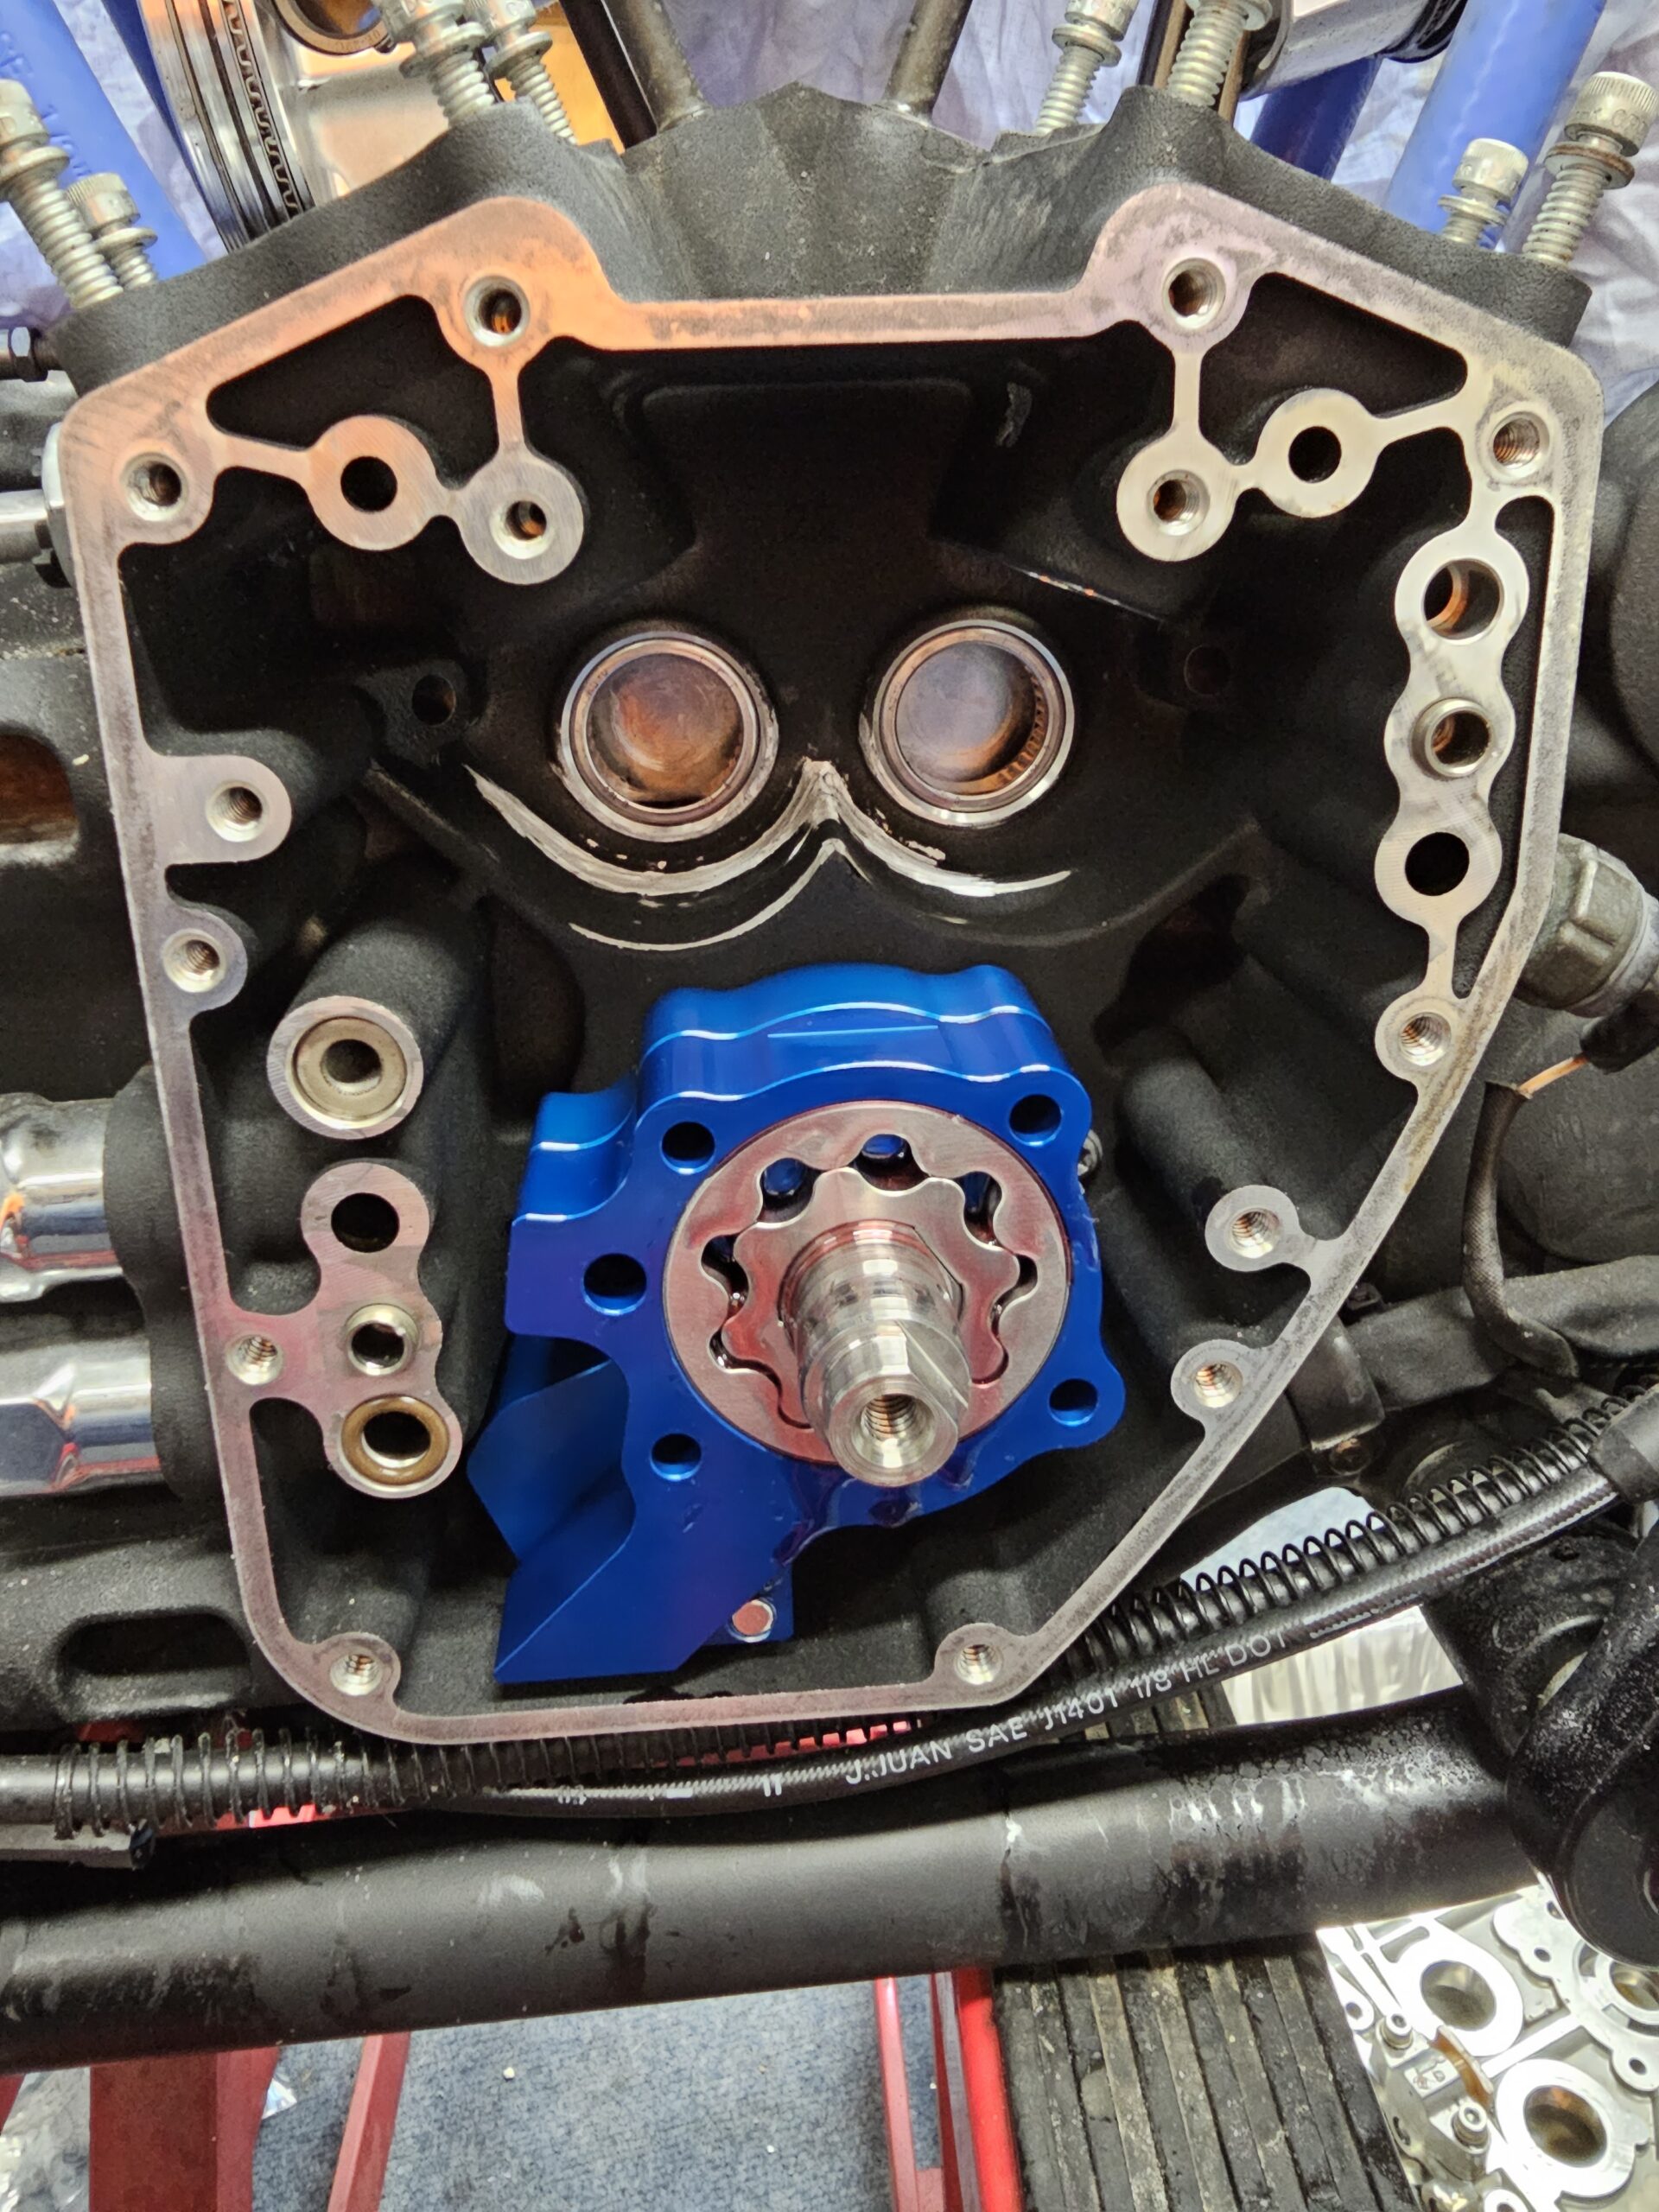
Complete oil pump ready for the cam plate.
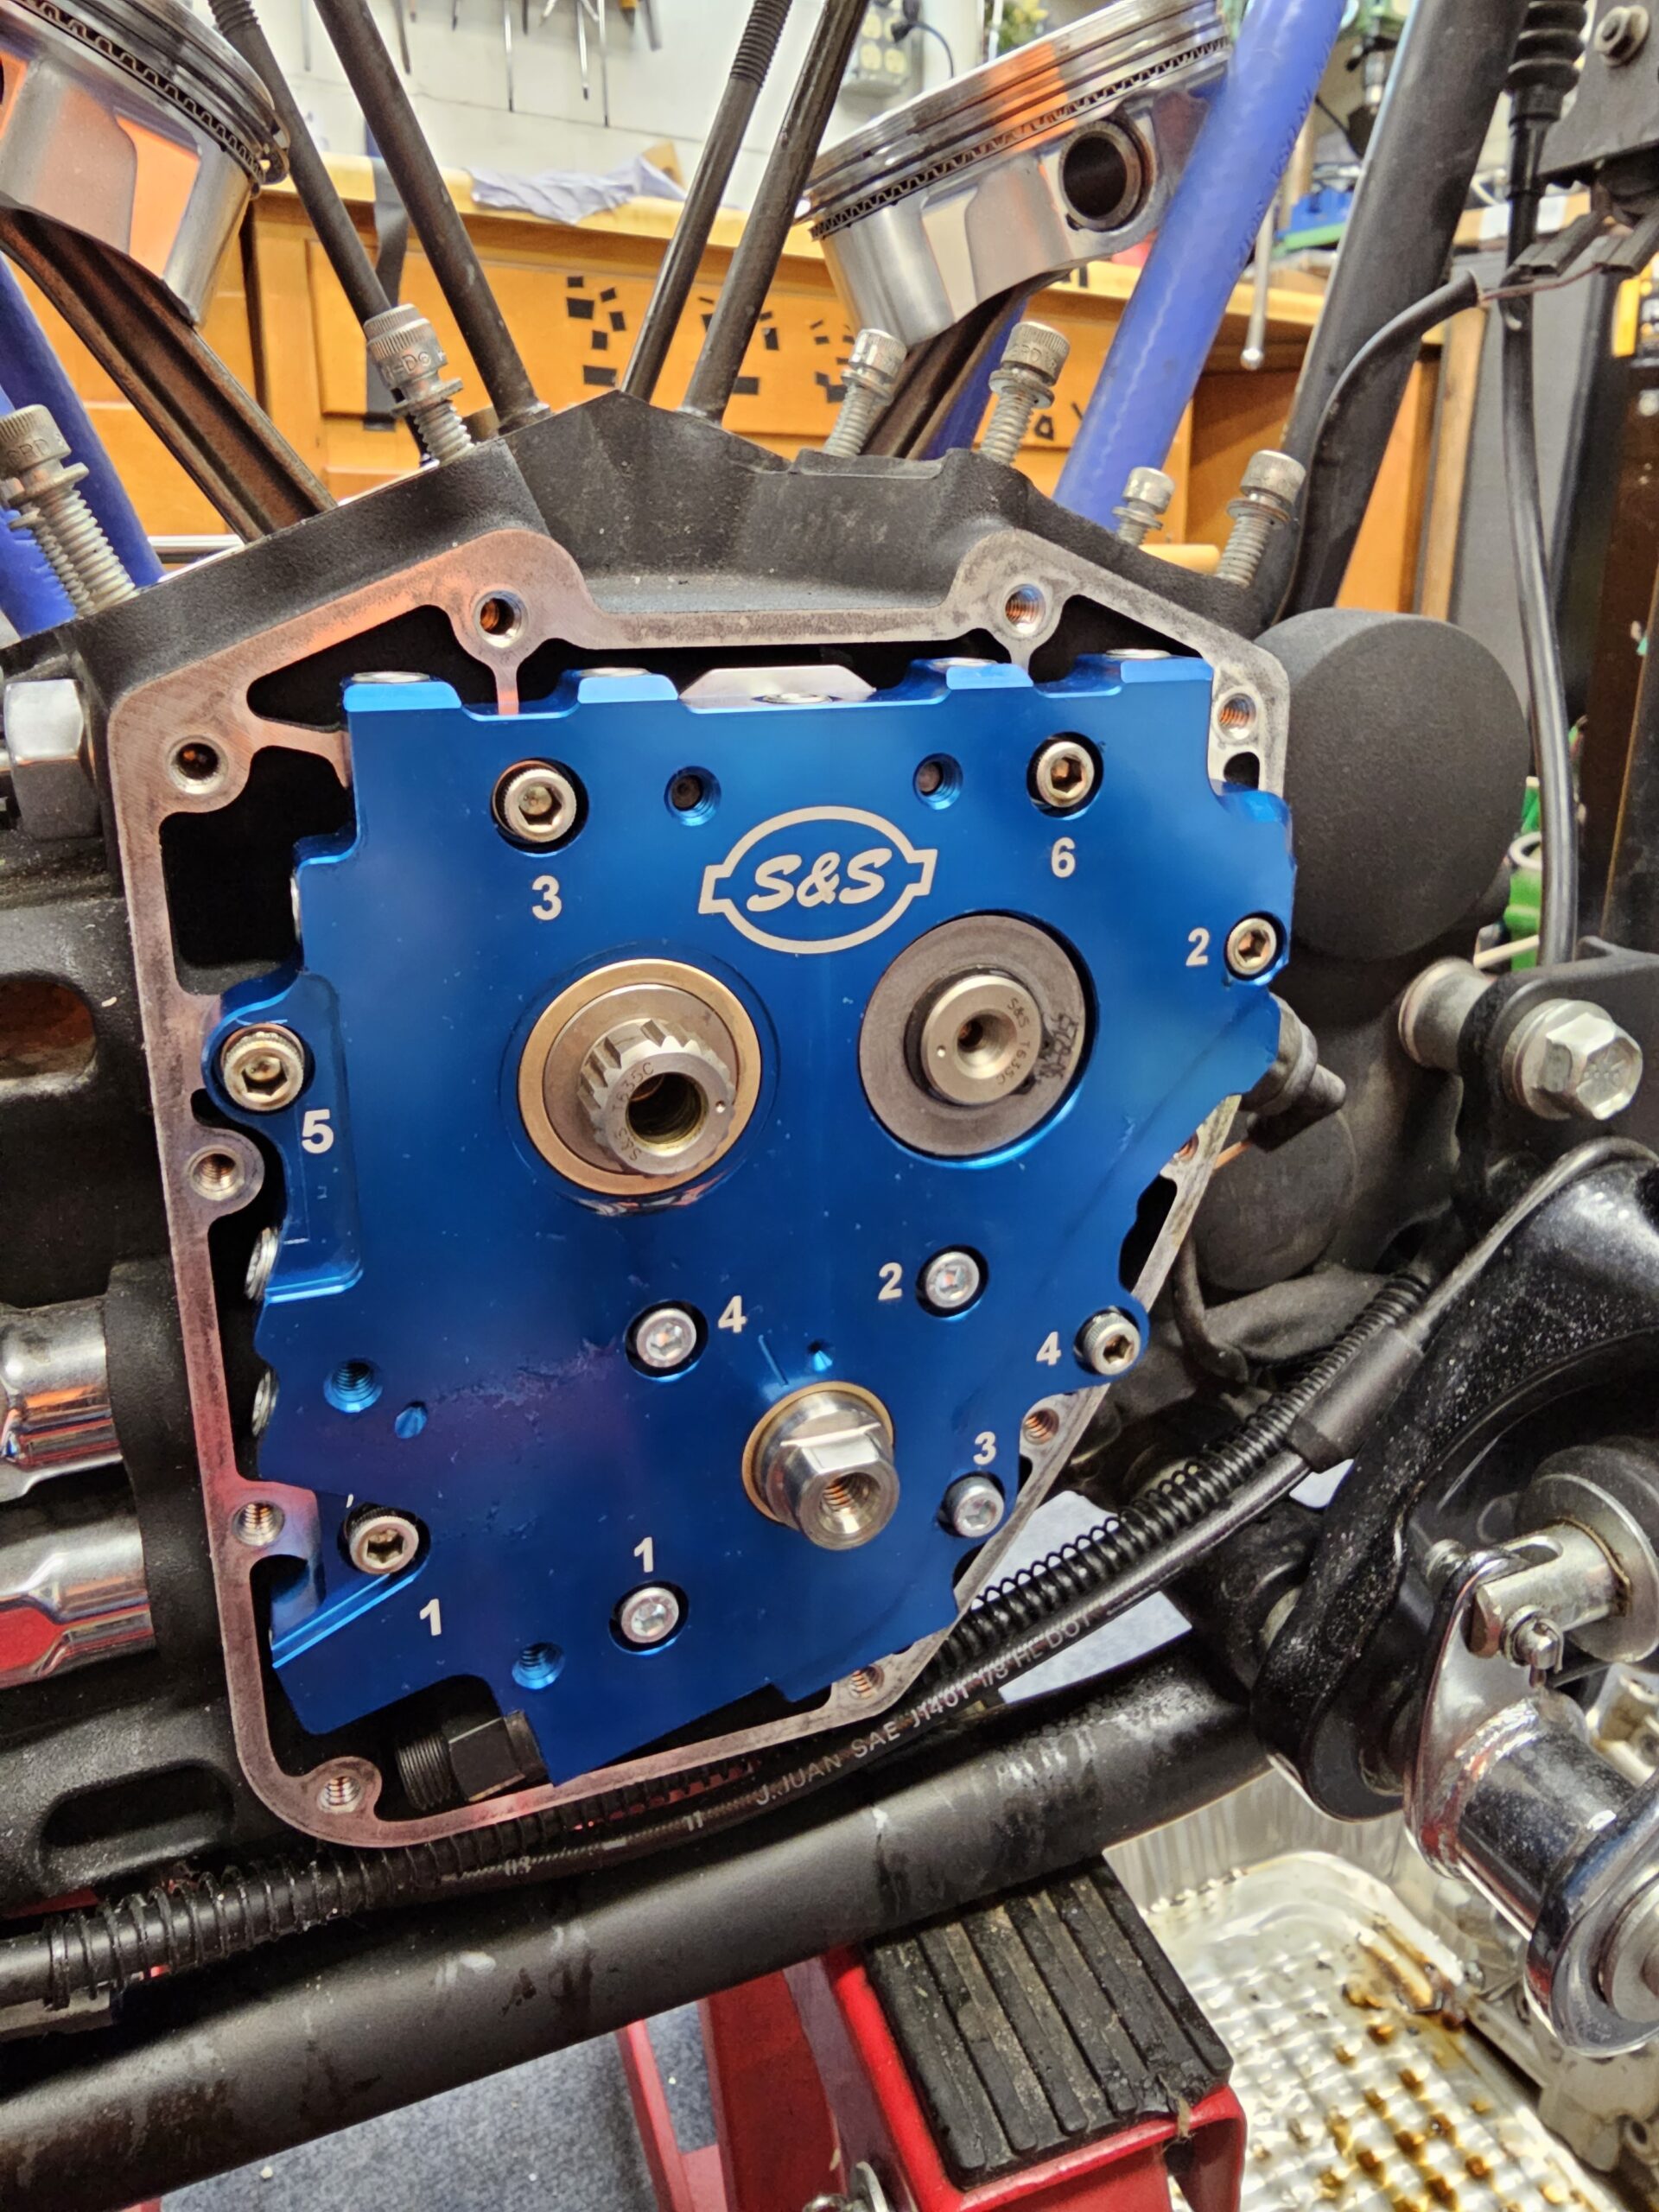
Now that my knees were sore from sitting so low to the ground while doing the pump, I moved to the bench to install the cams into the S&S TC3 Cam Support Plate. Again, this too went smoothly. Lining the cams up with the chain on them, I dropped them into the plate using a plethora (3 Amigos…anyone? No? Ok…) of assembly lube on the wear surfaces. I coated the chain, and installed the S&S Hydraulic Cam Chain Tensioner on the back of the plate according to the instructions. Now that the pain in my knees had subsided (might be time borrow a taller jack for the bike,) I took the plate over to the bike and began installing it, as per the instructions. It’s a pretty straight forward install, and the directions break it down quite simply. Just don’t skip any steps, make all the proper checks and measurements, and there shouldn’t be any issues. Again, tons of how too videos available online and the instructions do a fantastic job of walking you through it.
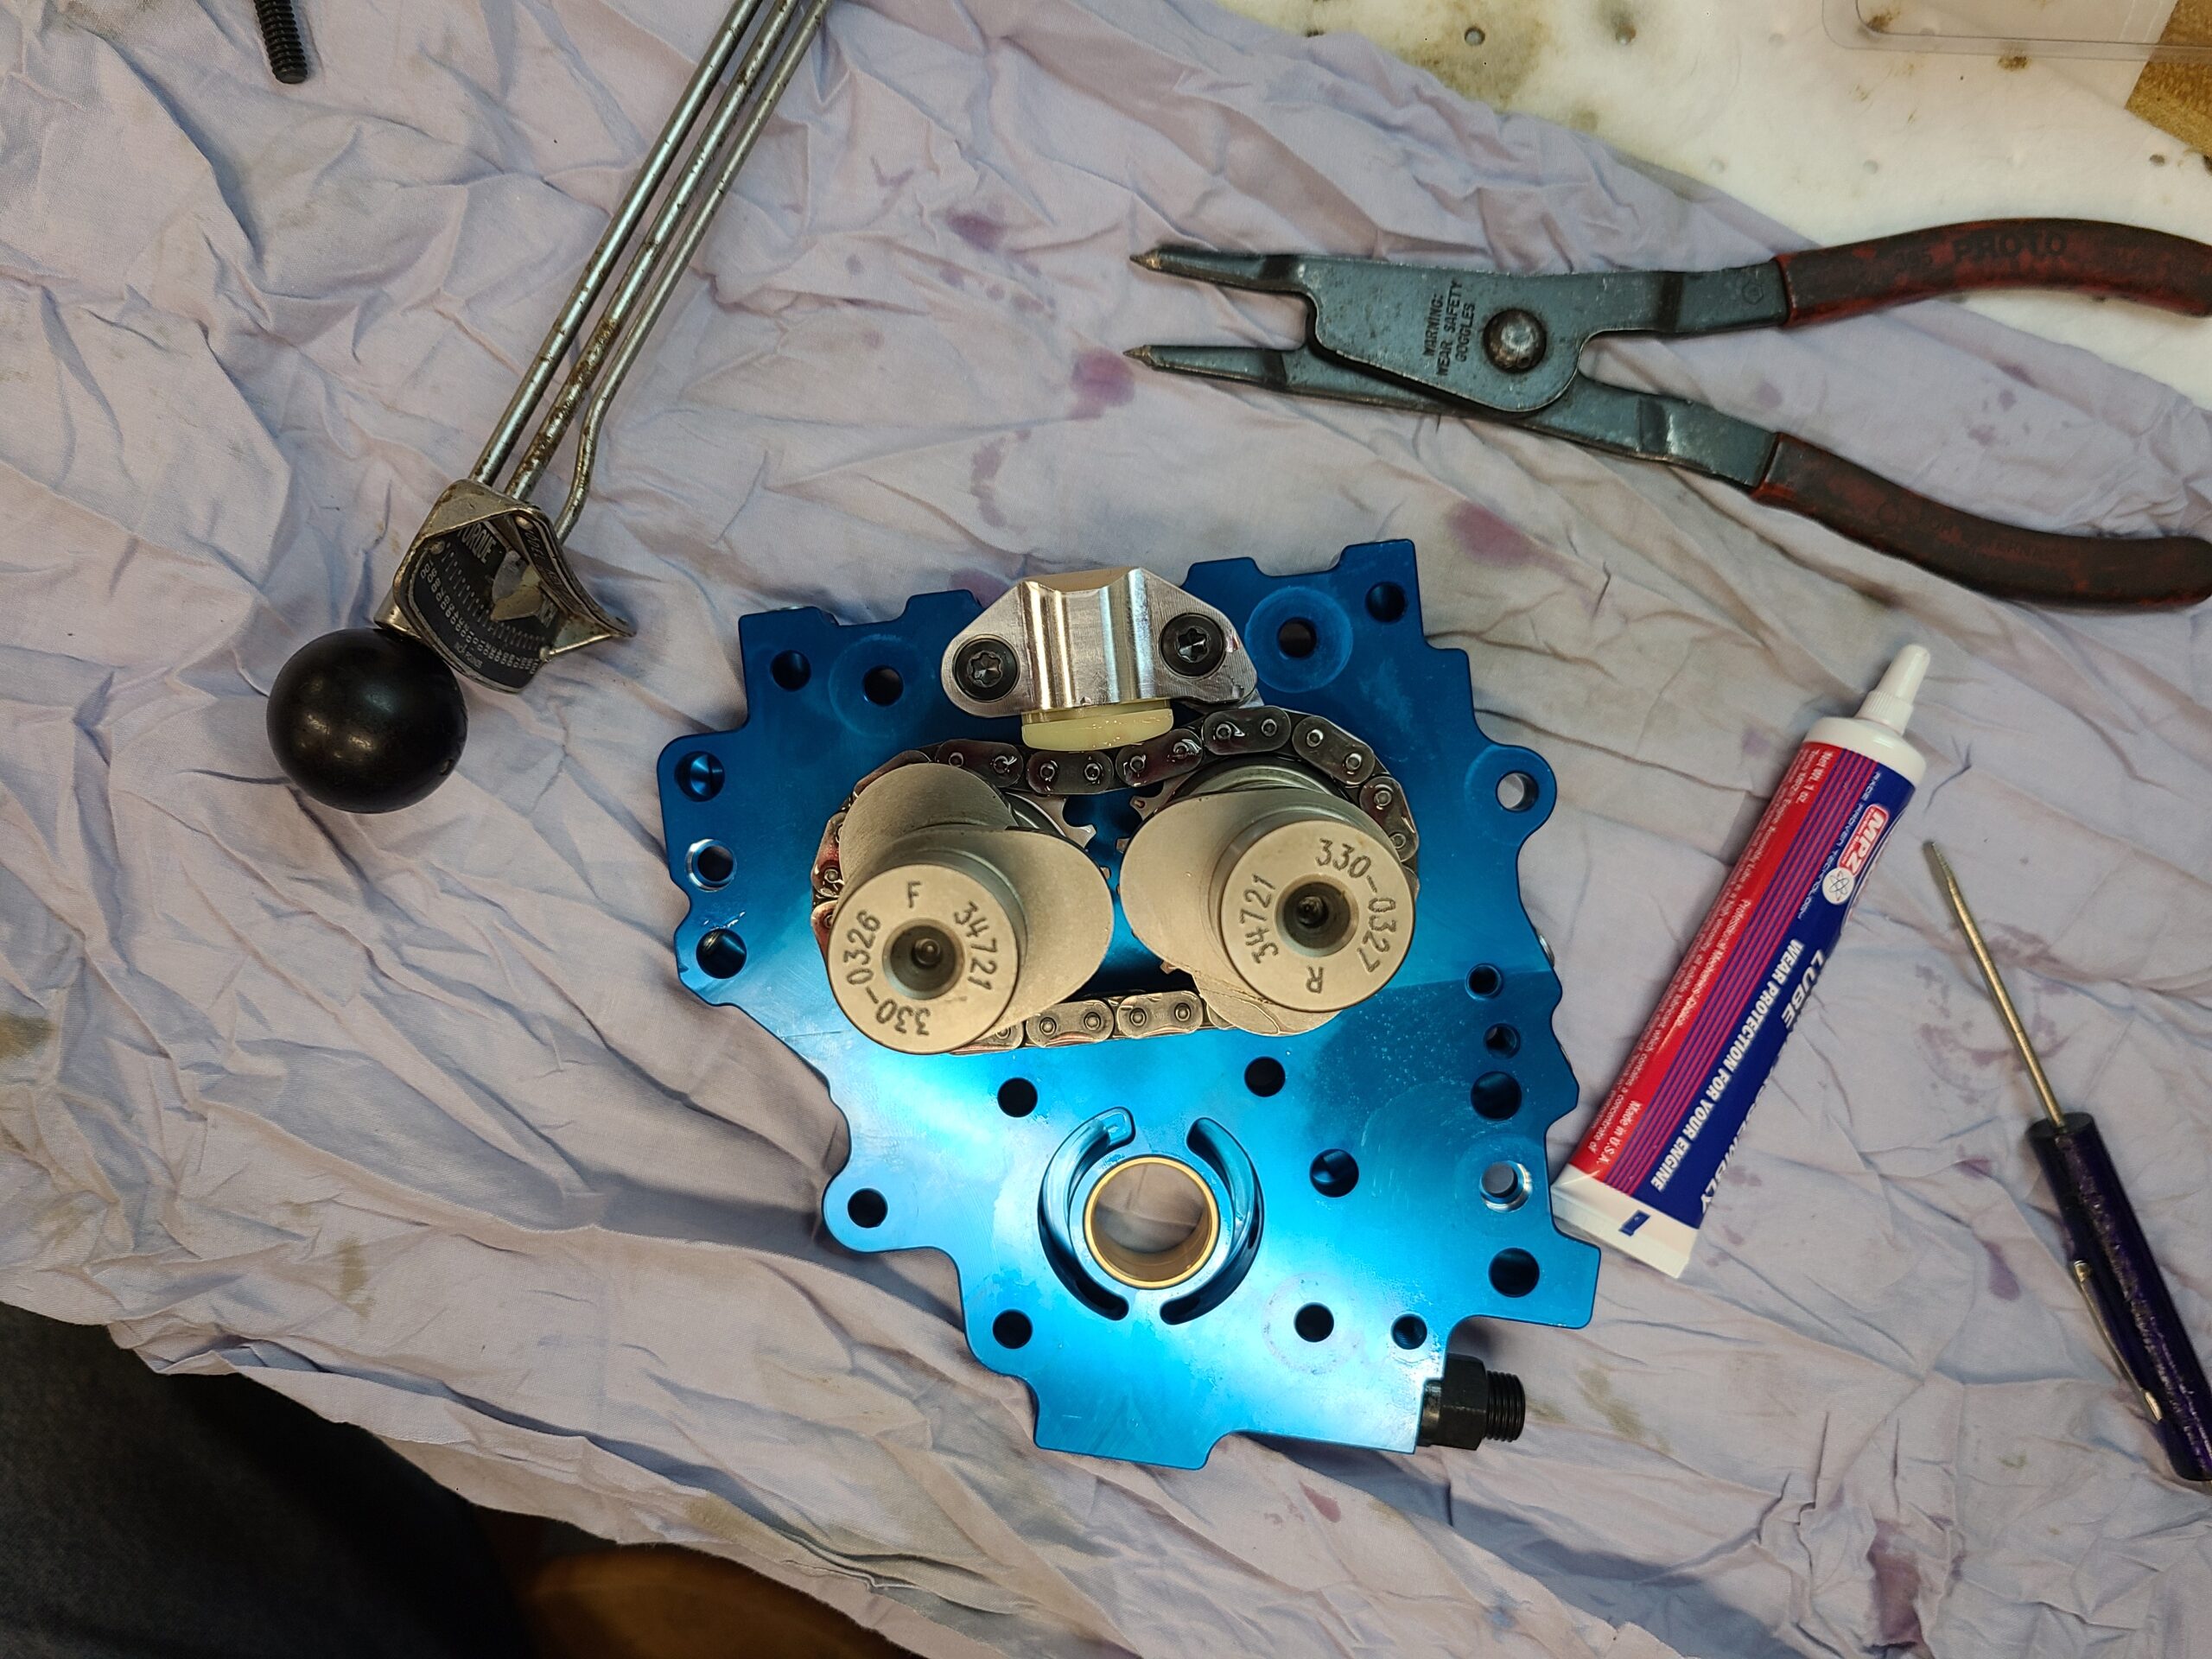
Cams and Hydraulic Tensioner Installed on the back of the plate.
The plate itself is a thing of beauty. Thoughtfully designed and well executed. It exudes the same feeling of precision as the JIMS tools. Everything from the accurate machining to the brilliant blue anodizing is spot on. A perfectly flat, CNC-machined chunk of billet aluminum that is responsible for making sure the oil goes where it needs to be. It’s a shame it gets covered up and hidden inside the motor; good thing I have pictures to admire it. The cam plate also has an adjustable oil pressure relief, which is set at the factory to 40psi. Not being one to mess with more stuff that doesn’t need messed with, I left it as it was, trusting the much smarter people at S&S.
With high lift cams, heavier valve springs, and higher engine speeds, the need to upgrade the arguably inferior MoCo lifters is one that needs addressed. Luckily S&S has us covered with their line of Precision Tappets aka Lifters. They are designed to move oil faster through the body and the tubes to get oil to the top of motor while also being sealed tight enough to not leak down or collapse at high RPM. Plus, having more needle bearings in the roller to support the stress of heavy springs and steep lobe angles of high performance cams will improve the mechanical reliability beyond what the factory ever intended. They essentially drop in like the factory ones without any mods at all. If you look closely at the body, the oil inlet is on one side of the lifter. It made sense to me to have the opening pointing towards the hole in the case, where the engine oil enters the lifter bore. Does it matter? I’m not sure, but I slept better that night.
Using the Cometic gaskets I got the bottom end sealed up. The kit that I got includes way more seals, gaskets and O-rings than I would have thought about. While some may not get used, it’s a relief to know I have everything I need. No need to run out just before stores close to find a random O-ring or have to worry about cutting a gasket out of a sheet of gasket stock. The quality and fitment of everything in this kit is without a doubt one of the highest quality and most complete kits I have seen. Luckily I had the entire gasket kit, as while I was test fitting everything I managed to tear a gasket for the cam chest. I ended up using the one in the Cometic kit after damaging the one S&S had included.

This is only the first part of this engine build and while it has gone well, in the background everything else was catching fire. I soon learned a lesson: when the machine shop calls and it’s not the nice office lady asking for a credit card number, either the bill is gonna go up, something is out of spec, or some other major defect has been found. This left me learning new techniques, more tech calls, and nervous laughter thinking, “Why the hell not…”
But this where the fun is; seeing the problems and figuring out how to get past them. A small feeling of accomplishment with each solution is satisfying but at the same time stress inducing. As each hurdle is cleared, the small fires put out, it dawns on you that the weather is warming up, and the is engine no closer to being built. As of this writing the top end is bare, pistons are back in a box ready to ship out, and yet more parts are showing up that are dependent on other parts. The parts bills keep racking up and boxes are being delivered, but I’m still no closer to completing the motor before the season kicks off. I keep squinting, looking for the finish line, but instead I hear the intoxicating sound in my head as I fall asleep…”po-ta-to, po-ta-to, po-ta-to….”


More Stories
THE FOLDS OF HONOR RE-MANUFACTURED MOTORCYCLE BY JOHNNY MAC’S CHOPPER HOUSE
BLUE COLLAR BLACKLINE, THE END IS NEAR
THE “POPEYE BUILD, BY JOHNNY MAC’S CHOPPER HOUSE IN PHILLY.