

While I was shipping out engine parts and waiting for others to come back, I needed something to do to keep me from going stir crazy. Walking past the bike in the garage, in pieces all winter was taunting me… So I ordered up a few odds and ends to help round out some aesthetics and safety.
The lighting from the rear was just “there”, legal, and usually functional, but I wanted something more. The cheap import lights I had wired up the year prior, worked (most of the time), but lacked that elegance and custom look I wanted, not to mention the attention-grabbing brightness I needed after dark. So I started perusing the offerings from Custom Dynamics. Being as I didn’t want something everyone else had, I ended up choosing lights that I thought I could make work and use them to create my own look.
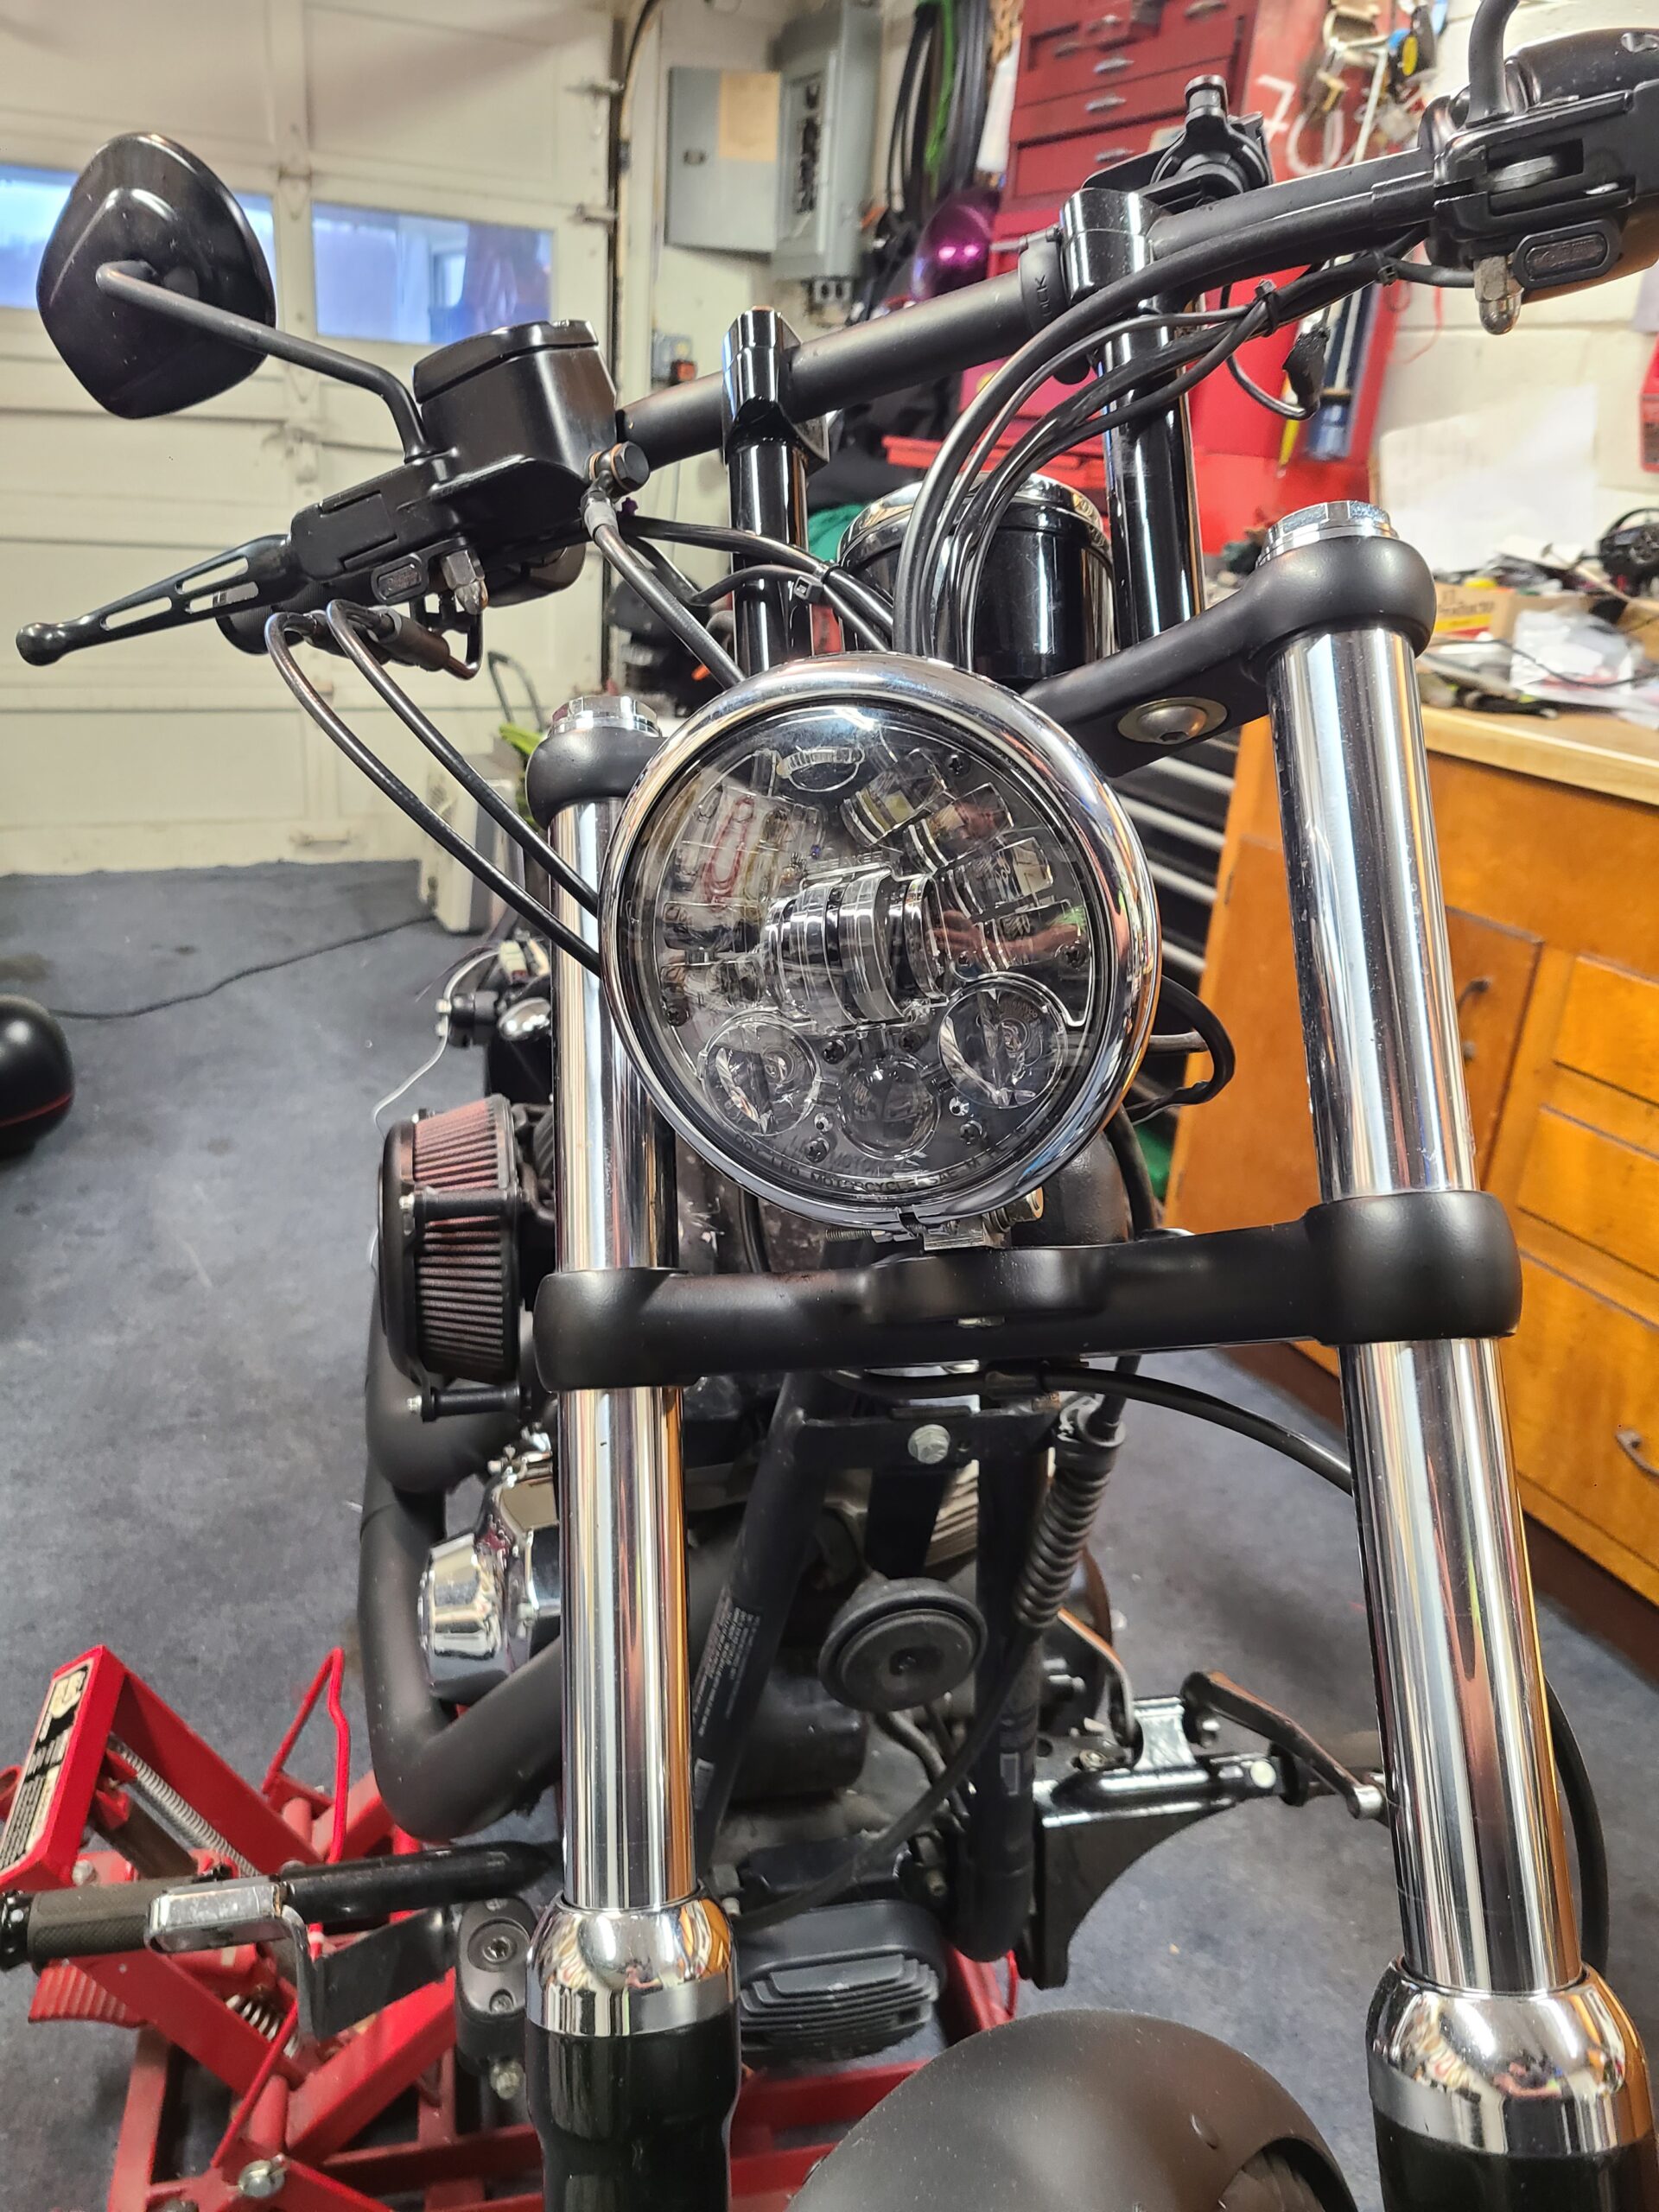
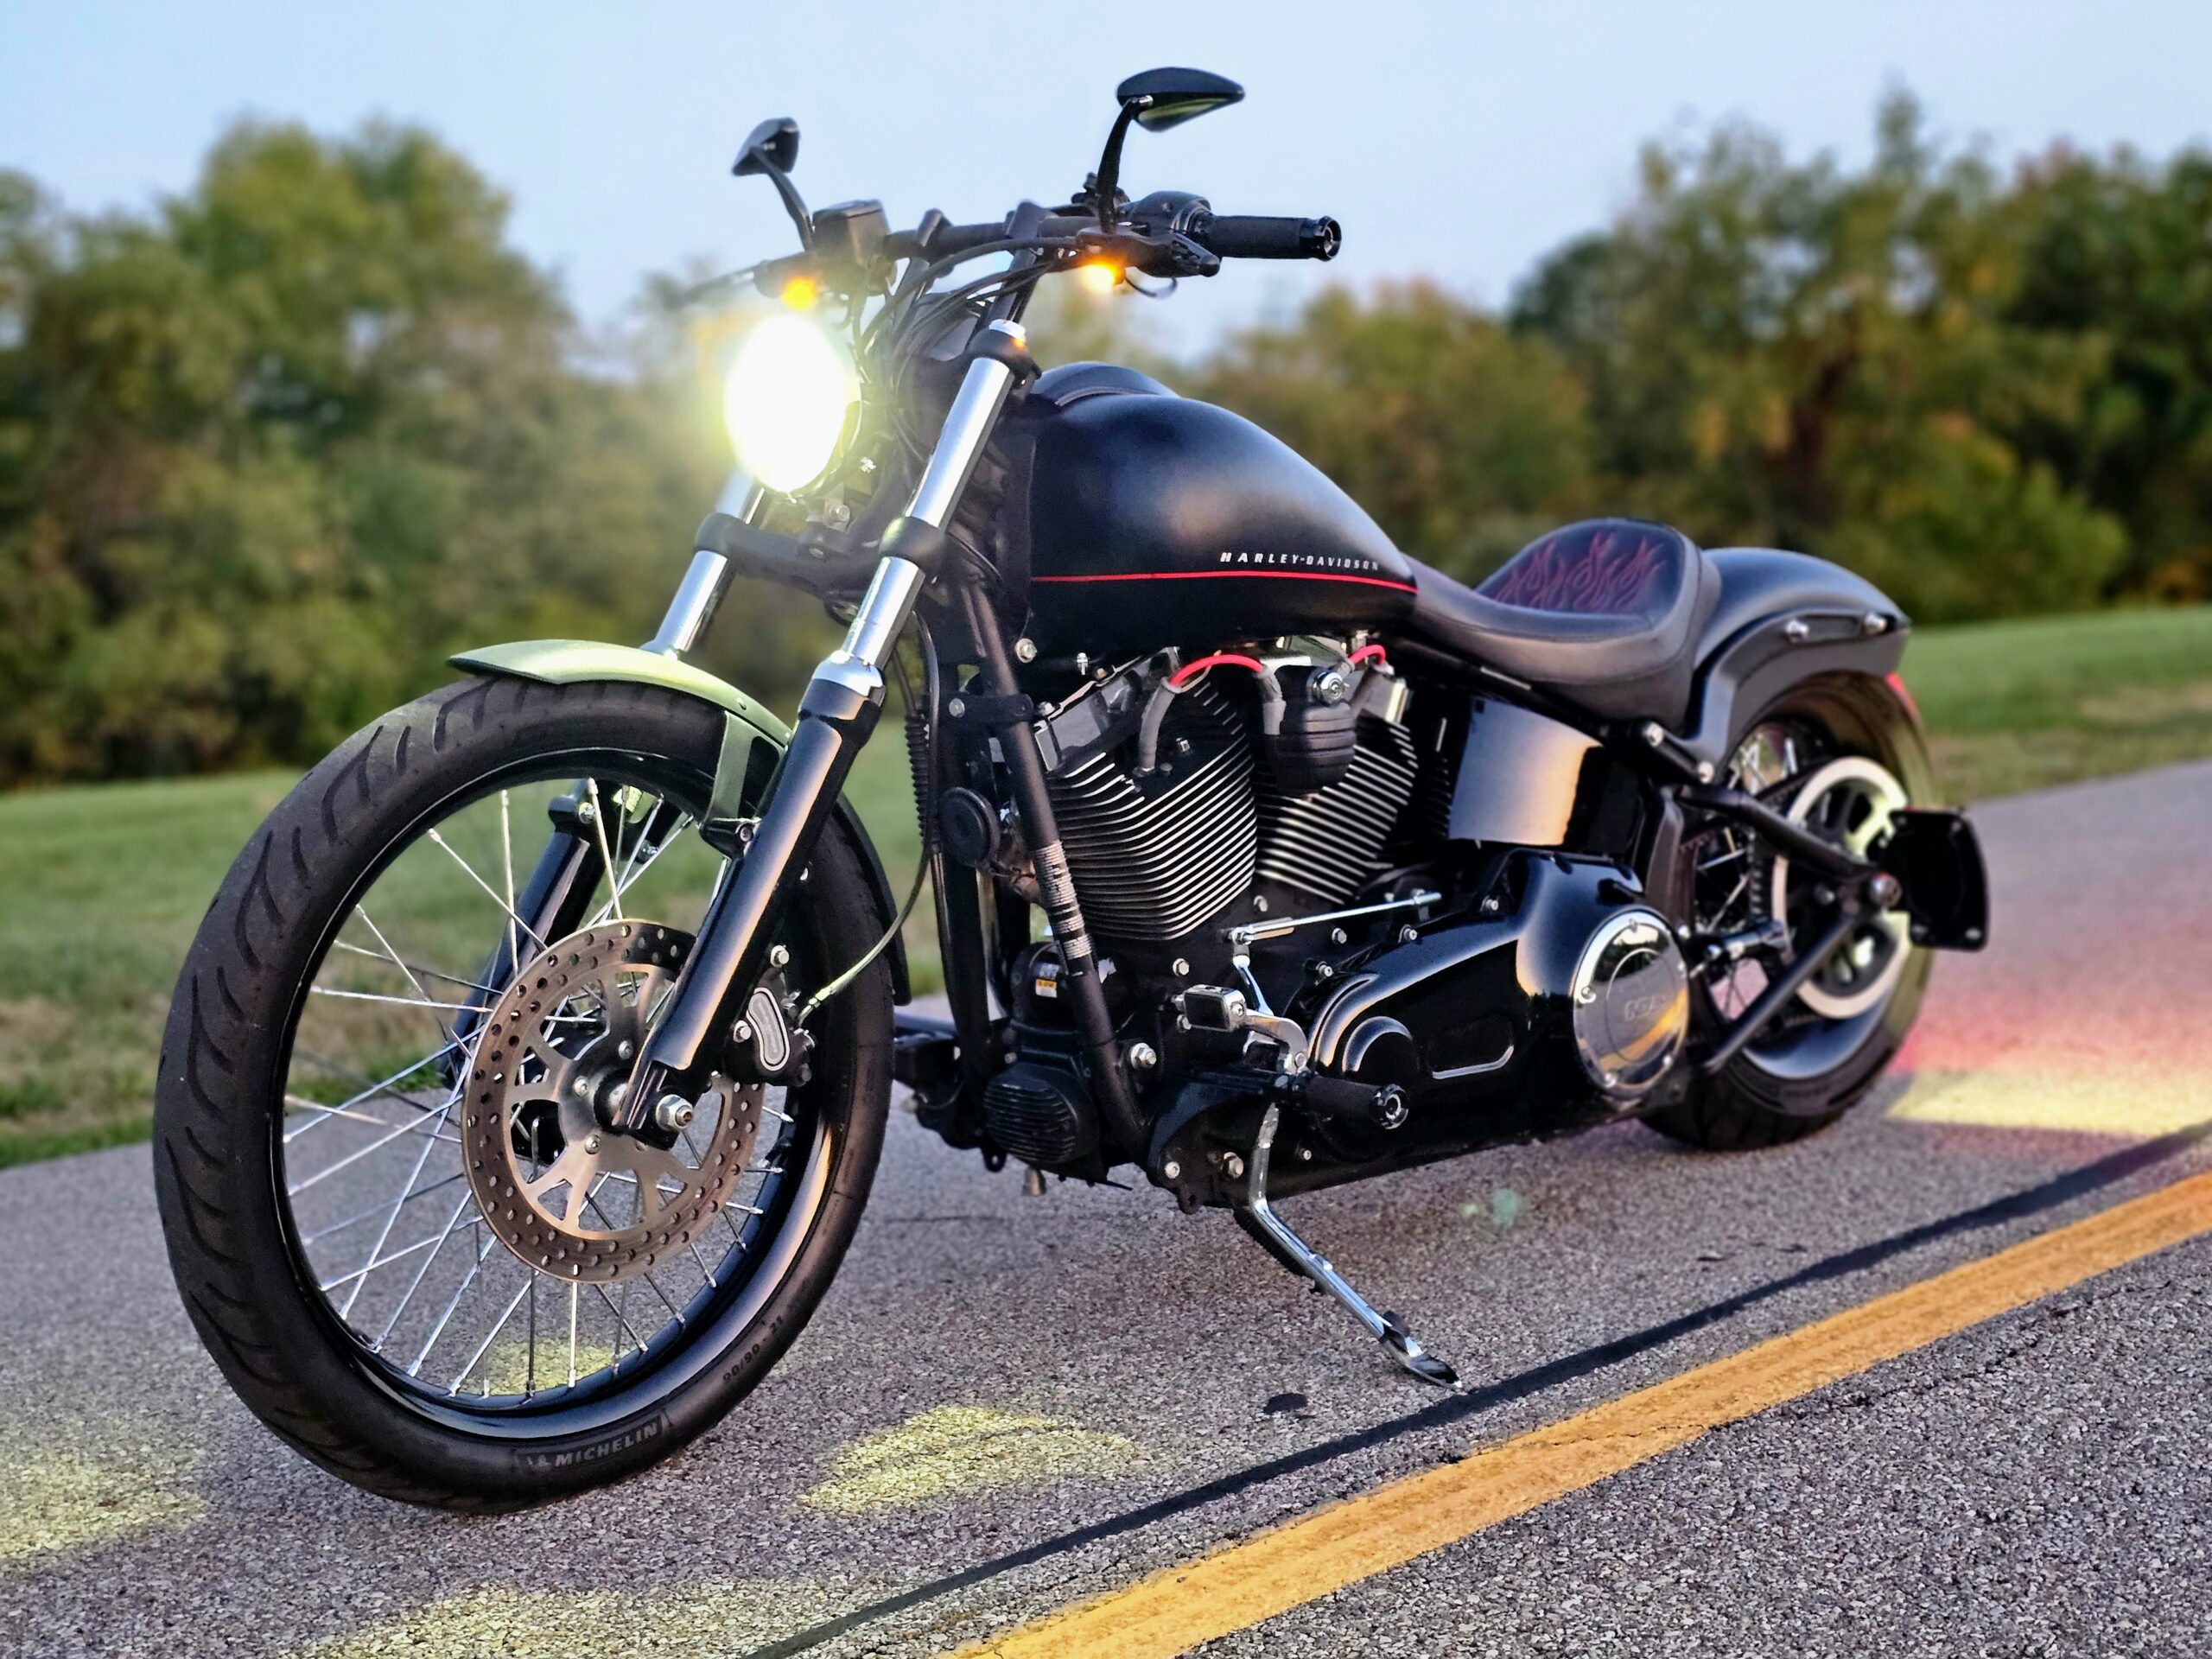
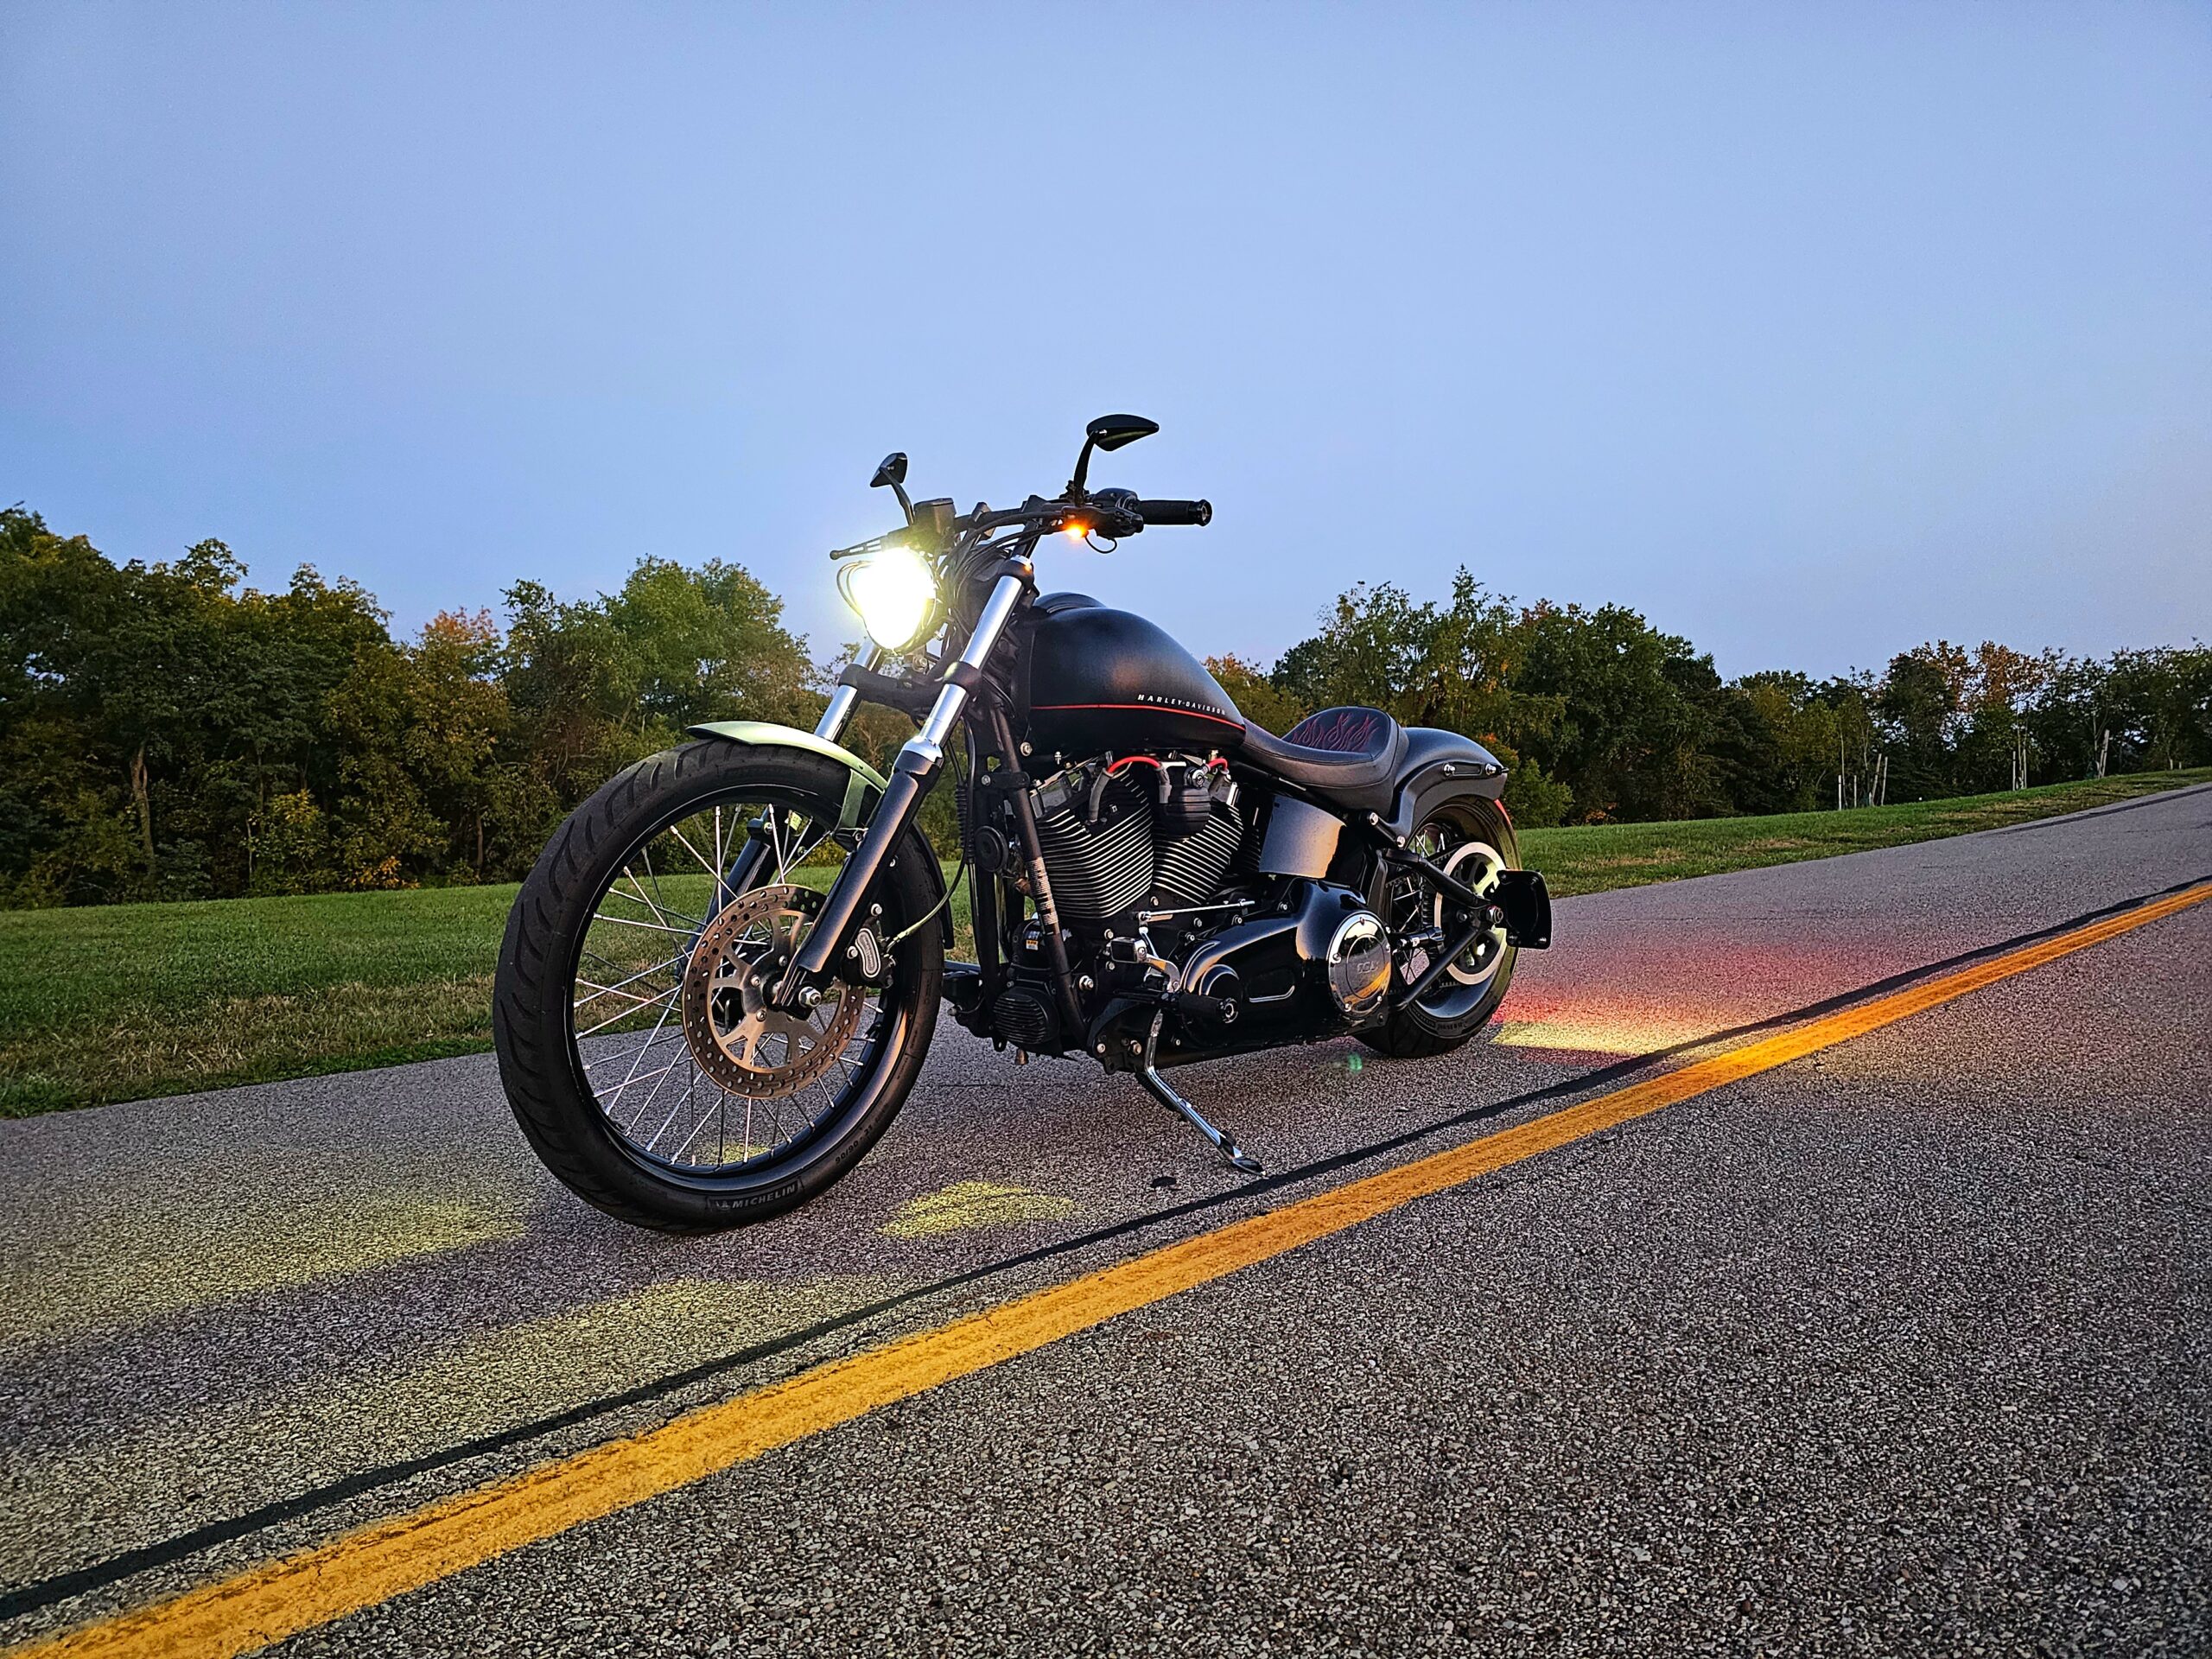
I figured if I couldn’t see at night, then I wouldn’t be riding at night. So upgrading the headlight first seemed like a good idea. With all the critters along dark roads beyond the city and a little past suburbia, more forward facing light would be much appreciated. Beginning the search, I immediately found the ProBeam Adaptive Headlight from Custom Dynamics. The idea of it made so much sense to me I was nearly sold from first sight. The new LED array with proper projectors was already gonna be better than the cheap import ones I threw in when I first got the bike. But when you add in the abilty to adapt the beam pattern as you lean into a turn, it’s a game changer. With this new headlight, I was able to change the look of the bike by going back to the classic look of the single headlight plus have more light shining in the right place. The install went pretty easy into the single headlight bucket I picked up on that auction site.
Riding at road speed along dark unlit roads the ProBeam Headlight throws light far enough ahead to see what’s coming and wide enough to where the pavement meets the grass, gravel and ditches. Flip on the high beam and the pencil shaped beam will pierce through the darkness far enough that, if a pair of eyes turned up, you’d have time to stop and pet the animal in the middle of the road. Lean the bike into a turn and this is where everything changes. As the bike leans, additional LEDs light up to keep the ditch lit through the turn. The difference in the ride because of this ability has made the dark ride home after a 16-hour shift or an early morning call-out much more enjoyable.
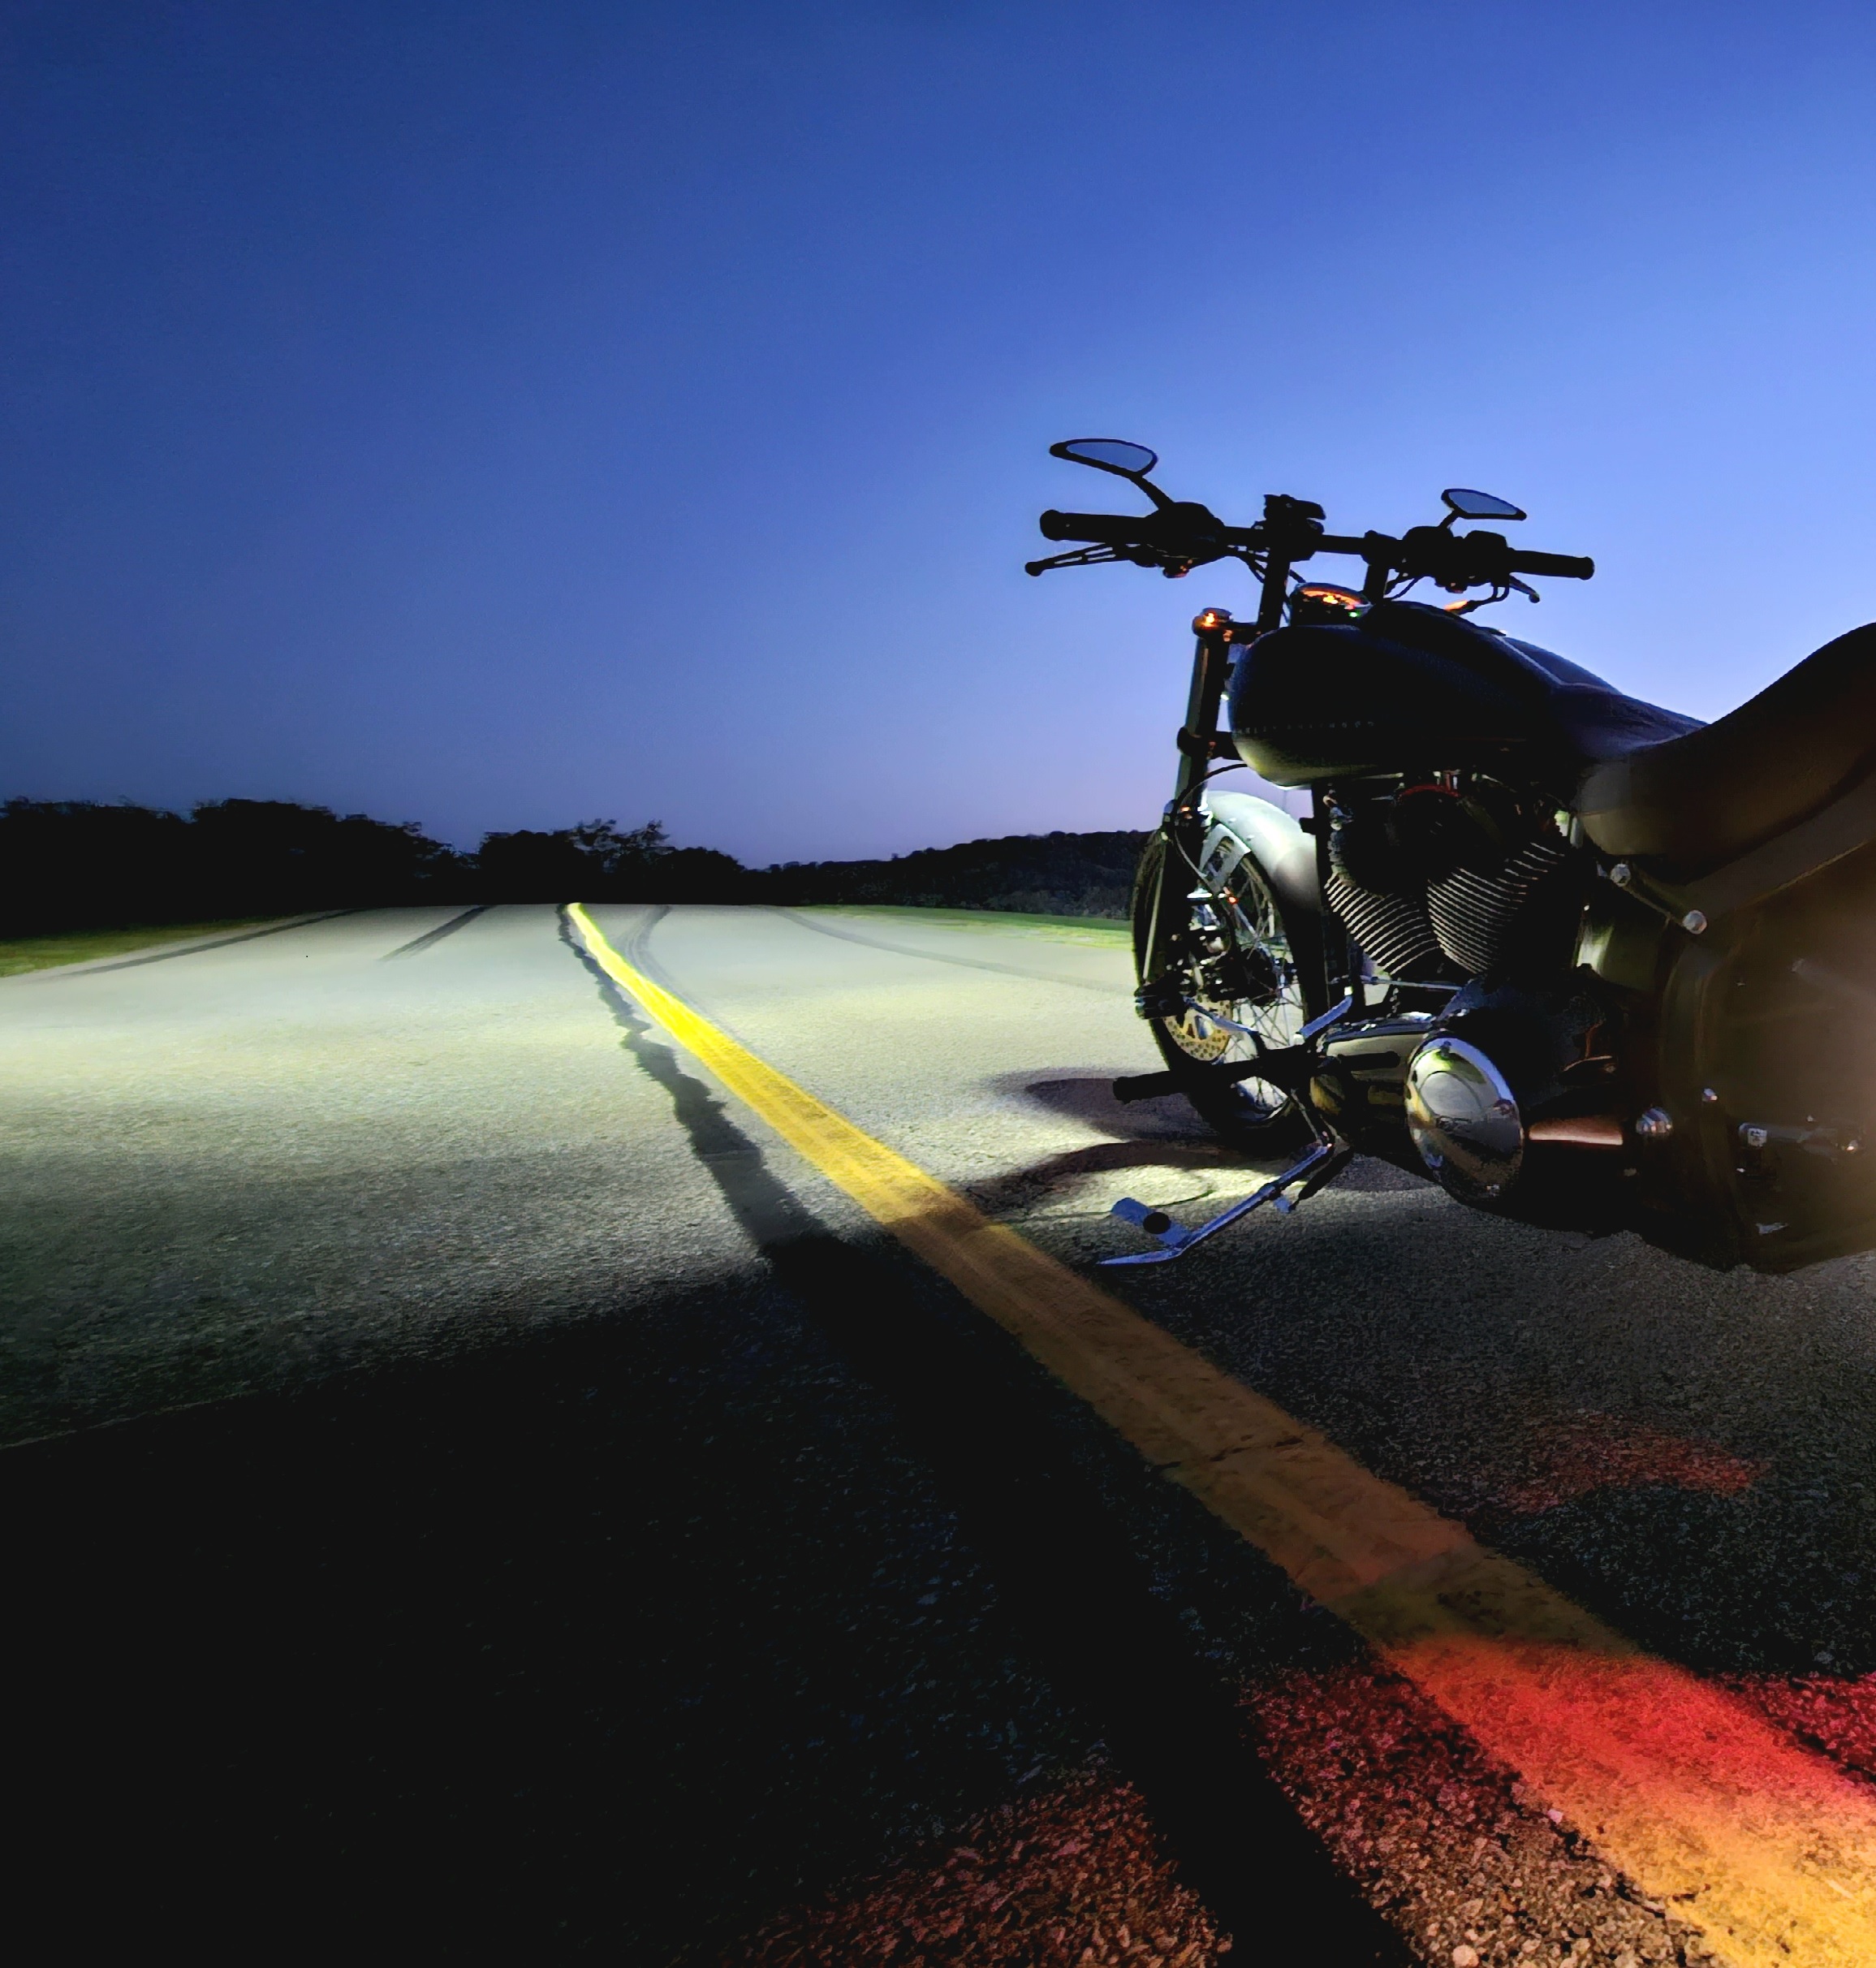
The throw of the light on low beam is both wide enough and far enough to easily light the way without distracting other vehicles.
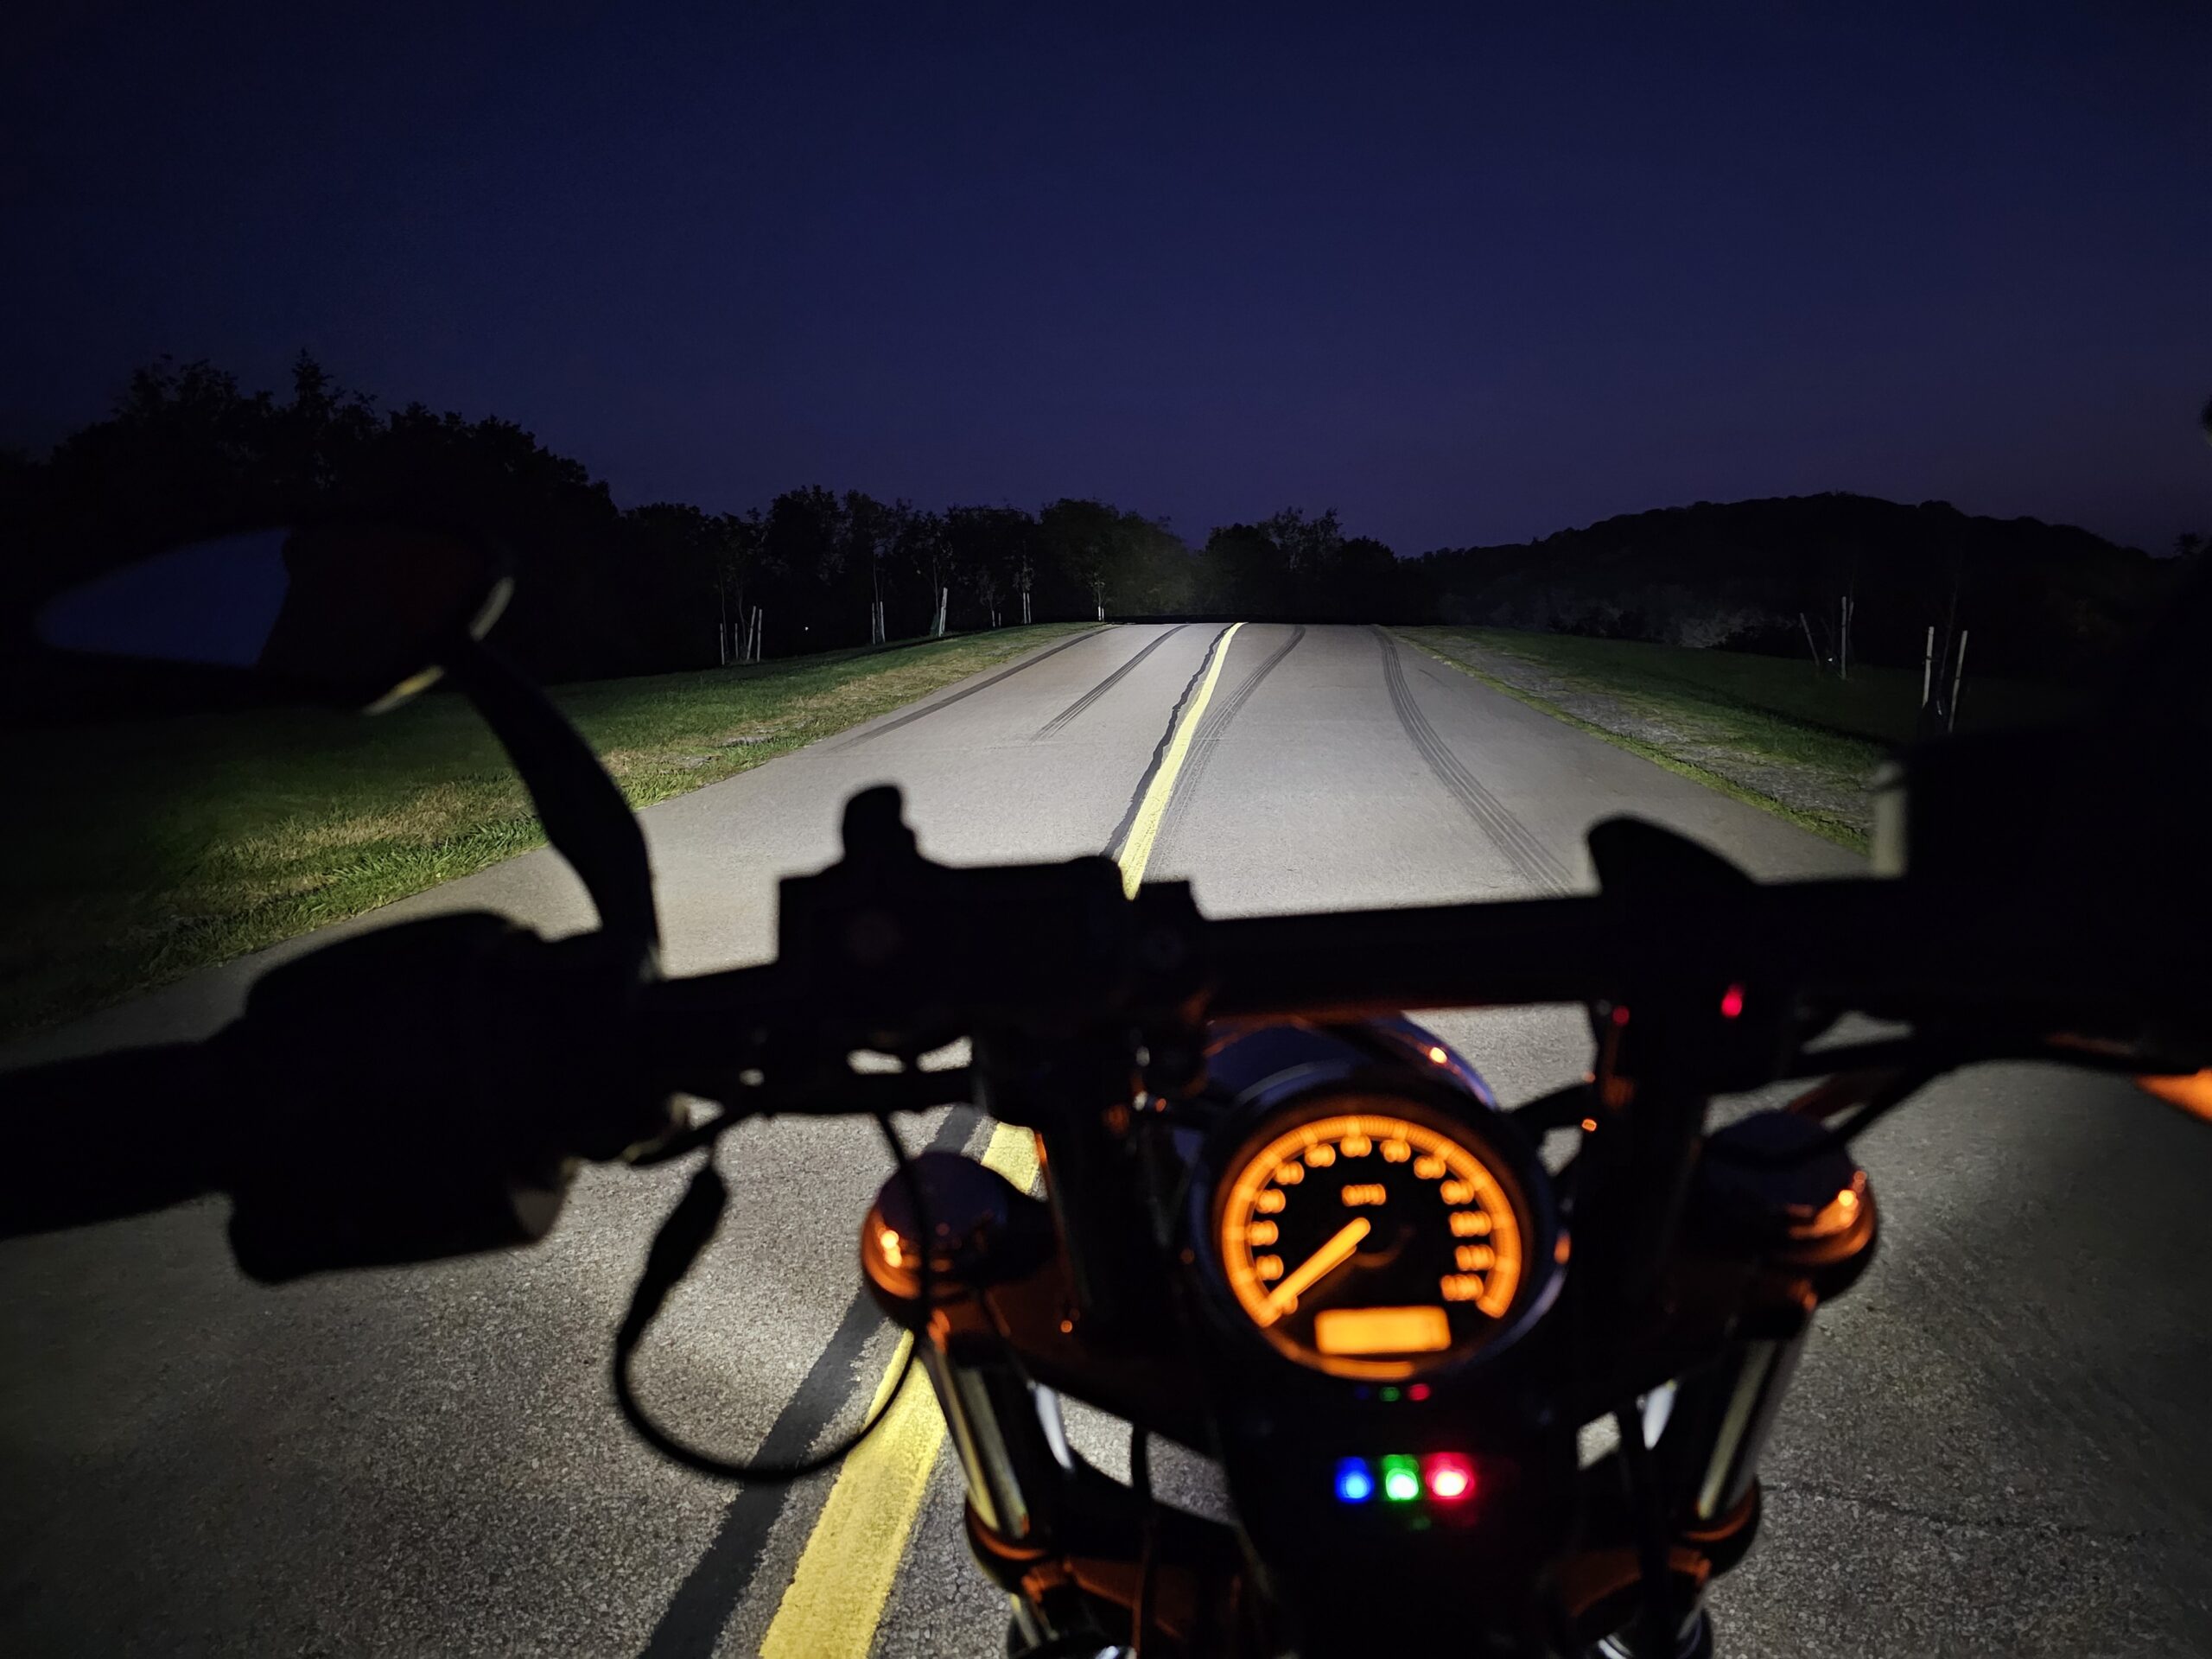
The reach of the high beam is more than enough to light the way on even the darkest roads.
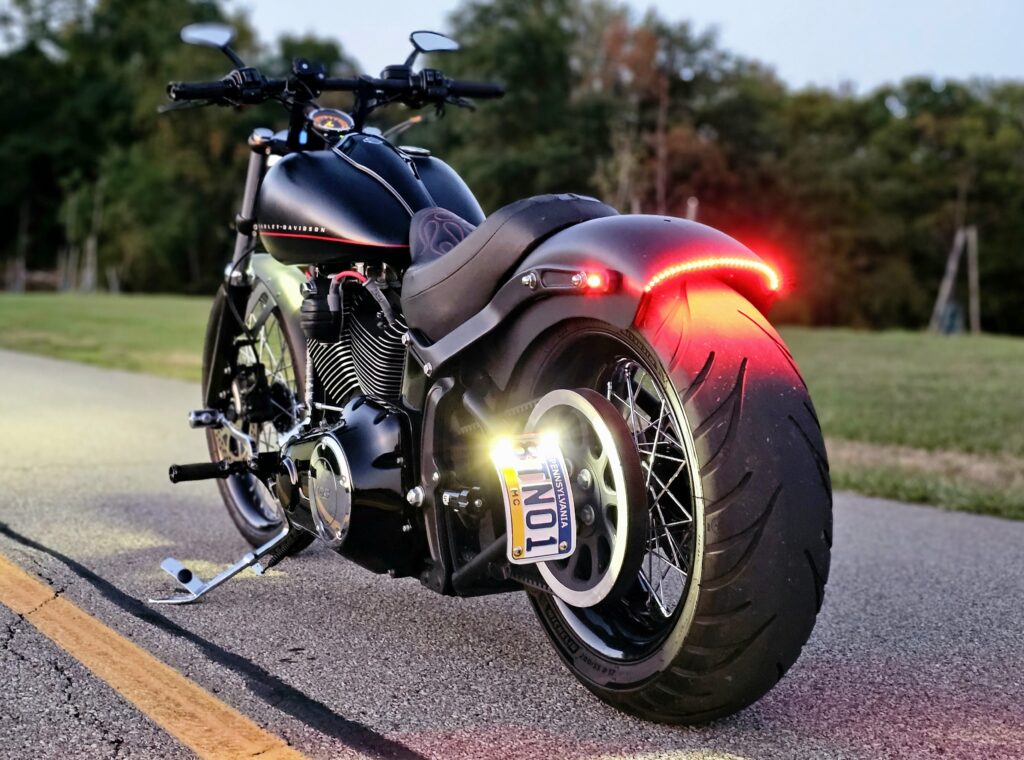
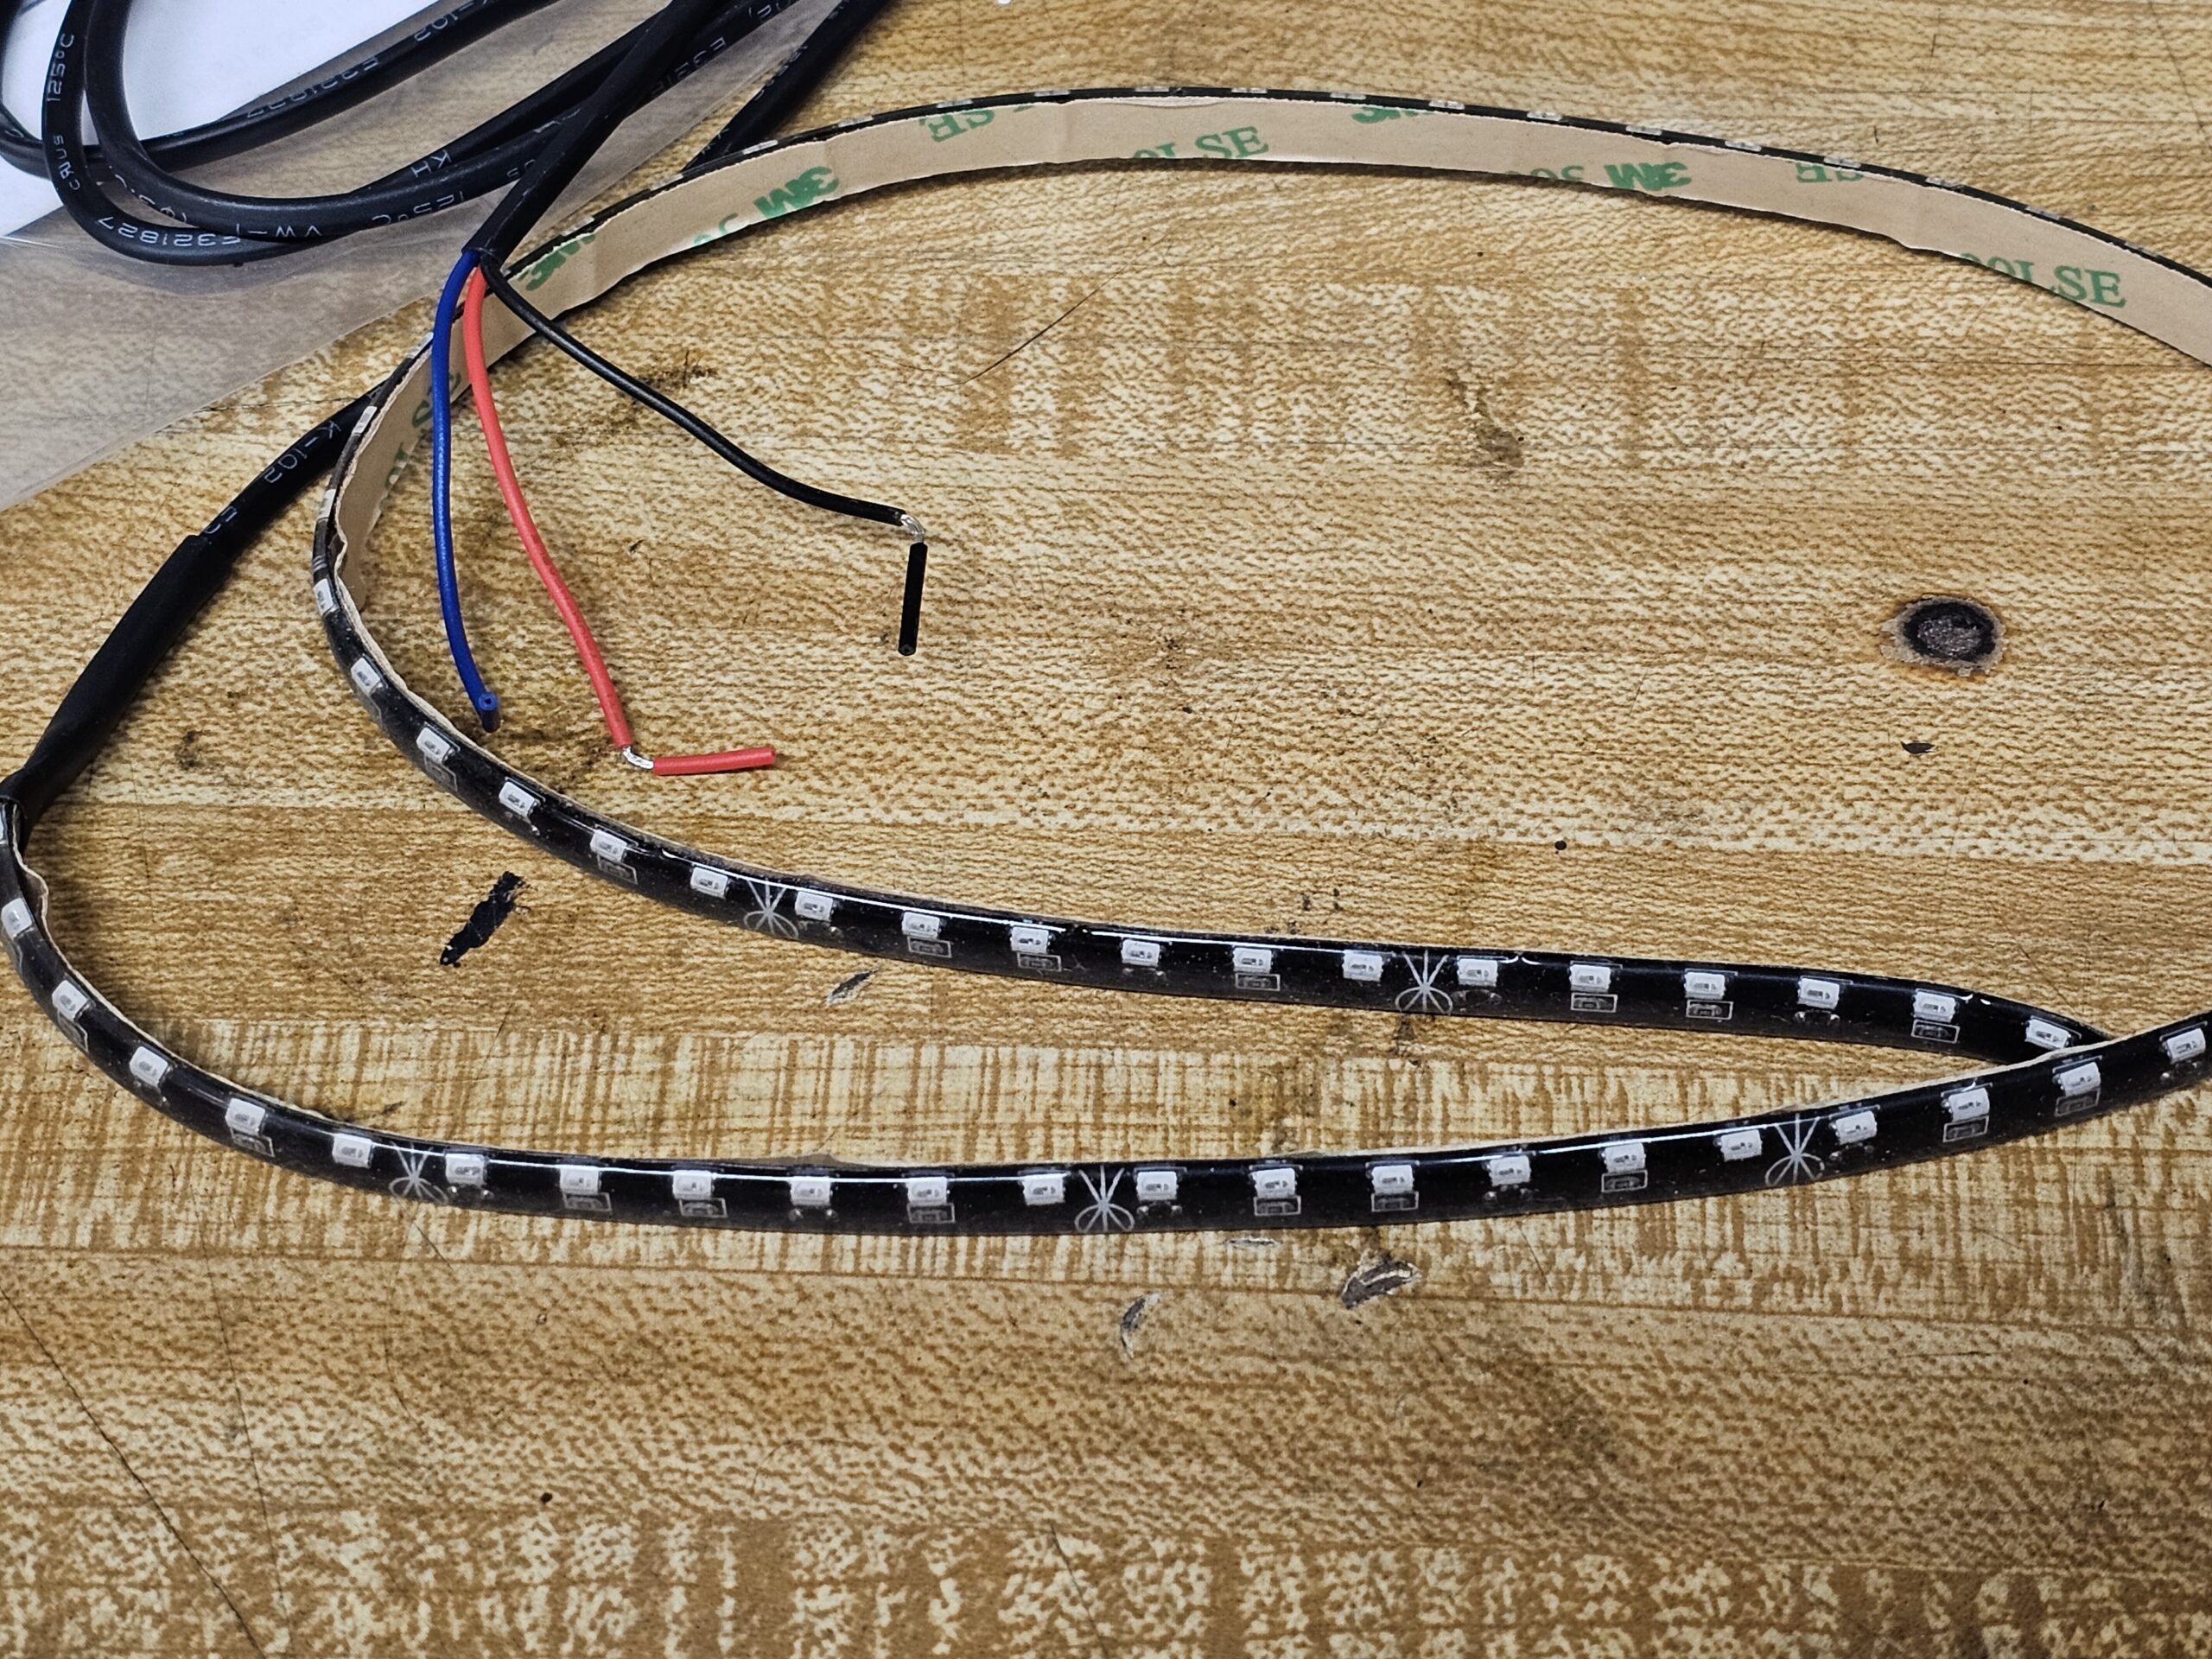
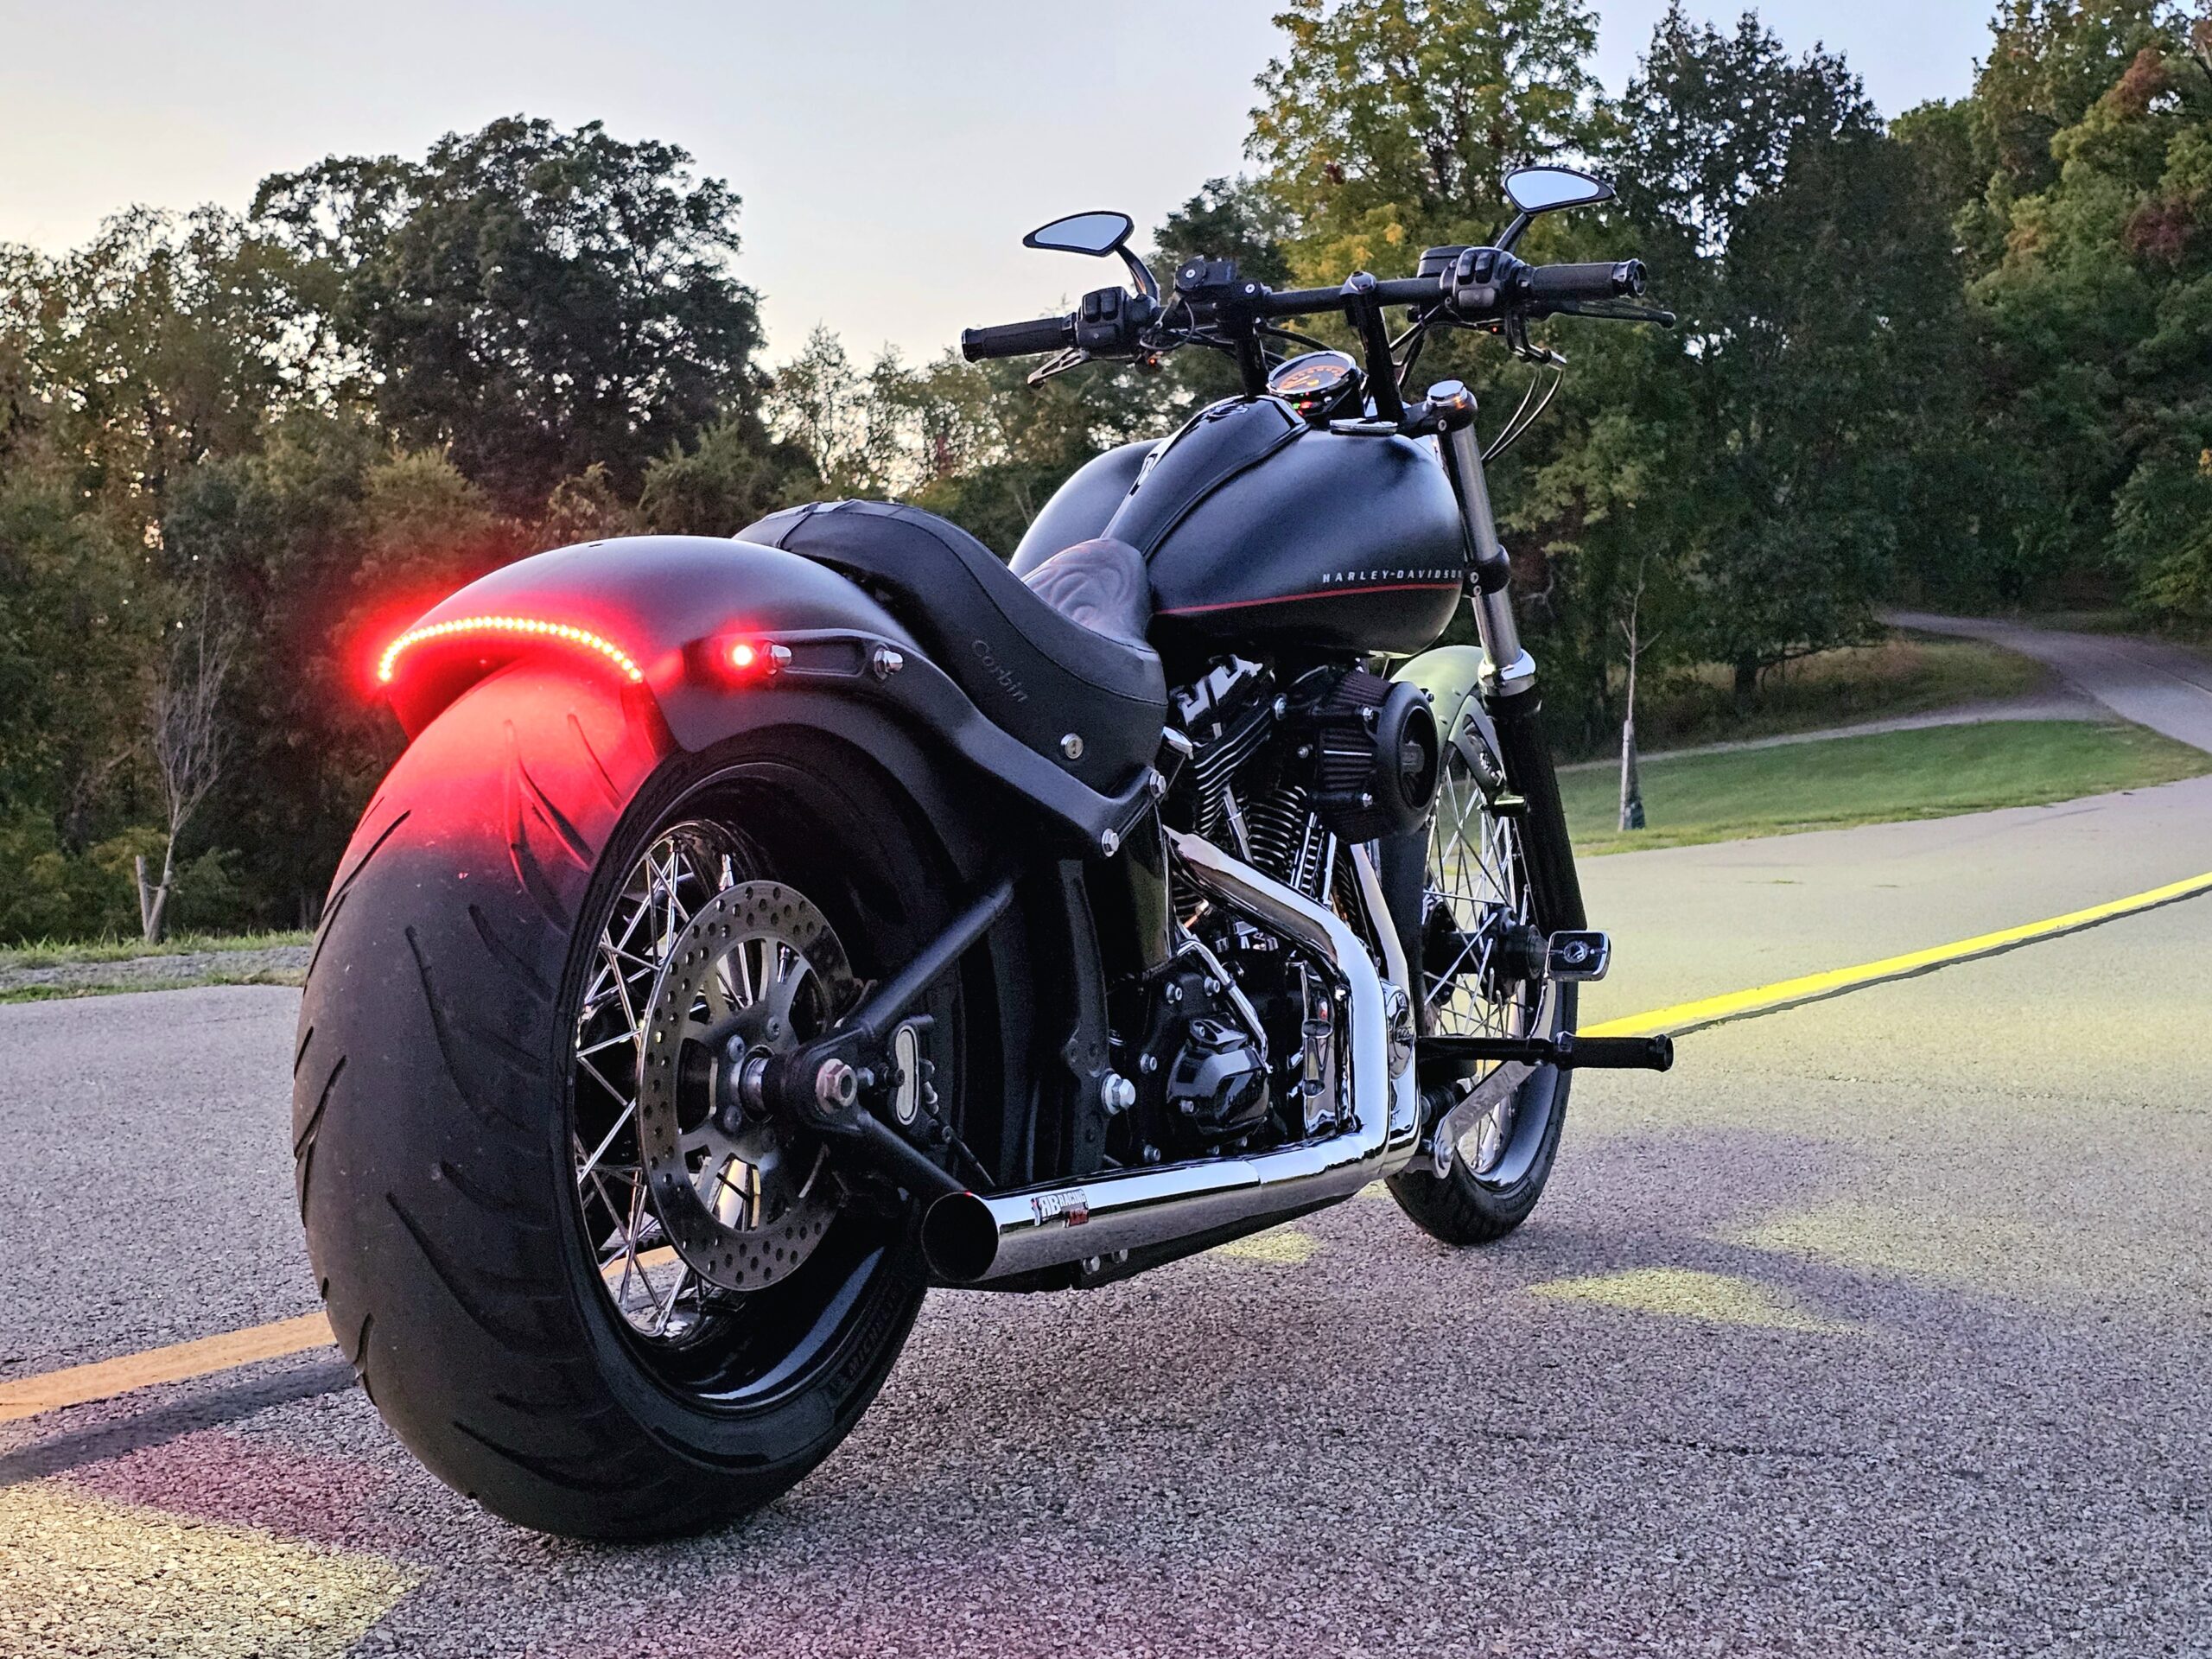
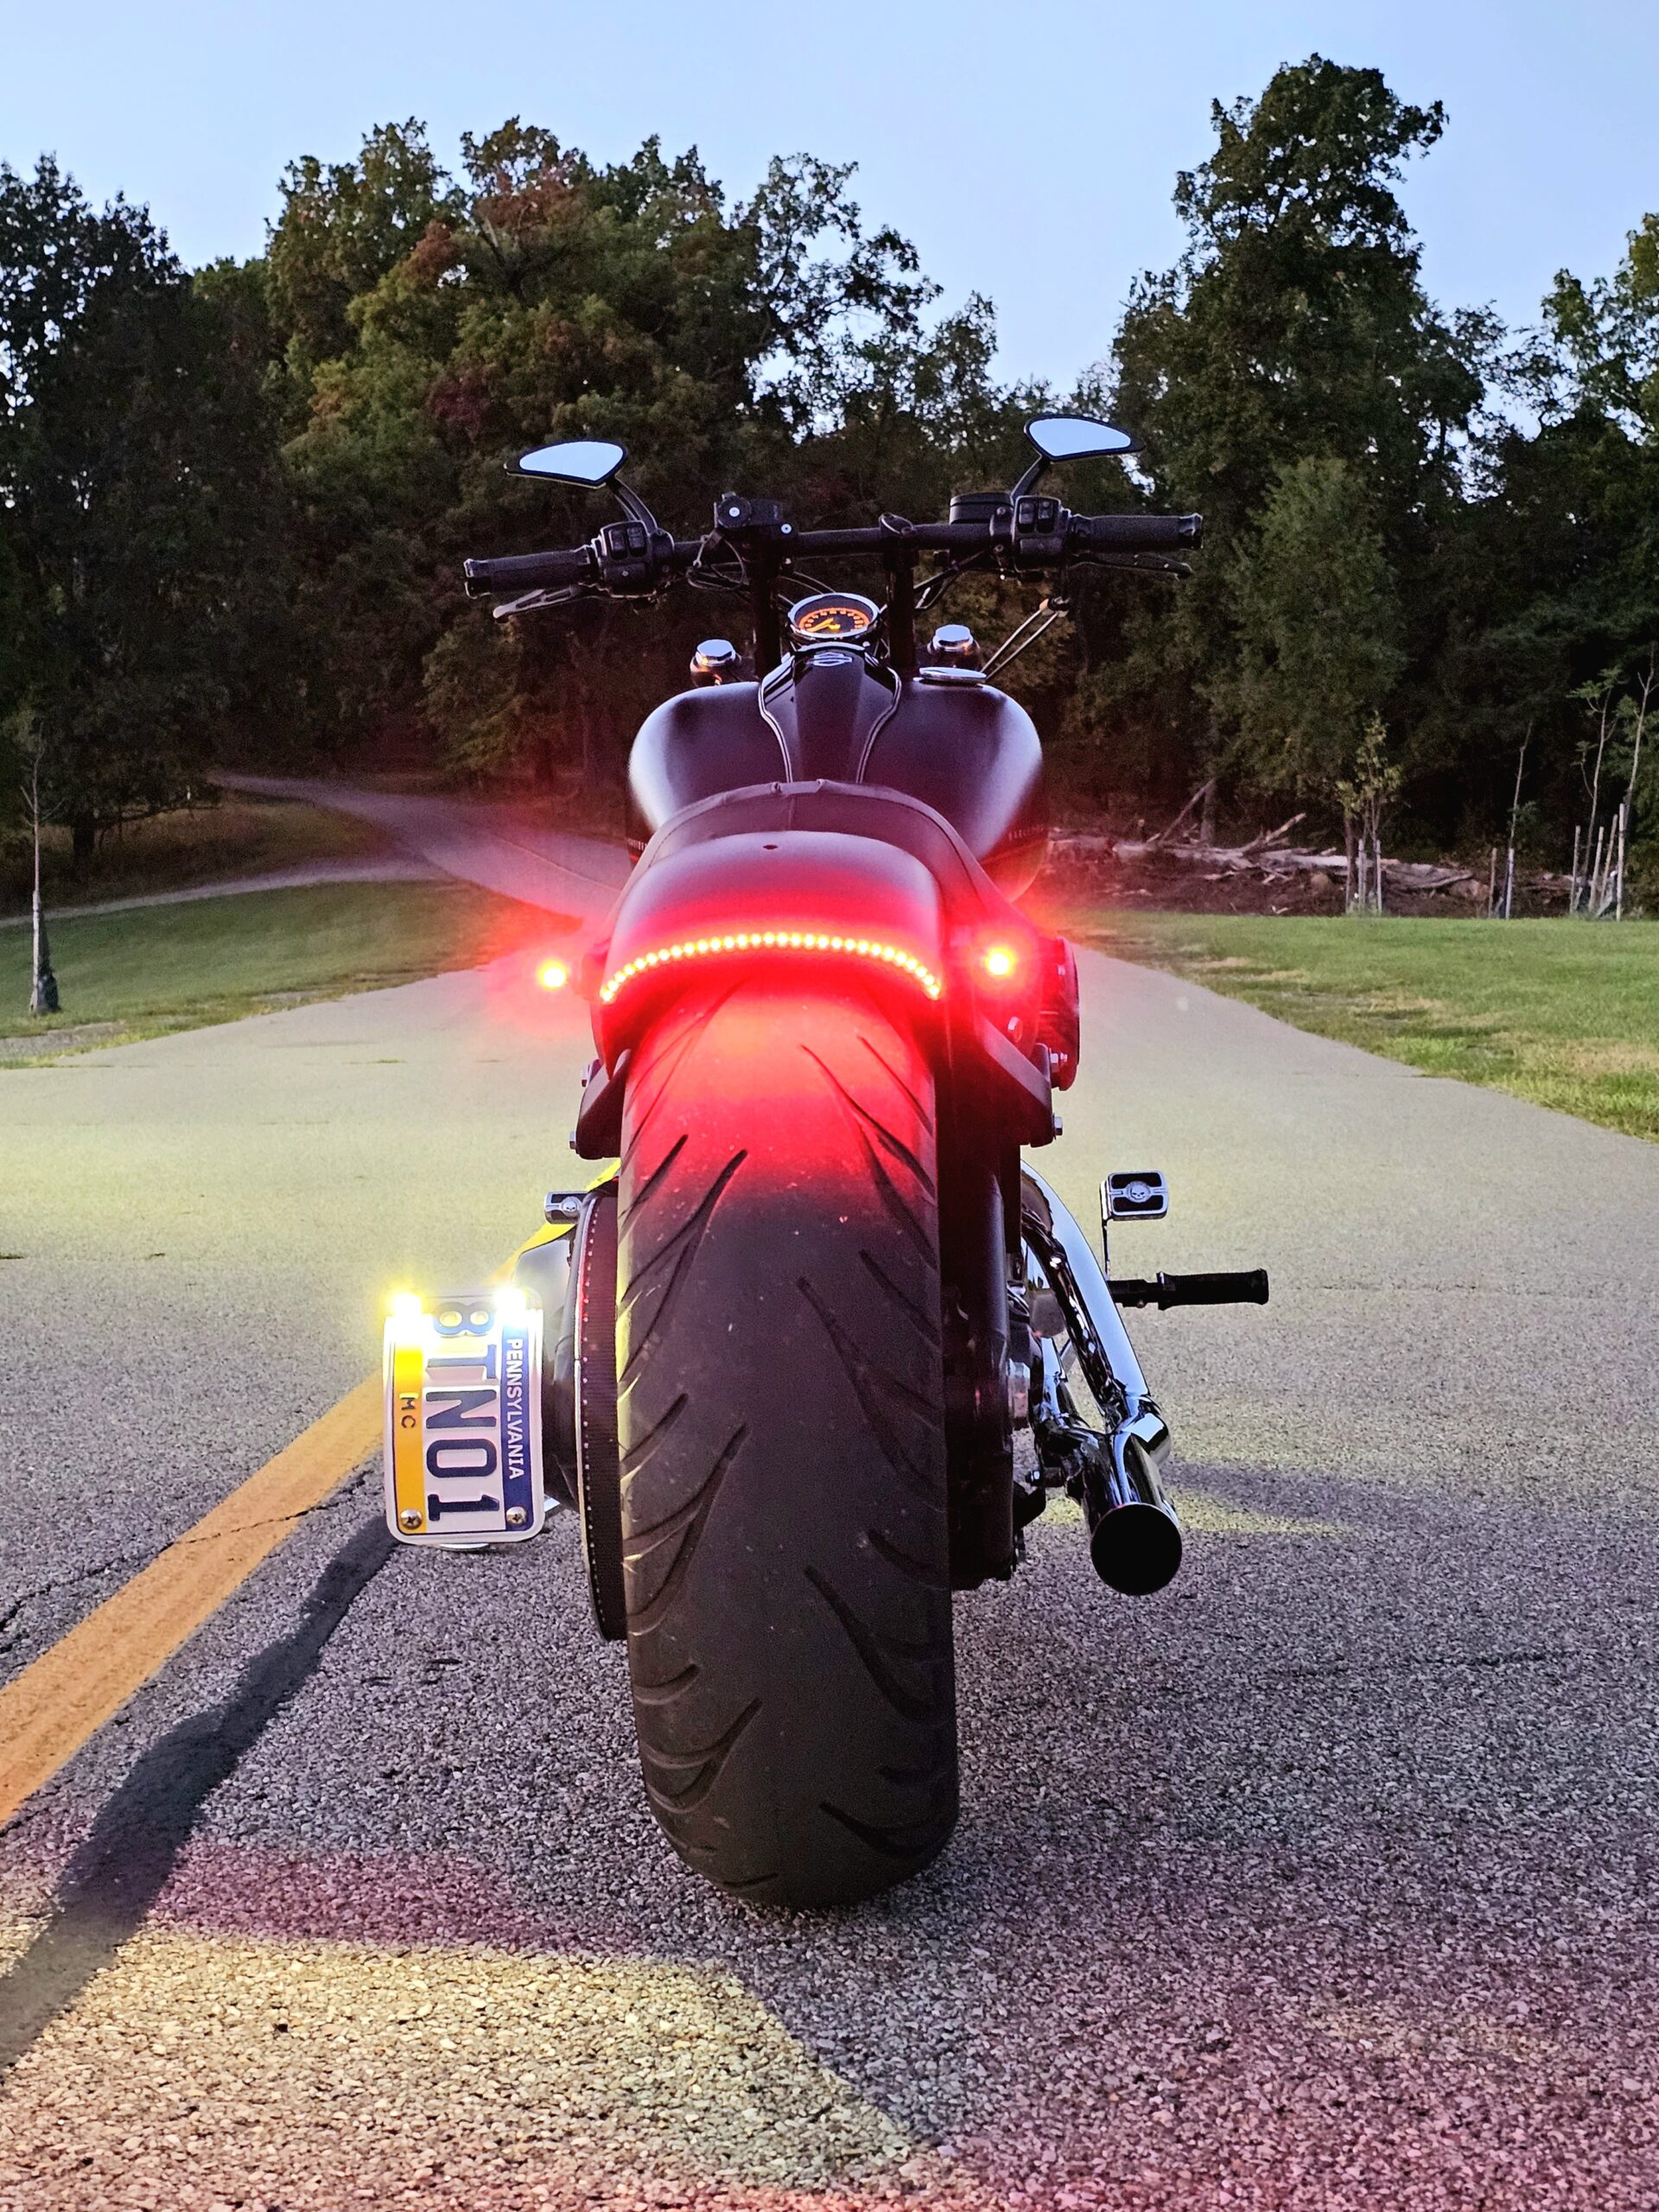
For the rear, I wanted to do something a bit different than most Softails, so I opted to get some universal lights from Custom Dynamics and arrange them in a way that was pleasing and functional. After all, any view of a rear end should be pleasing to look at and, with the motor build, many more people will be seeing it. I ended going with the Dual Intensity Side Firing LED Strips and the Micro Bullet Auxiliary LED Turn Signals. My plan was to use the strips for brake and tail lights and the bullets for tail and turn.
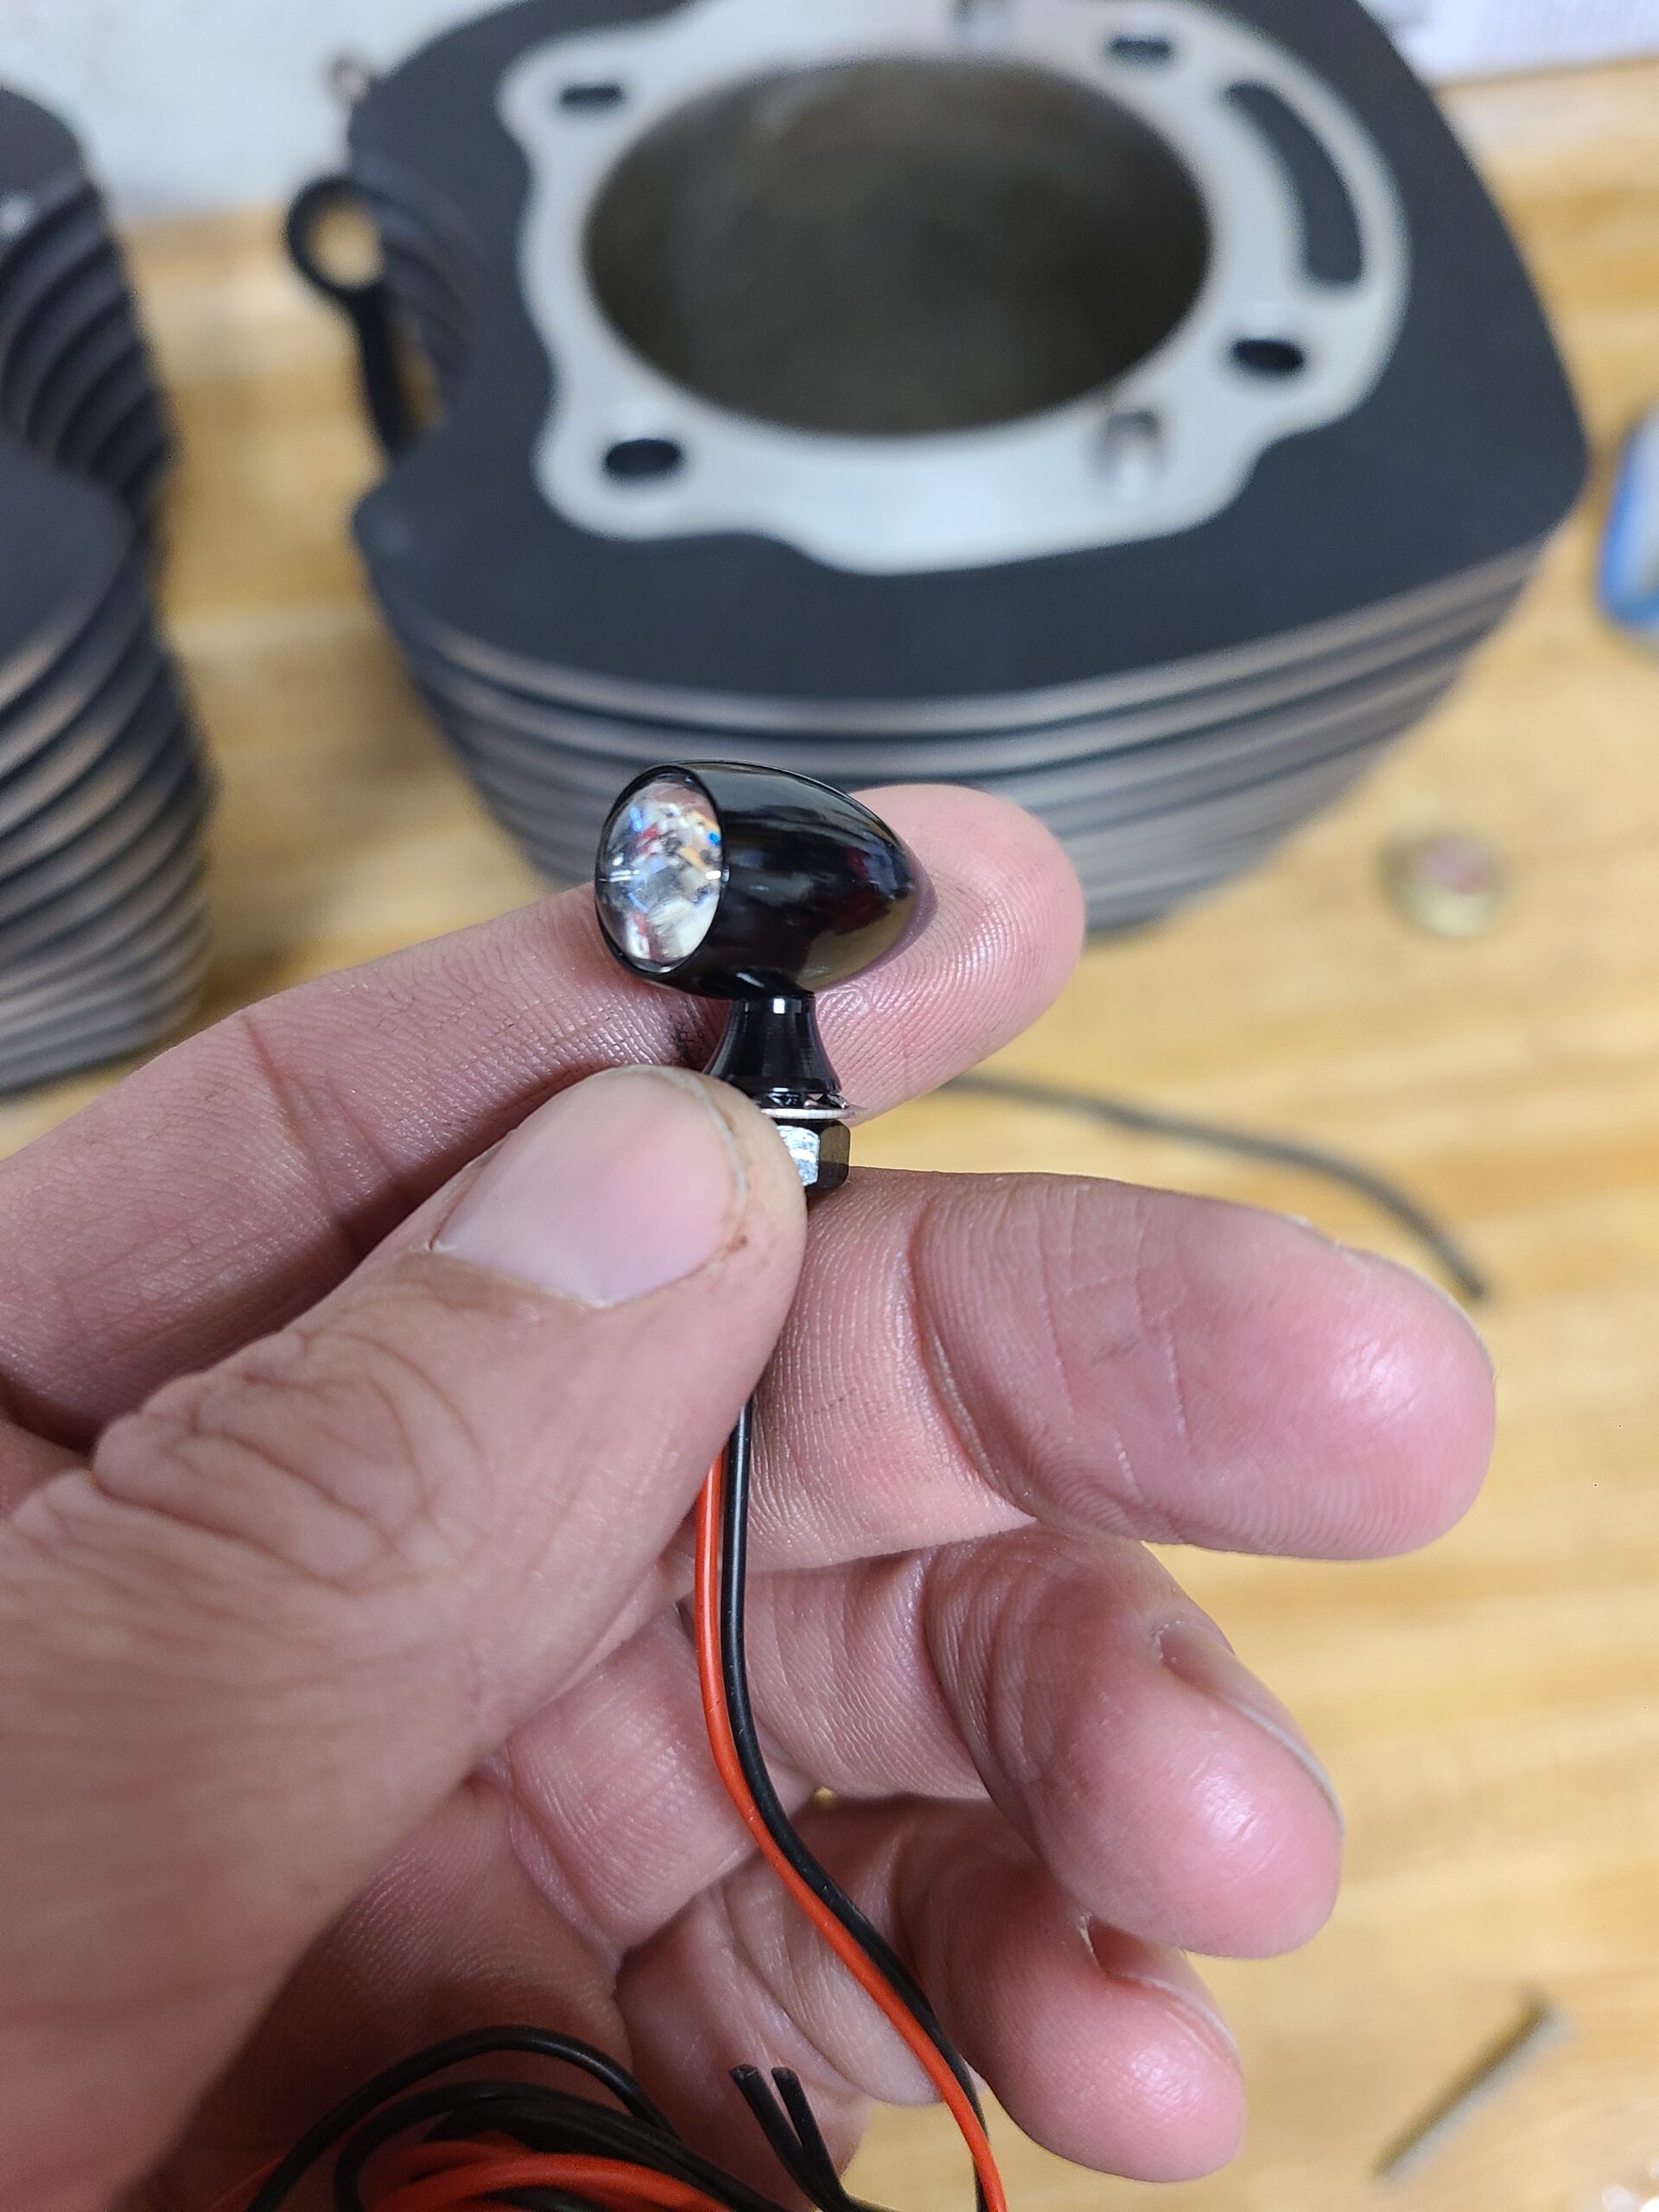
It was only after the lights showed up that I looked at the wiring diagram for the Blackline. To my surprise, this bike wired differently than other Softails, which made this easier than I expected. All the wires I needed were right there, including an empty terminal in the connector. A quick crimp and a bit of soldering to join the wires and the Bullet LEDs were working as I’d hoped. The strip LEDs went in just as easily and worked perfectly. The strip LEDs are mounted in the strip so that they shine 90 degrees from the mounting surface, which is perfect for the short fender I have on the rear.
The brightness of these LEDs is exactly what I was looking for. In daylight they are easy to see even in direct sunlight. Recently, Alyssa and I went to a bike show 45 minutes away. We got the bikes all shined up and headed out; of course, it rained just after we got there and it was pouring down buckets as we left the venue. When we got home, rinsed off and warmed up from our 55-degree soaking ride, she made the unprompted comment that all she could see of me riding in front of her – through the downpour, grey skies and water spray from the garbage truck ahead of us (of course there was a garbage truck!) – were my taillights. That was enough reassurance that these LEDs were exactly what I needed and that I’d made the right choice.
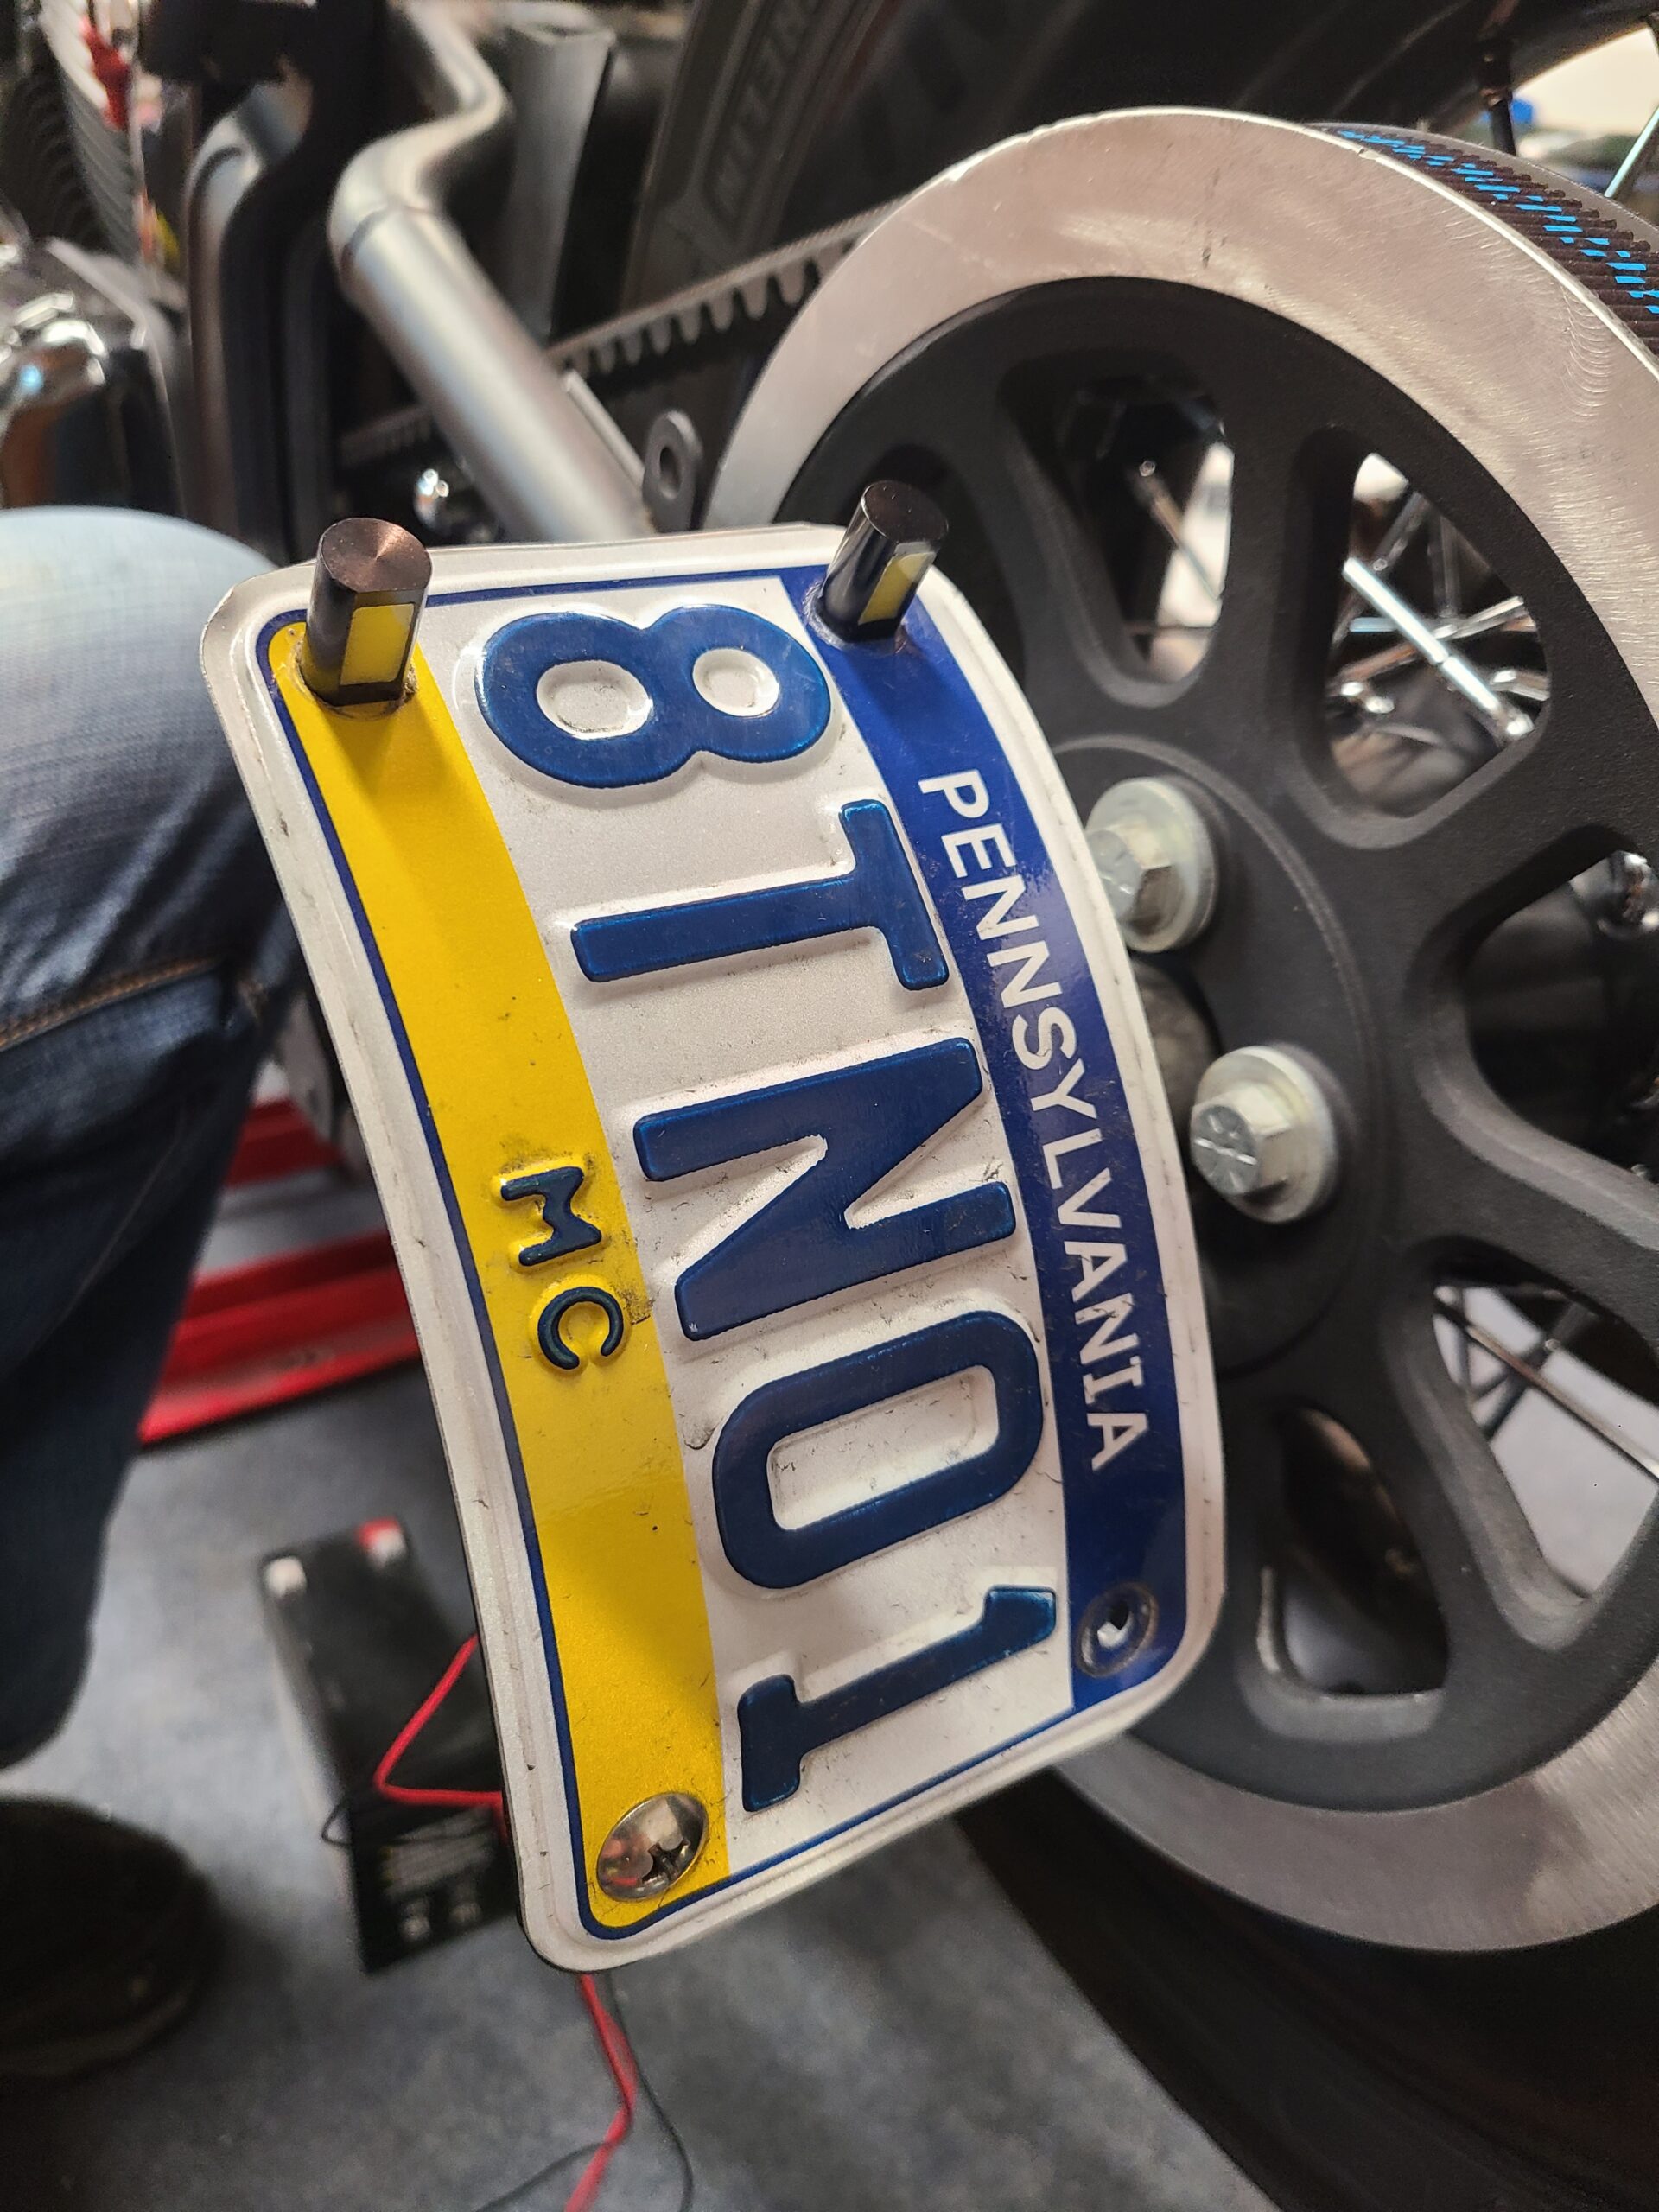
The last thing I needed to stay legal was plate lights. Since I’d side-mounted the plate when I changed the rear fender, I was limited in my options and the LED Tag Bolts were the obvious choice. Again, I found the Blackline had an unused lighting plug from the factory that came with the tail lights. So using some two conductor 20 gauge wire, and copious amounts of shrink tube, I was able to wire up the Tag Bolts and light up the plate. (No need to give the boys in blue any more reasons to stop me.)
Having ridden all summer, coming home looking like a drowned rat, dumping water out of my boots, leaving the bike in the rain, and probably getting too overzealous with the pressure washer and the leaf blower (I’m not one to sink the time into towel drying a flat black bike), the quality of these LEDs is top of the line. They don’t flicker, go dim, burn out, overheat or fail in any way. There’s no fogging, water intrusion or other quality issues. They simply do the job they’re meant to do: be bright and turn on when needed. It doesn’t sound like a tough job, but if you go with the low quality imports, you will see how difficult this can be to achieve. It’s nice to know, when I turn on the bike, the lights work. Or if I hit the brakes, the car behind me will see me even if I’m following a garbage truck in the rain.
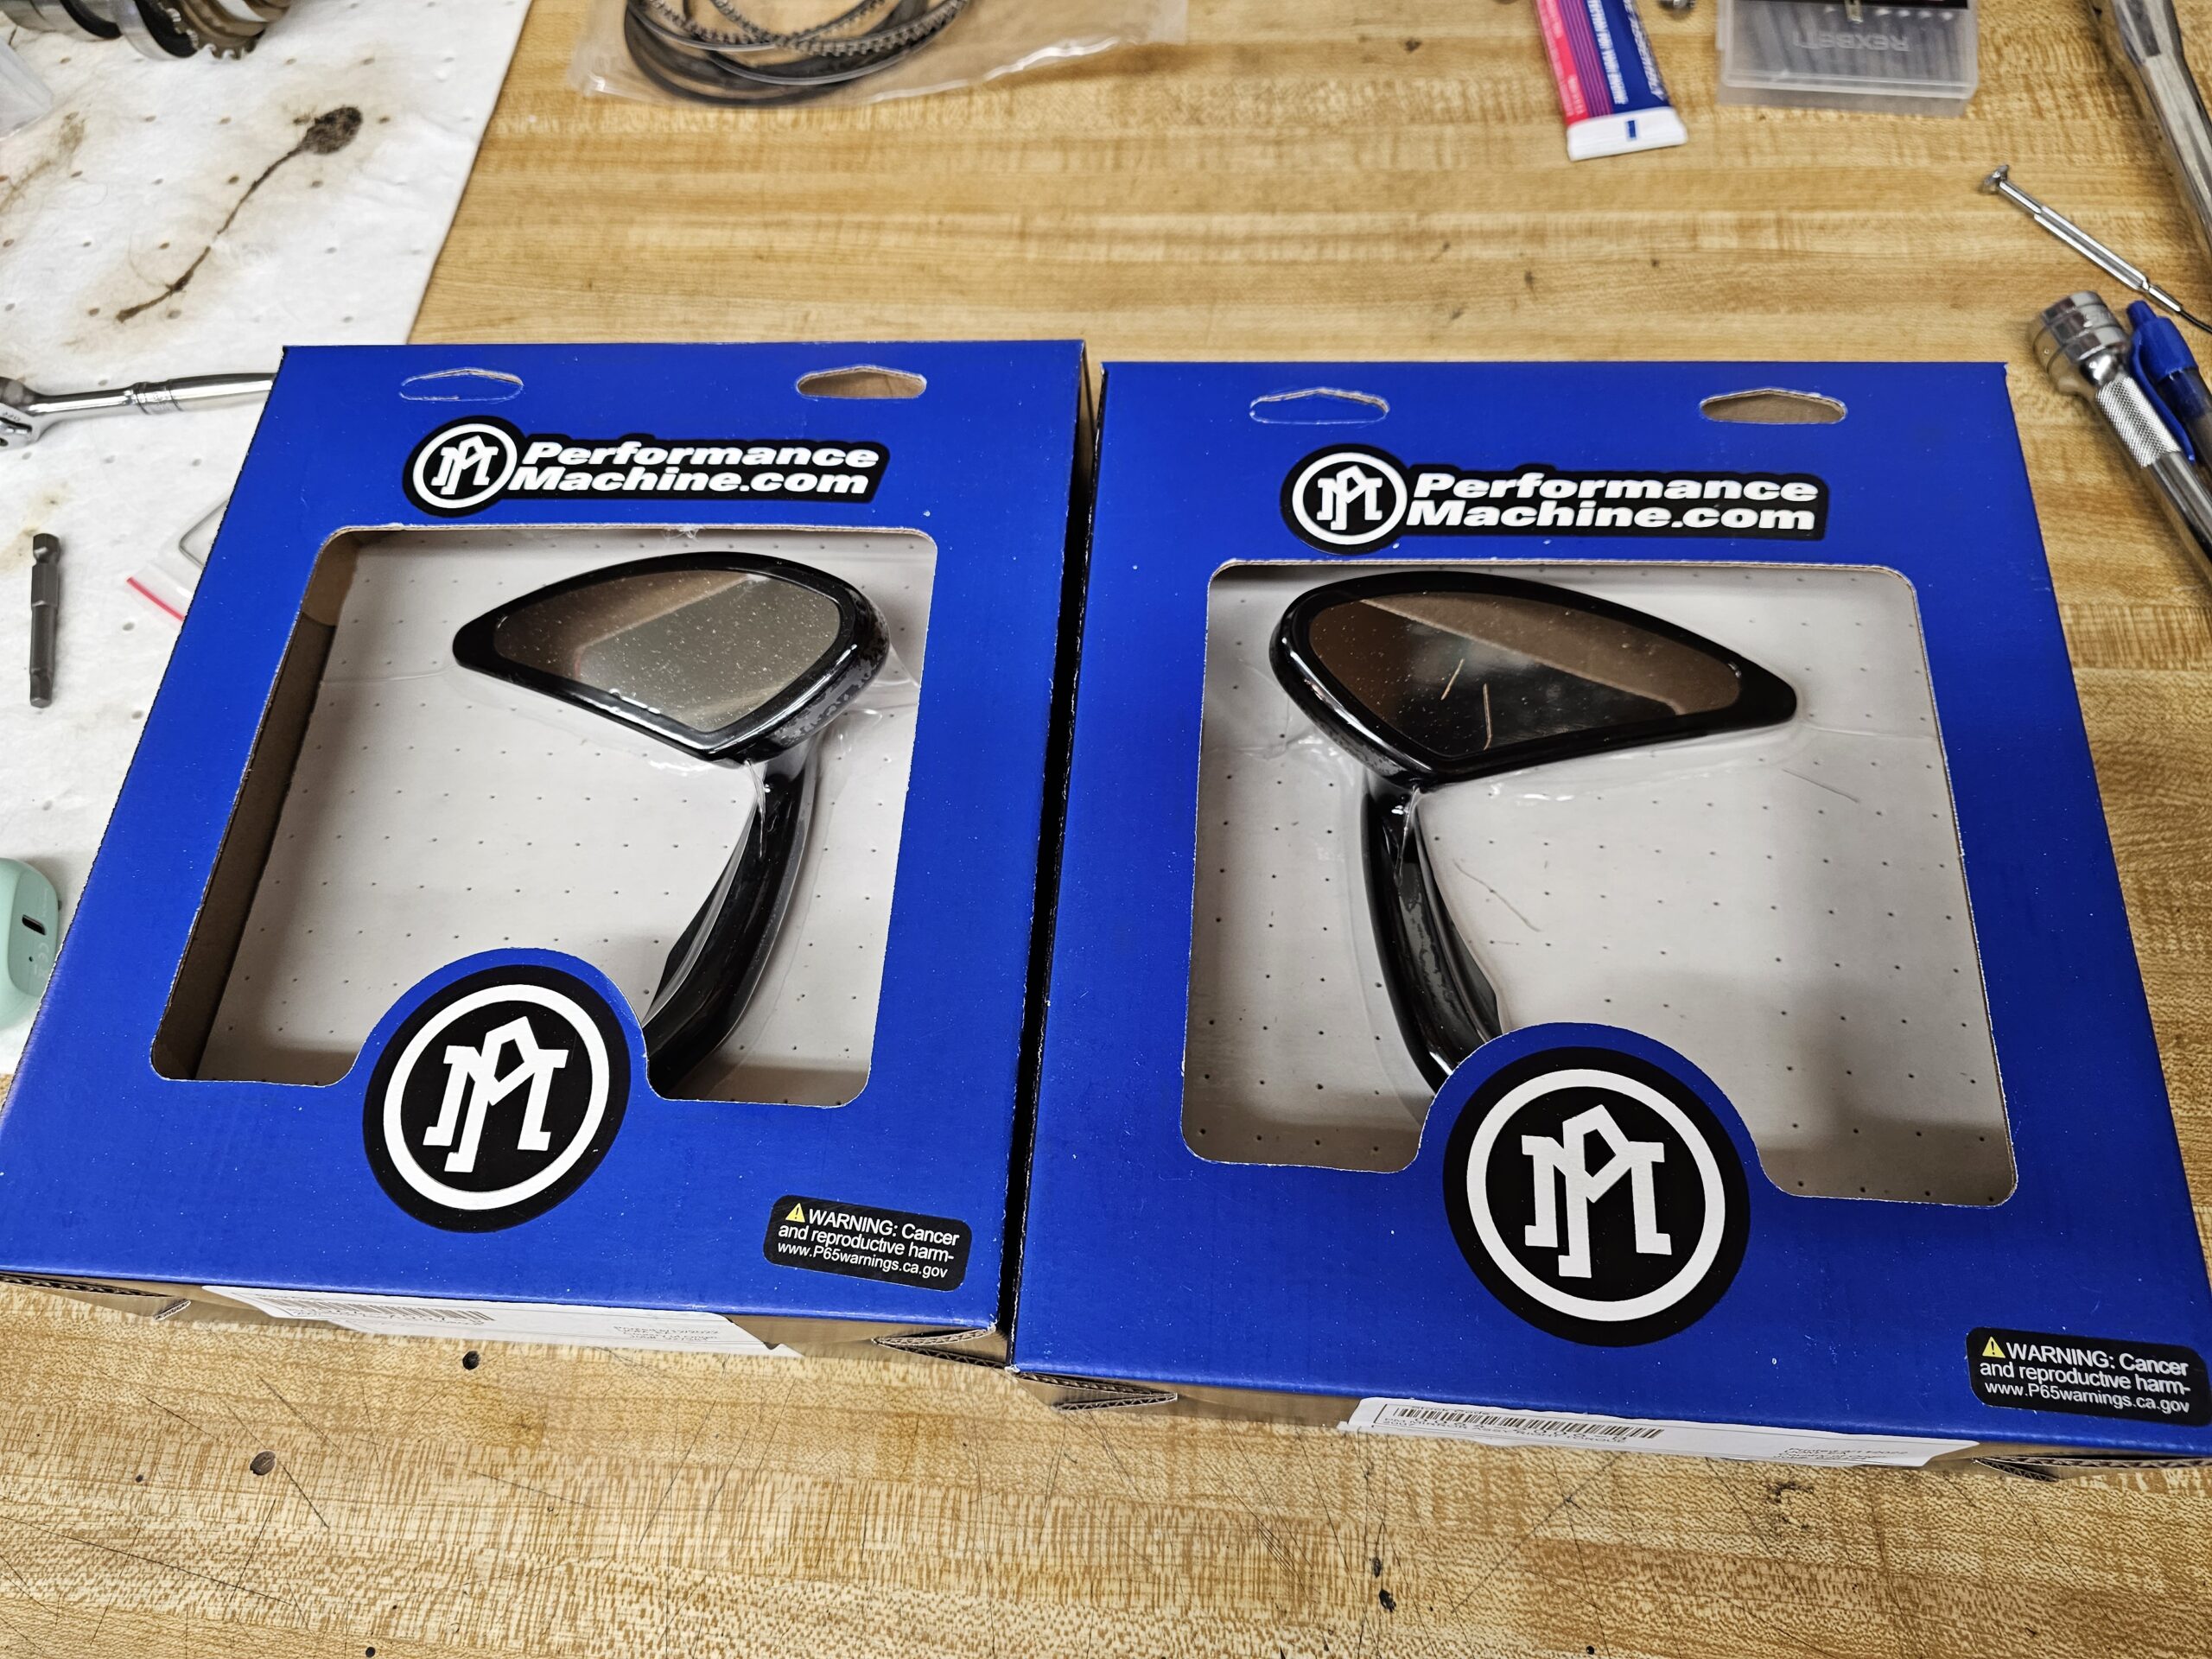
While the bike was on the lift with most of the engine torn down, one thing that was eating me was that the grips didn’t match the pegs. It’s not a huge thing, but it was getting at me. Alyssa probably didn’t notice it, but I couldn’t let it go. With a bit of overtime money left in the bank account, I found myself on the Performance Machine website looking for the matching grips to the previously installed Overdrive Pegs. I quickly added the Overdrive Grips to the cart and ended up browsing the other offerings (a dangerous game when the credit card has room.) Looking at the odds and ends I was reminded that I don’t enjoy the look of the factory mirrors, either. Might as well add a pair of the Torque Mirrors to the cart, too.
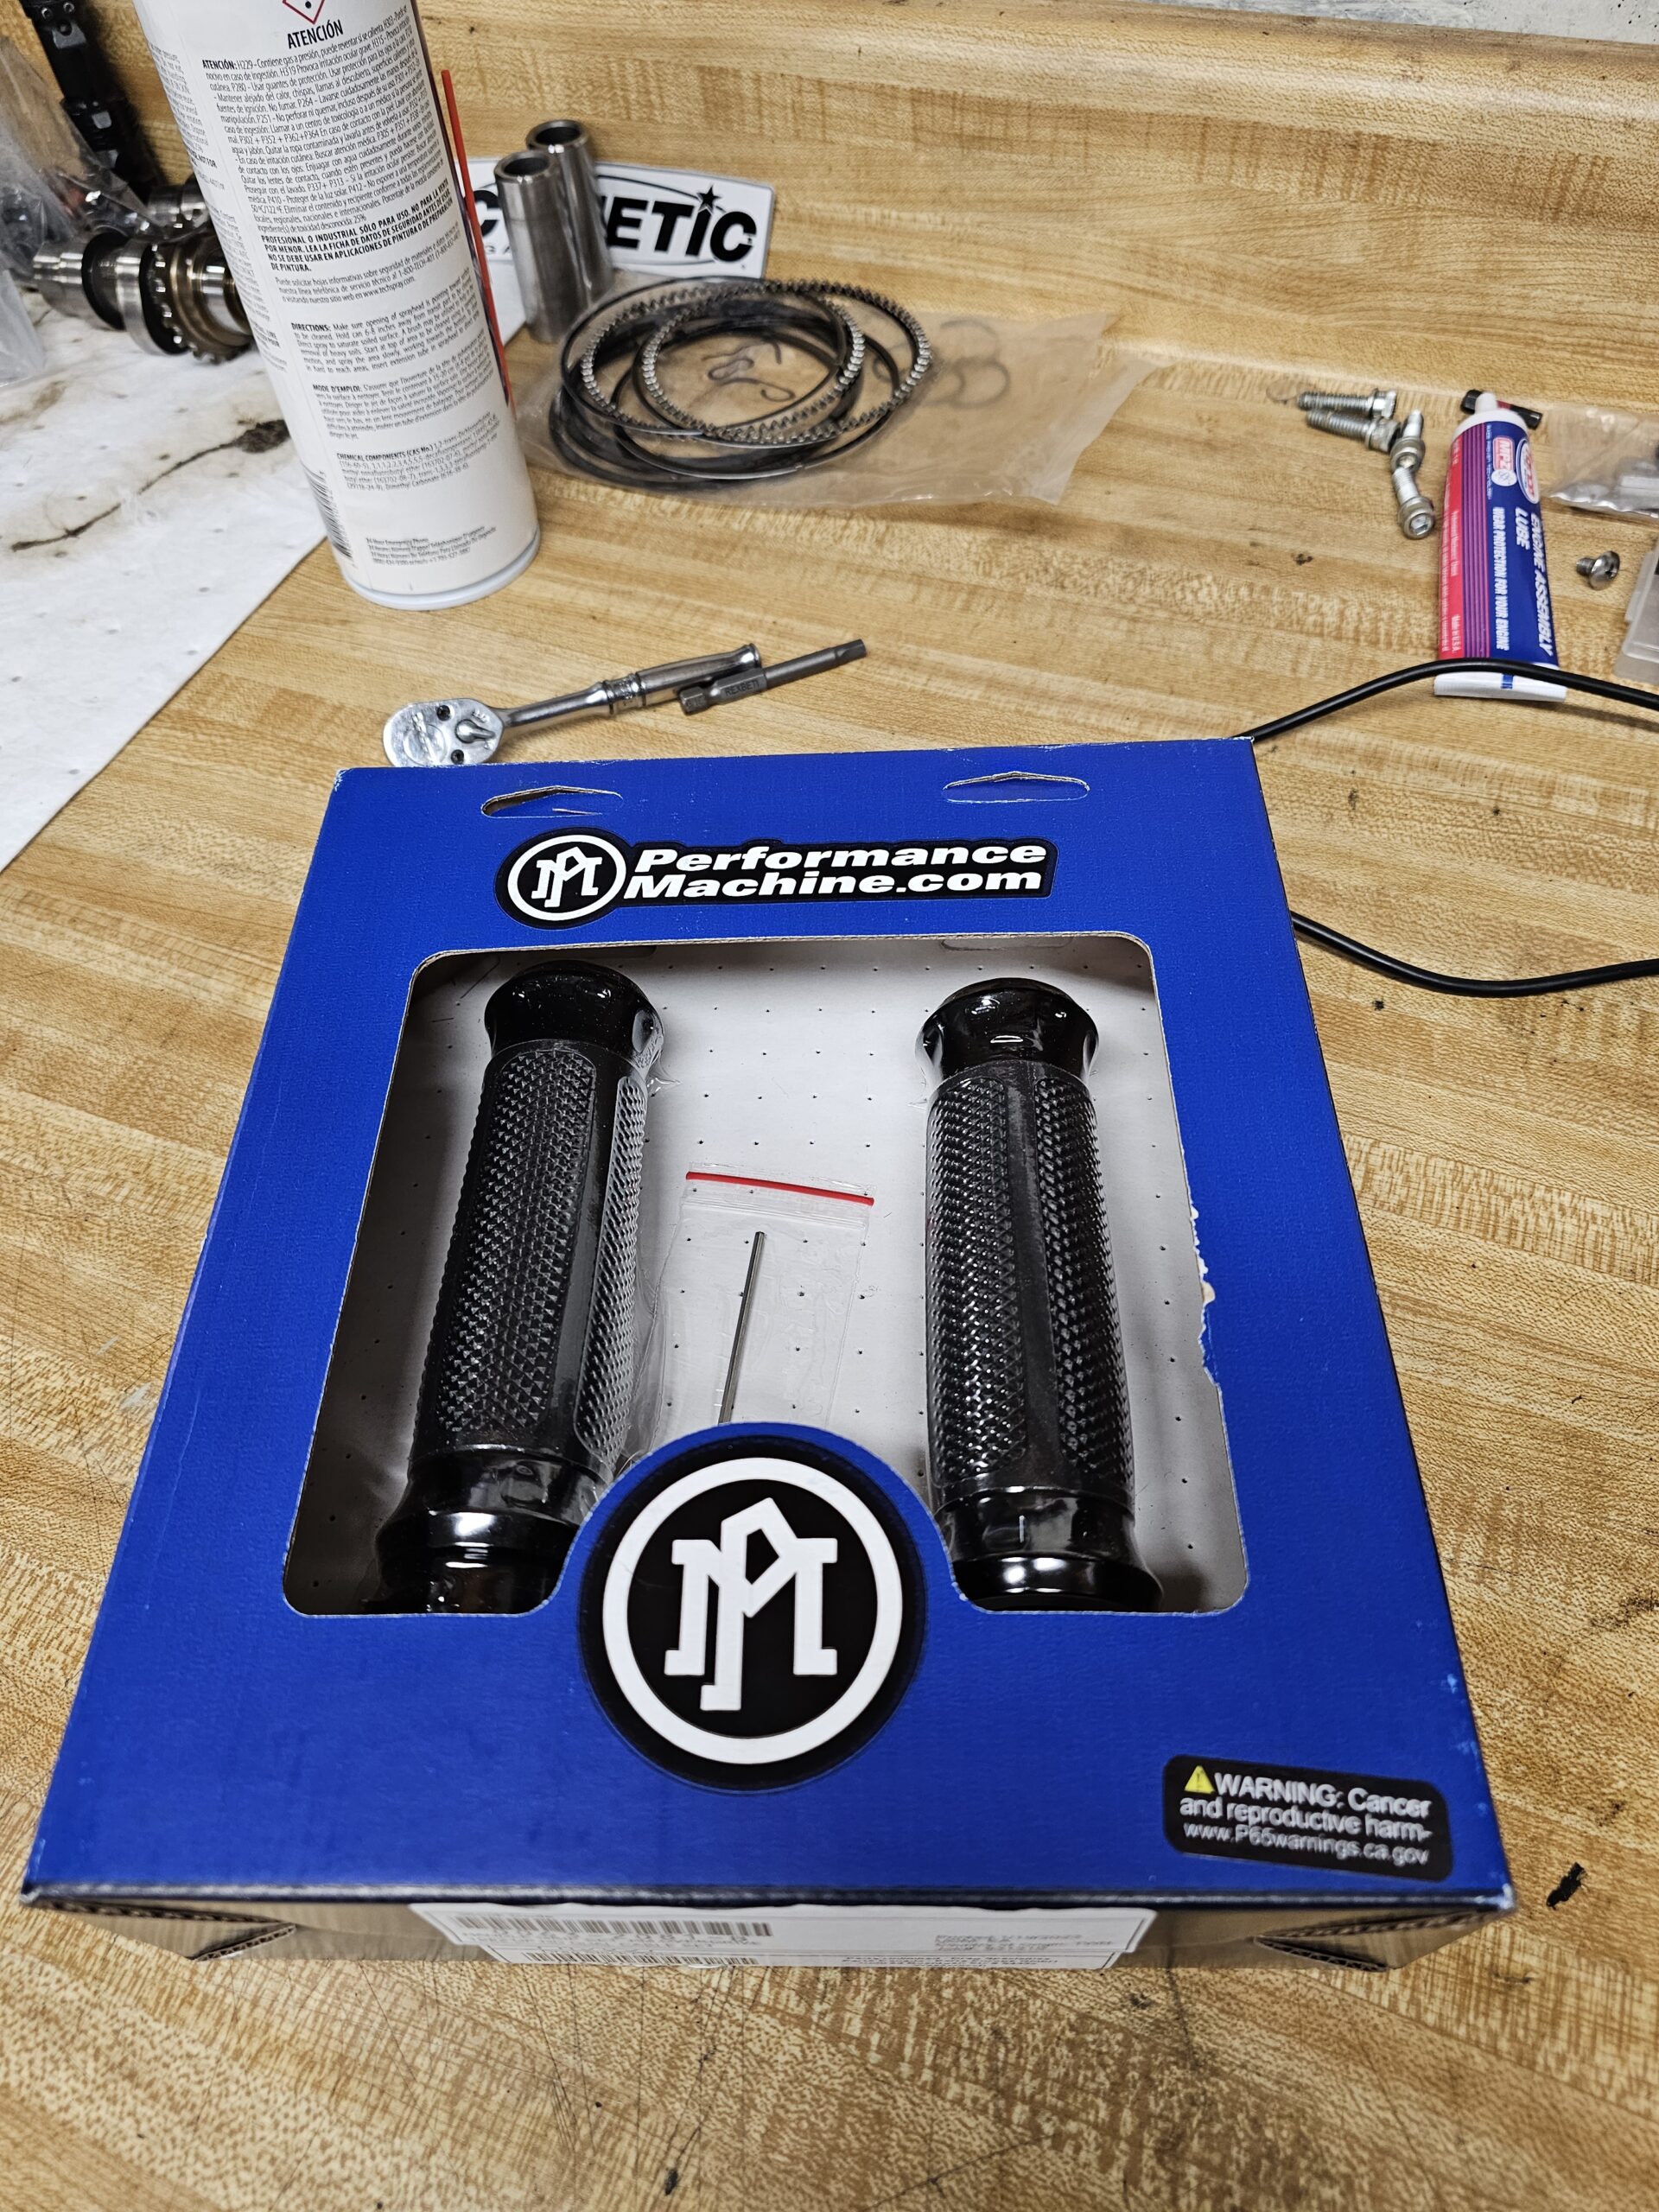
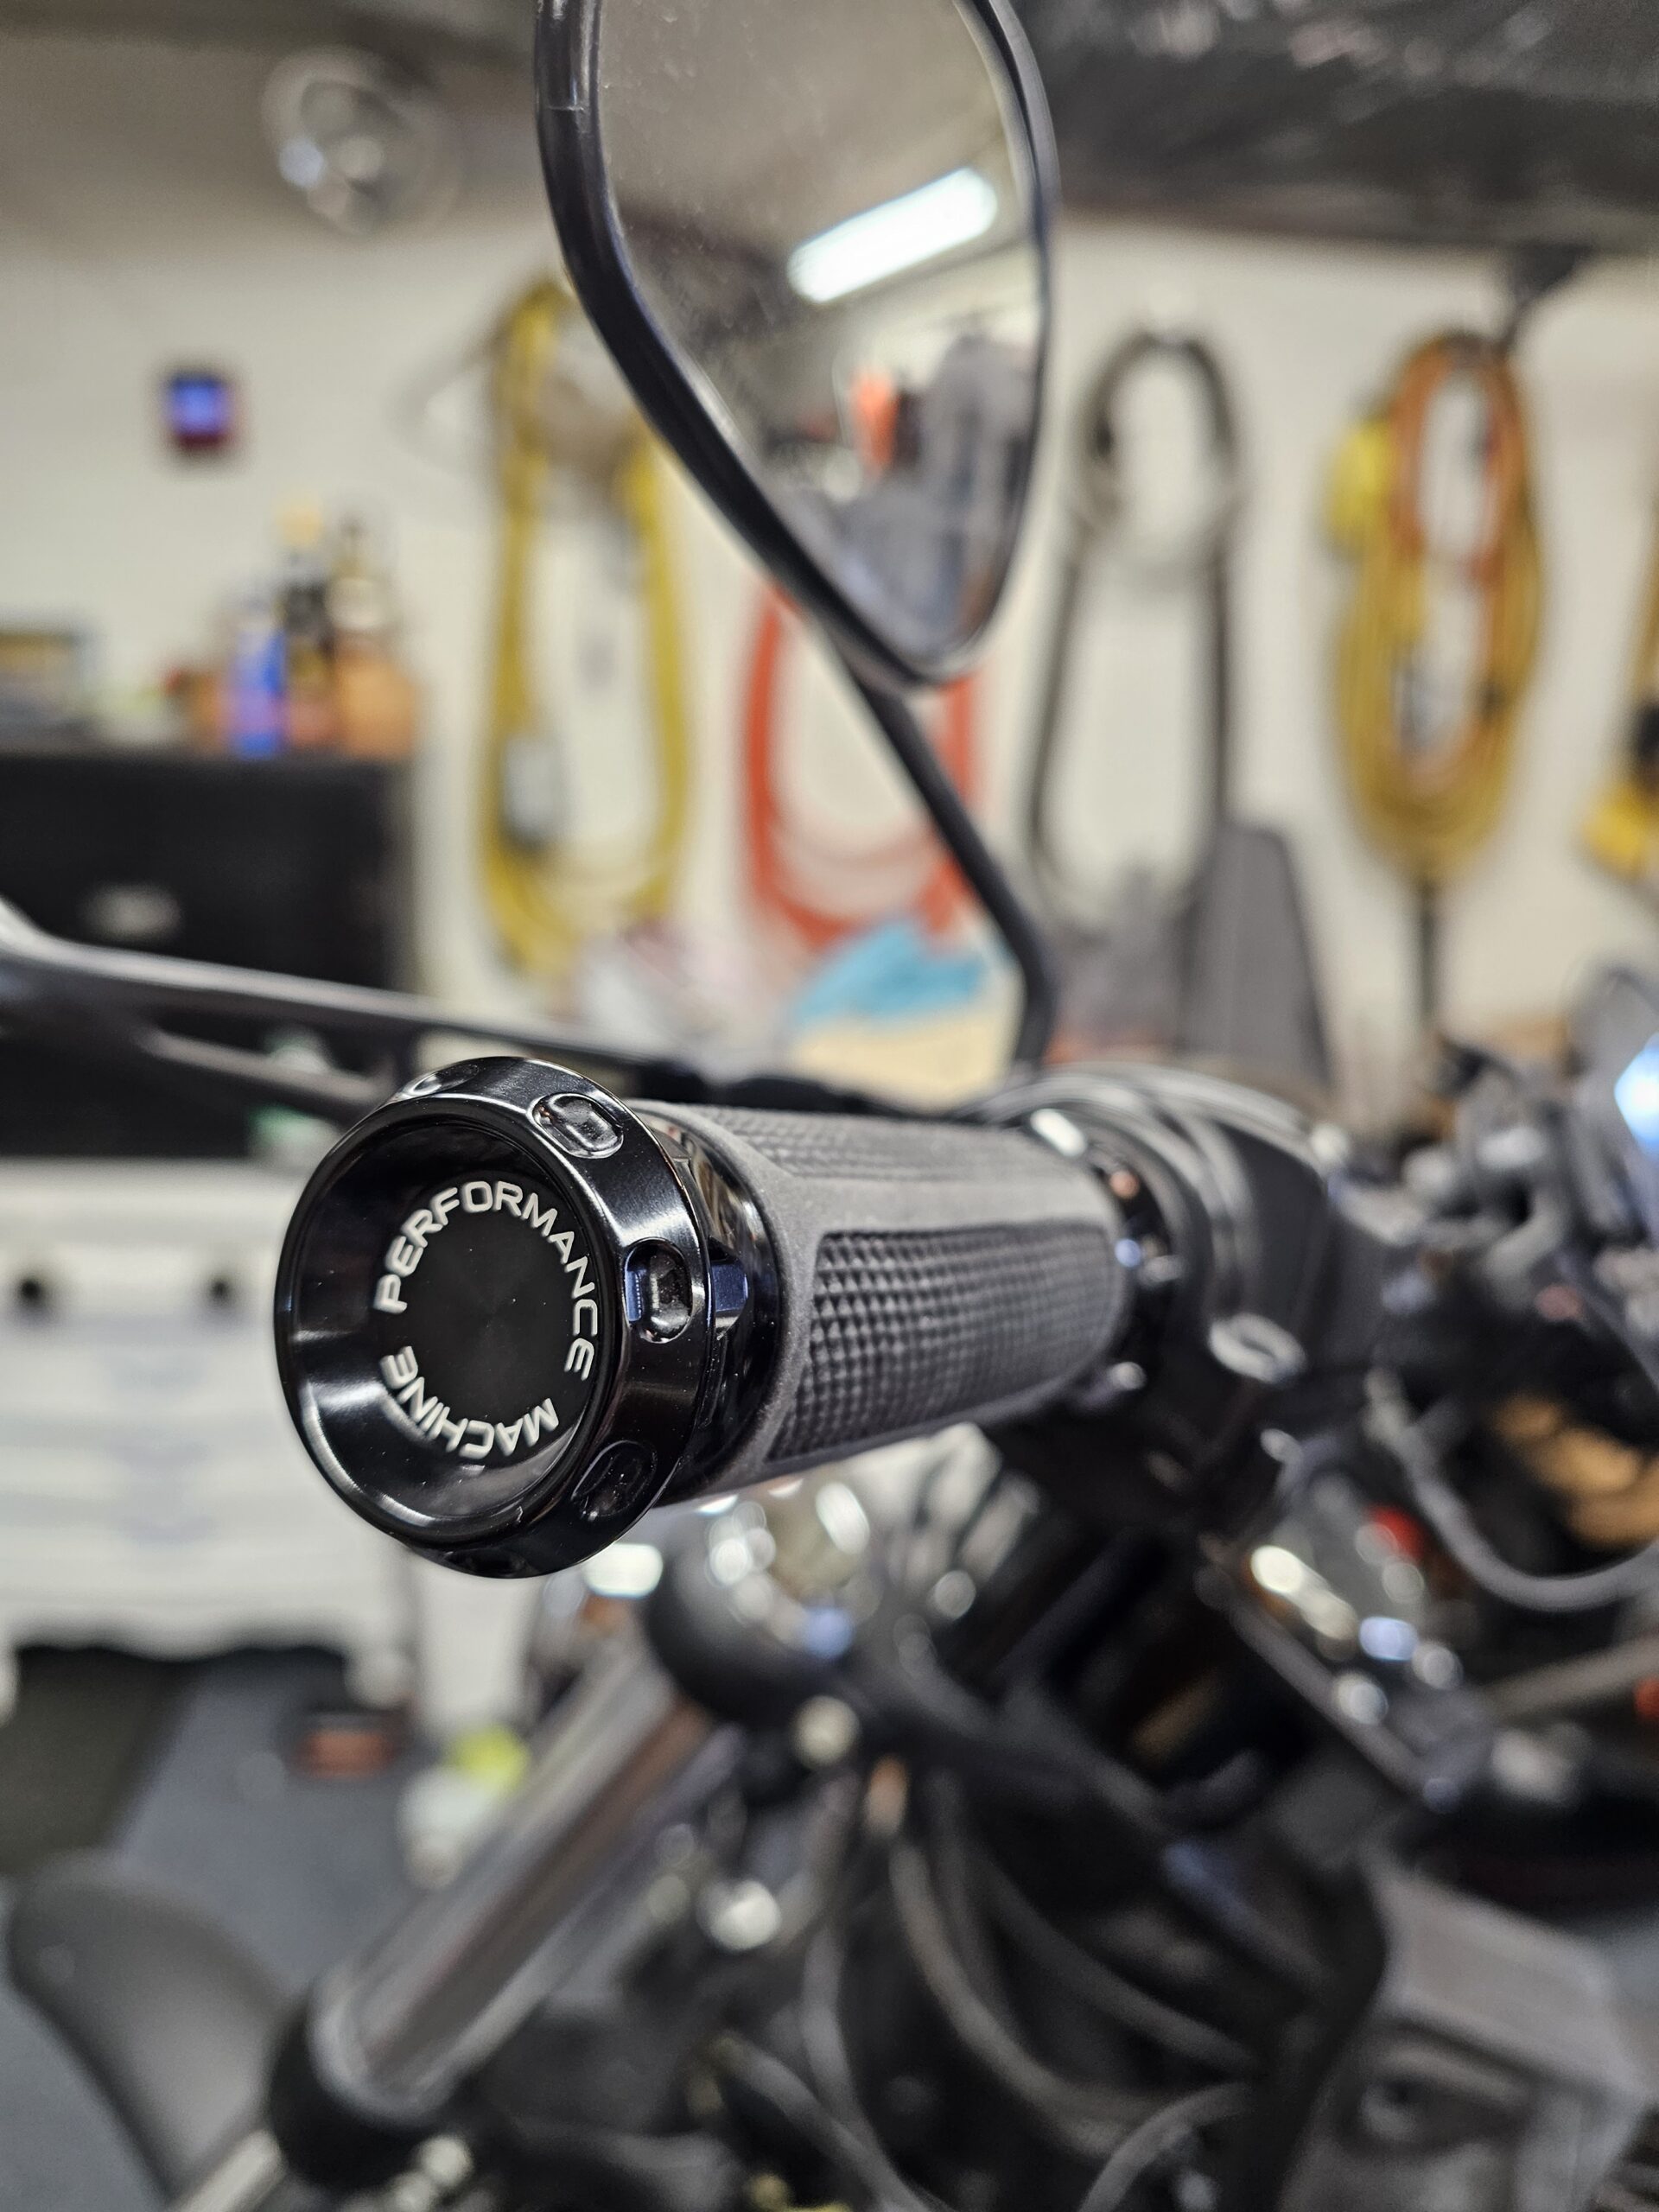
When everything showed up, the quality was better than I had hoped. Most importantly, the grips felt better in the hands. The prior grips were of much larger diameter that not only felt too big, they were so big that I would need to gorilla grip the clutch lever to get past the safety switch to start the bike in gear. The smaller diameter of the Overdrive Grips not only felt better in my hand, but they allowed for proper clearance to comfortably trip the clutch safety and easily start up without any thought. Not only did the grips look great, a perfect match to the pegs, and install easily… they perform flawlessly. No slop in the mounting, sturdy enough to hang on to when running through the gears, and most importantly, they were easy to maintain a secure grip with or without gloves on, dry or wet. I was actually surprised how effortless it was to stay securely attached to the bars in the pouring rain with soaking wet gloves. The texture and the material they used on the grips was exactly what it needed to be. Soft enough to be comfortable despite the vibrations of the big twin under my ass, but resilient enough to show no wear after the end of this riding season.

The install of the grips was pretty simple. I liked that by dimpling the bars with a drill bit, it left the grips secured to the bars without relying on the switch housing to keep them in place.
If you go back to the previous pics of this build you’ll see the factory mirrors just don’t fit. I started this build with aim of building a performance-oriented street bike with a clean style. Well, the mirrors were something that I splurged on, as I unapologetically hated the way the factory ones looked. Sorry not sorry. The PM Torque mirrors had the look and lines I liked. Based on my previous experience with PM stuff, I knew I wasn’t going wrong.
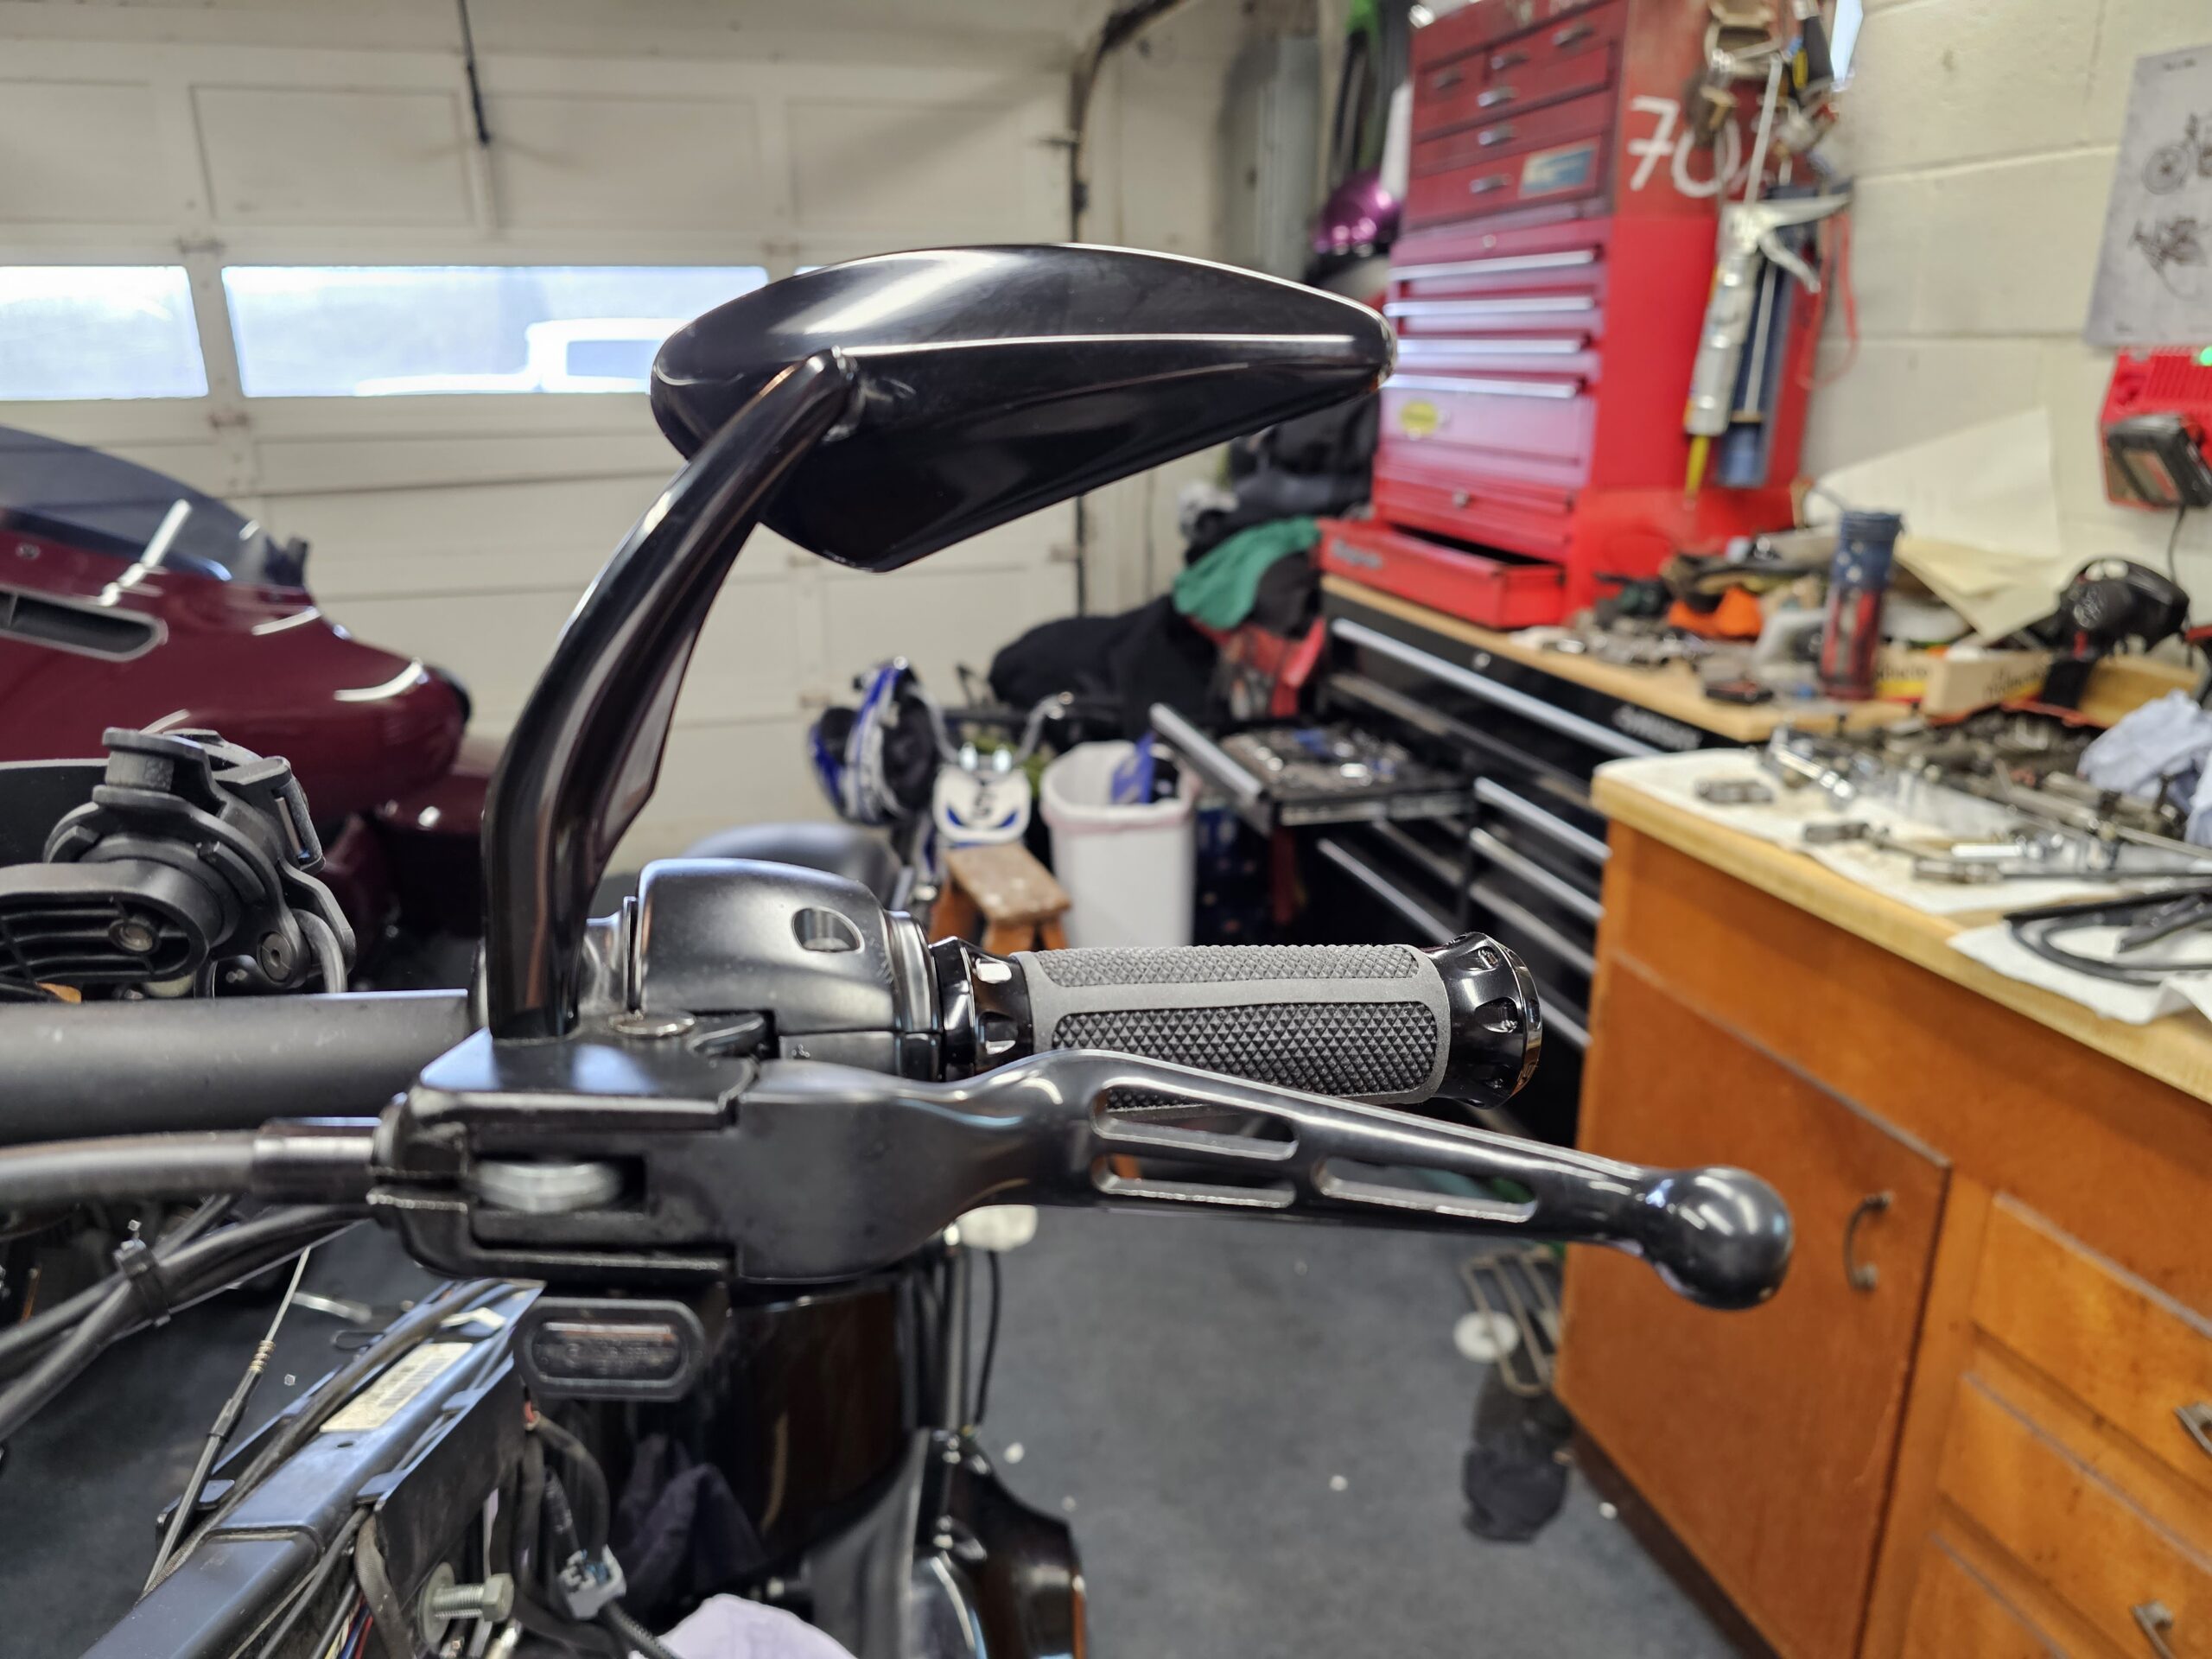
As expected, the attention to detail was top notch. The quality and fitment was perfect. They installed easily without any cuss words or wrench throwing. More importantly, they hold their position while riding. PM found the perfect balance between being able to adjust them and holding the position, even at well over the posted speed limit. For the fit, function and design, they are money well spent.
There’s still more going on here. The observant ones following along have probably noticed a couple other things that will be explained in the next installment. Plus there’s more being planned for the off season again as long as the overtime turns back on for the winter season. As the riding season is coasting to an end, I’m gonna try to wrap up the last bit of motor work and maybe run it for numbers on a dyno. Stay tuned, this isn’t over….

More Stories
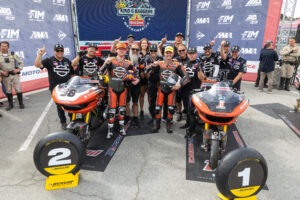
DUNLOP NAMED OFFICIAL TIRE SUPPLIER FOR HARLEY-DAVIDSON BAGGER WORLD CUP
Harley-Davidson Reflective Rain Suit: Baptized by Ice Before It Ever Saw Europe
THE FOLDS OF HONOR RE-MANUFACTURED MOTORCYCLE BY JOHNNY MAC’S CHOPPER HOUSE