


It’s all nuts and bolts; that’s what I’ve always said. And even though it’s true, it ignores all the
other hassles that go into projects like this.
Figuring out the build, picking the parts and getting it all ordered was easy. When it’s written down or in
your head, it all falls together without a problem. But that’s just when the fun begins.
Luckily for me, I’m the type of person that loves puzzles and I view a project like this as a giant puzzle. I
revel in questions like: how am I gonna make this work, where am I gonna find that, what options do I
have even though I’m committed to doing it this way, can I ship this out and get it back in time before
that. From buying parts unseen from an auction site and having them shipped to a place 3 states away
while waiting for my exchange parts to get to me, to learning about and trusting a technology that I’ve
never heard of before. It would be enough to make most people throw in the towel, or just take the bike
to a shop or buy a crate engine – and be done with it. My partner Alyssa would listen in disbelief as I
explained the newest problem told her how I was gonna make it all work. I’ll try to cover some of the
obstacles below, as we finally get around to finishing this engine build.
Before I started filling the cam chest with S&S pieces and sealing it up with Cometic gaskets, I was in
contact with Brandon at T-Man Performance in North Carolina. We discussed the build and what I
wanted but I ultimately deferred to Brandon’s recommendations as they are the experts on the heads,
porting work, etc. During the conversation, he mentioned since I was sending the heads down, I may as
well send the used cylinders too, and he’d check them out so we know everything is good. So I boxed
the heads and cylinders up and sent them to T-man Performance, knowing it was gonna take quite a few
weeks to get them back. The good shops are always busy and when it comes to machining, you can’t
afford to waiver on quality. Throughout all of this, Brandon and the folks at T-Man proved over and over
that their attention to detail and knowledge of these motors is second to none.
While I was waiting for the heads and cylinders to get worked and checked, I assembled the cam chest.
Between overtime shifts in salt trucks at work, Brandon called me. I was hoping it was to tell me
everything was done and ready ship. Quite the opposite, as it turned out. In a very informative
conversation, I discovered how important some of those casting numbers on the Harley heads are. It
turns out, the heads on my Blackline with a casting number “332” are known to crack behind the valve
guides. I was informed that when they started work on my heads, they found the heads were cracked,
top to bottom behind the guides, so new ones would need to be found. In the interest of keeping this
project moving, he offered me a set of black heads he had on the shelf that just needed to be slightly
worked to match my build, but he would need a good set of cores back from me.
With the info on exactly what he needed, I began searching for cores with the right casting and part
numbers. After a few days of messages through Ebay and the local classifieds, I finally found a set that
met all the requirements. The seller agreed to ship them directly to T-man. Great… Got that fire put out,
and it didn’t cost me a mortgage payment….
A few days later I got another call from T-man. Hoping for good news, I answered the phone. True to his
word Brandon checked everything meticulously and found the used cylinders were actually .0025”
tapered, wide at the bottom. Great. We went over some options and considering I already had the
pistons, etc. and it wasn’t in the budget to buy new cylinders, he recommended a company to coat the
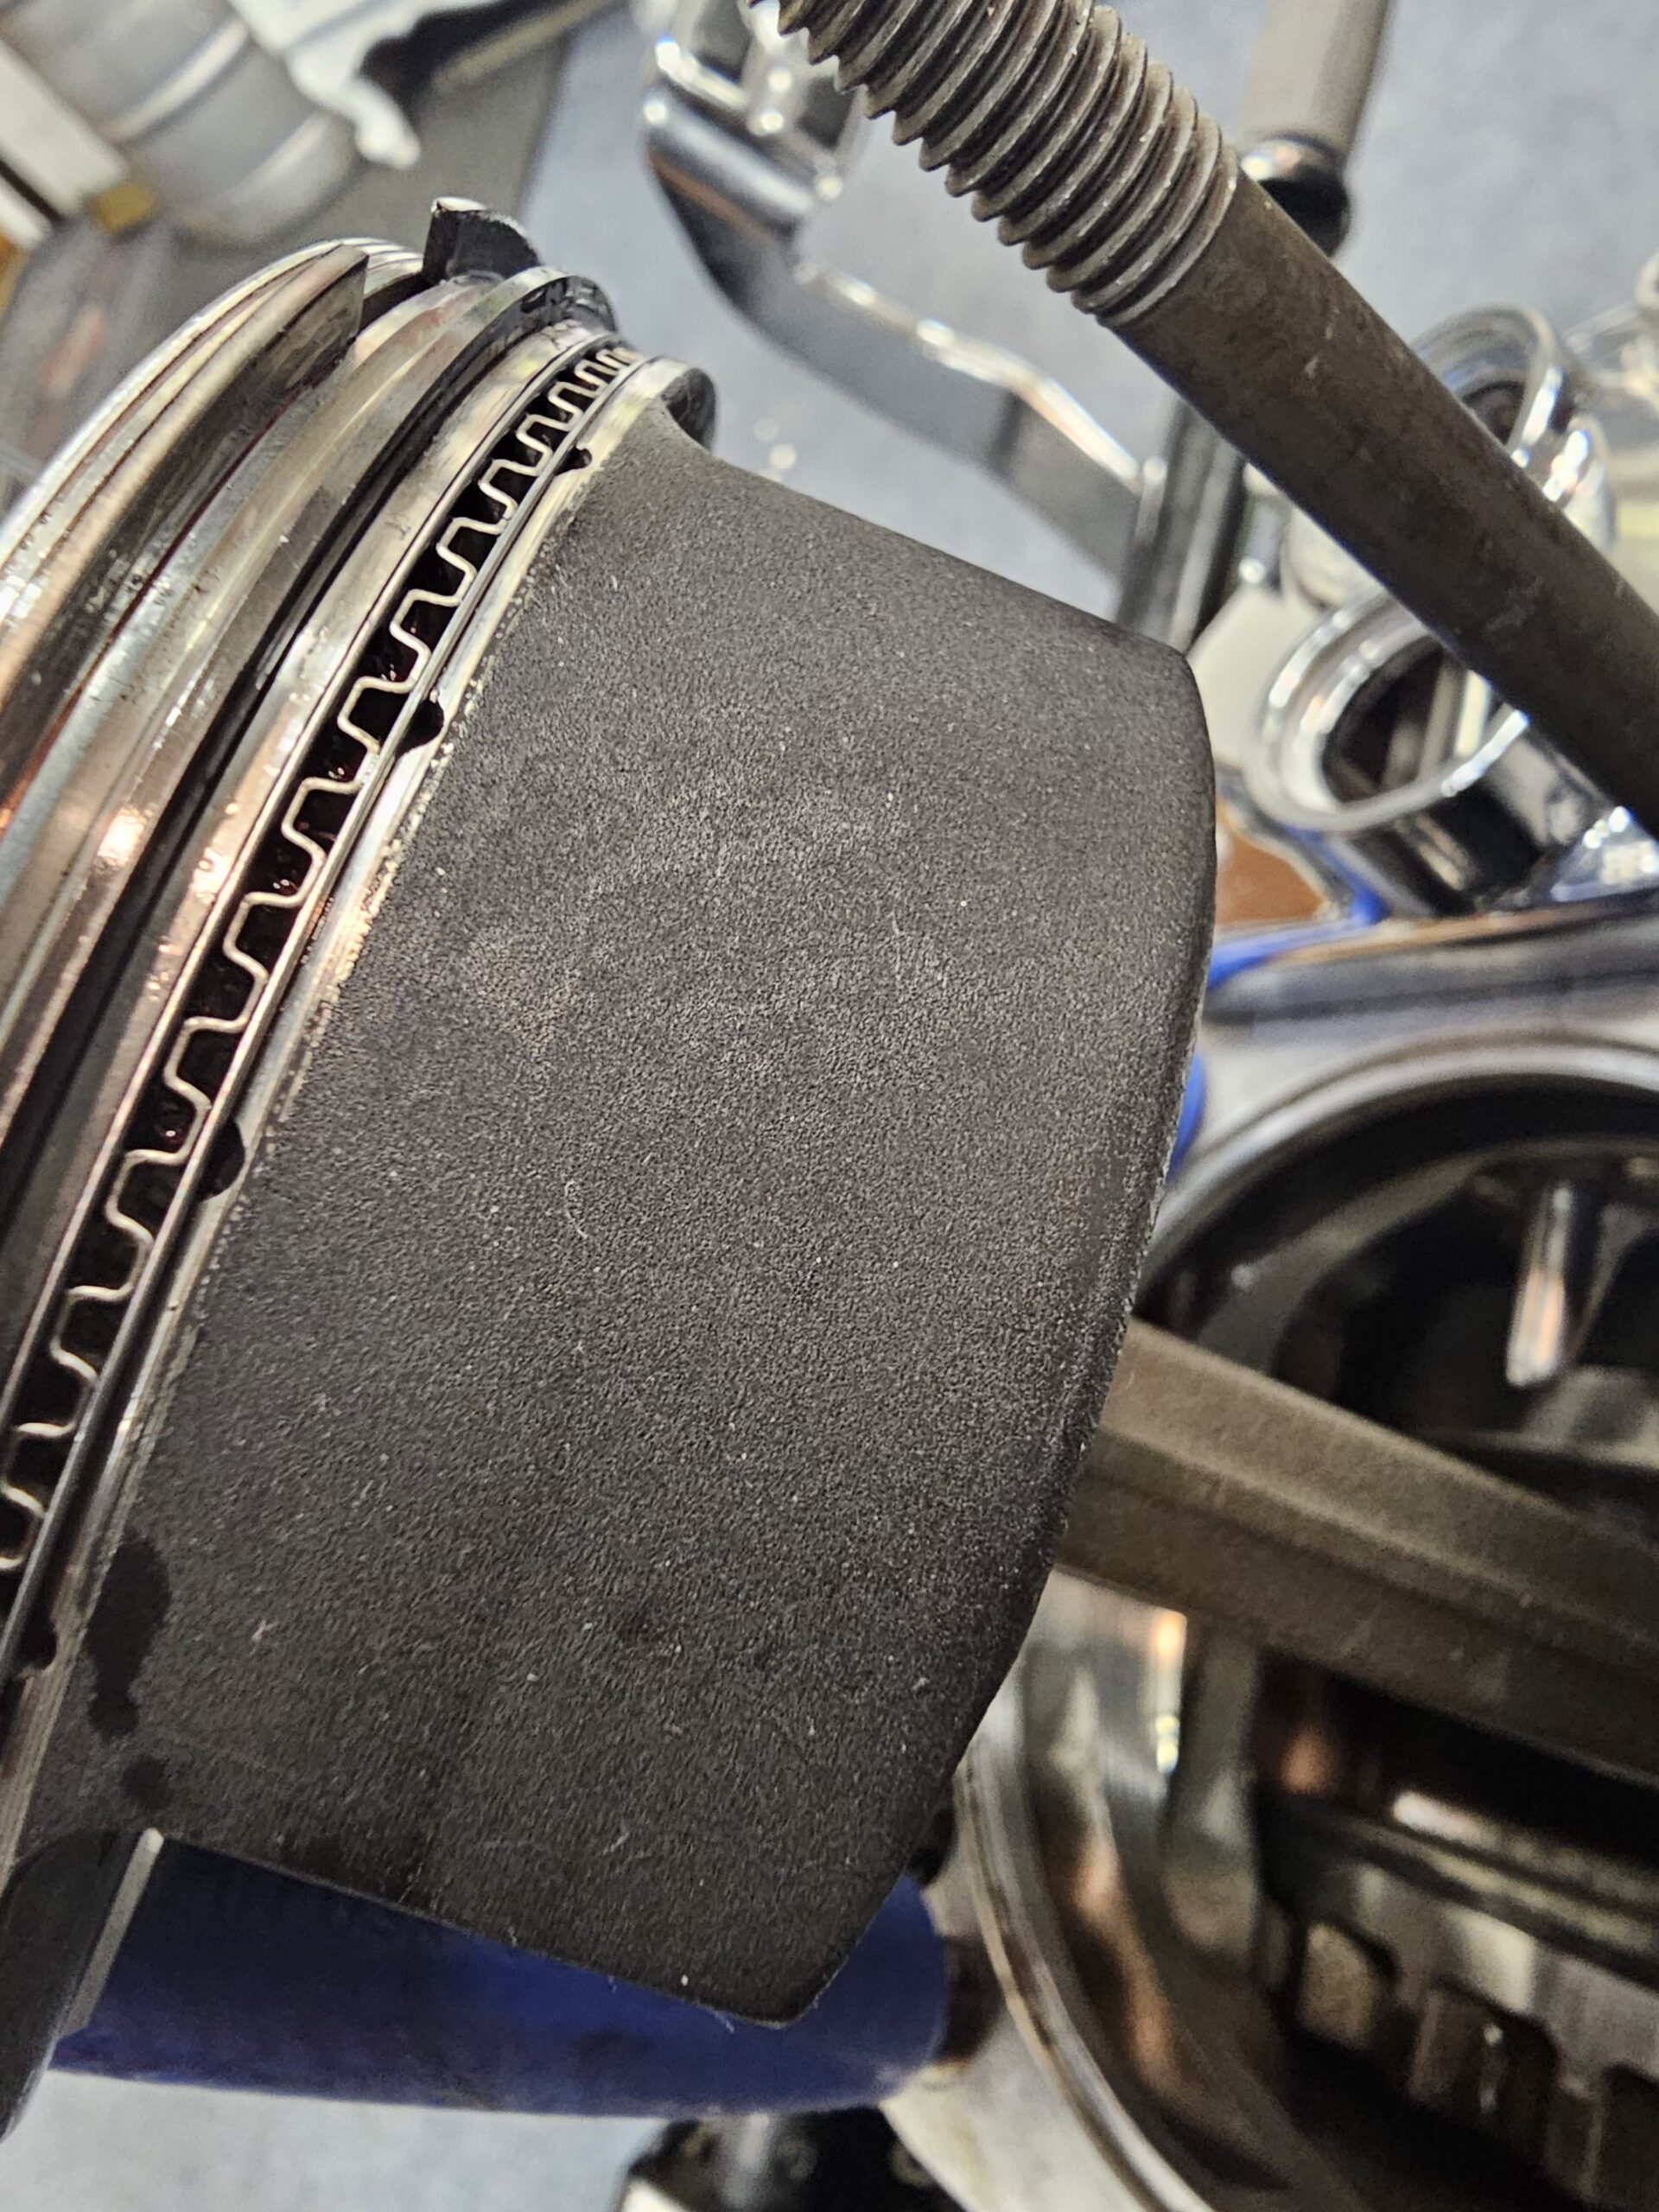
pistons. Line2Line Coatings offered a coating I have never heard of, but has been in use for decades. Not
a standard antifriction coating that is common, even on OEM pistons. This was an abradable graphite
coating that is applied to .0005” clearance, then during the heat cycling at initial startup, it wears into
the correct size. As graphite isn’t a wear metal, it won’t cause any damage to any other parts and
harmlessly drains out with the first oil change. T-man honed the cylinders to 4.0025” to get the bores
straight. Great… another fire out. Just have to send these pistons out and get them back before the
heads and cylinders get here….
Another phone call a few days later. I was laughing at this point, when I said hello and asked what my
next problem was. I was informed that there’s a good possibility of valve to piston clearance at TDC as
the cam I have selected has really really high lift at TDC. Why not… I just started laughing and asked
what my options were. He was able to make changes to the valve angles to get the valve to valve
clearance worked out, but I was gonna have to clay the motor and check the clearances before I hit the
start button. The next time they called, I hoped it was the nice lady telling me my parts were done and I
just need to pay the bill….
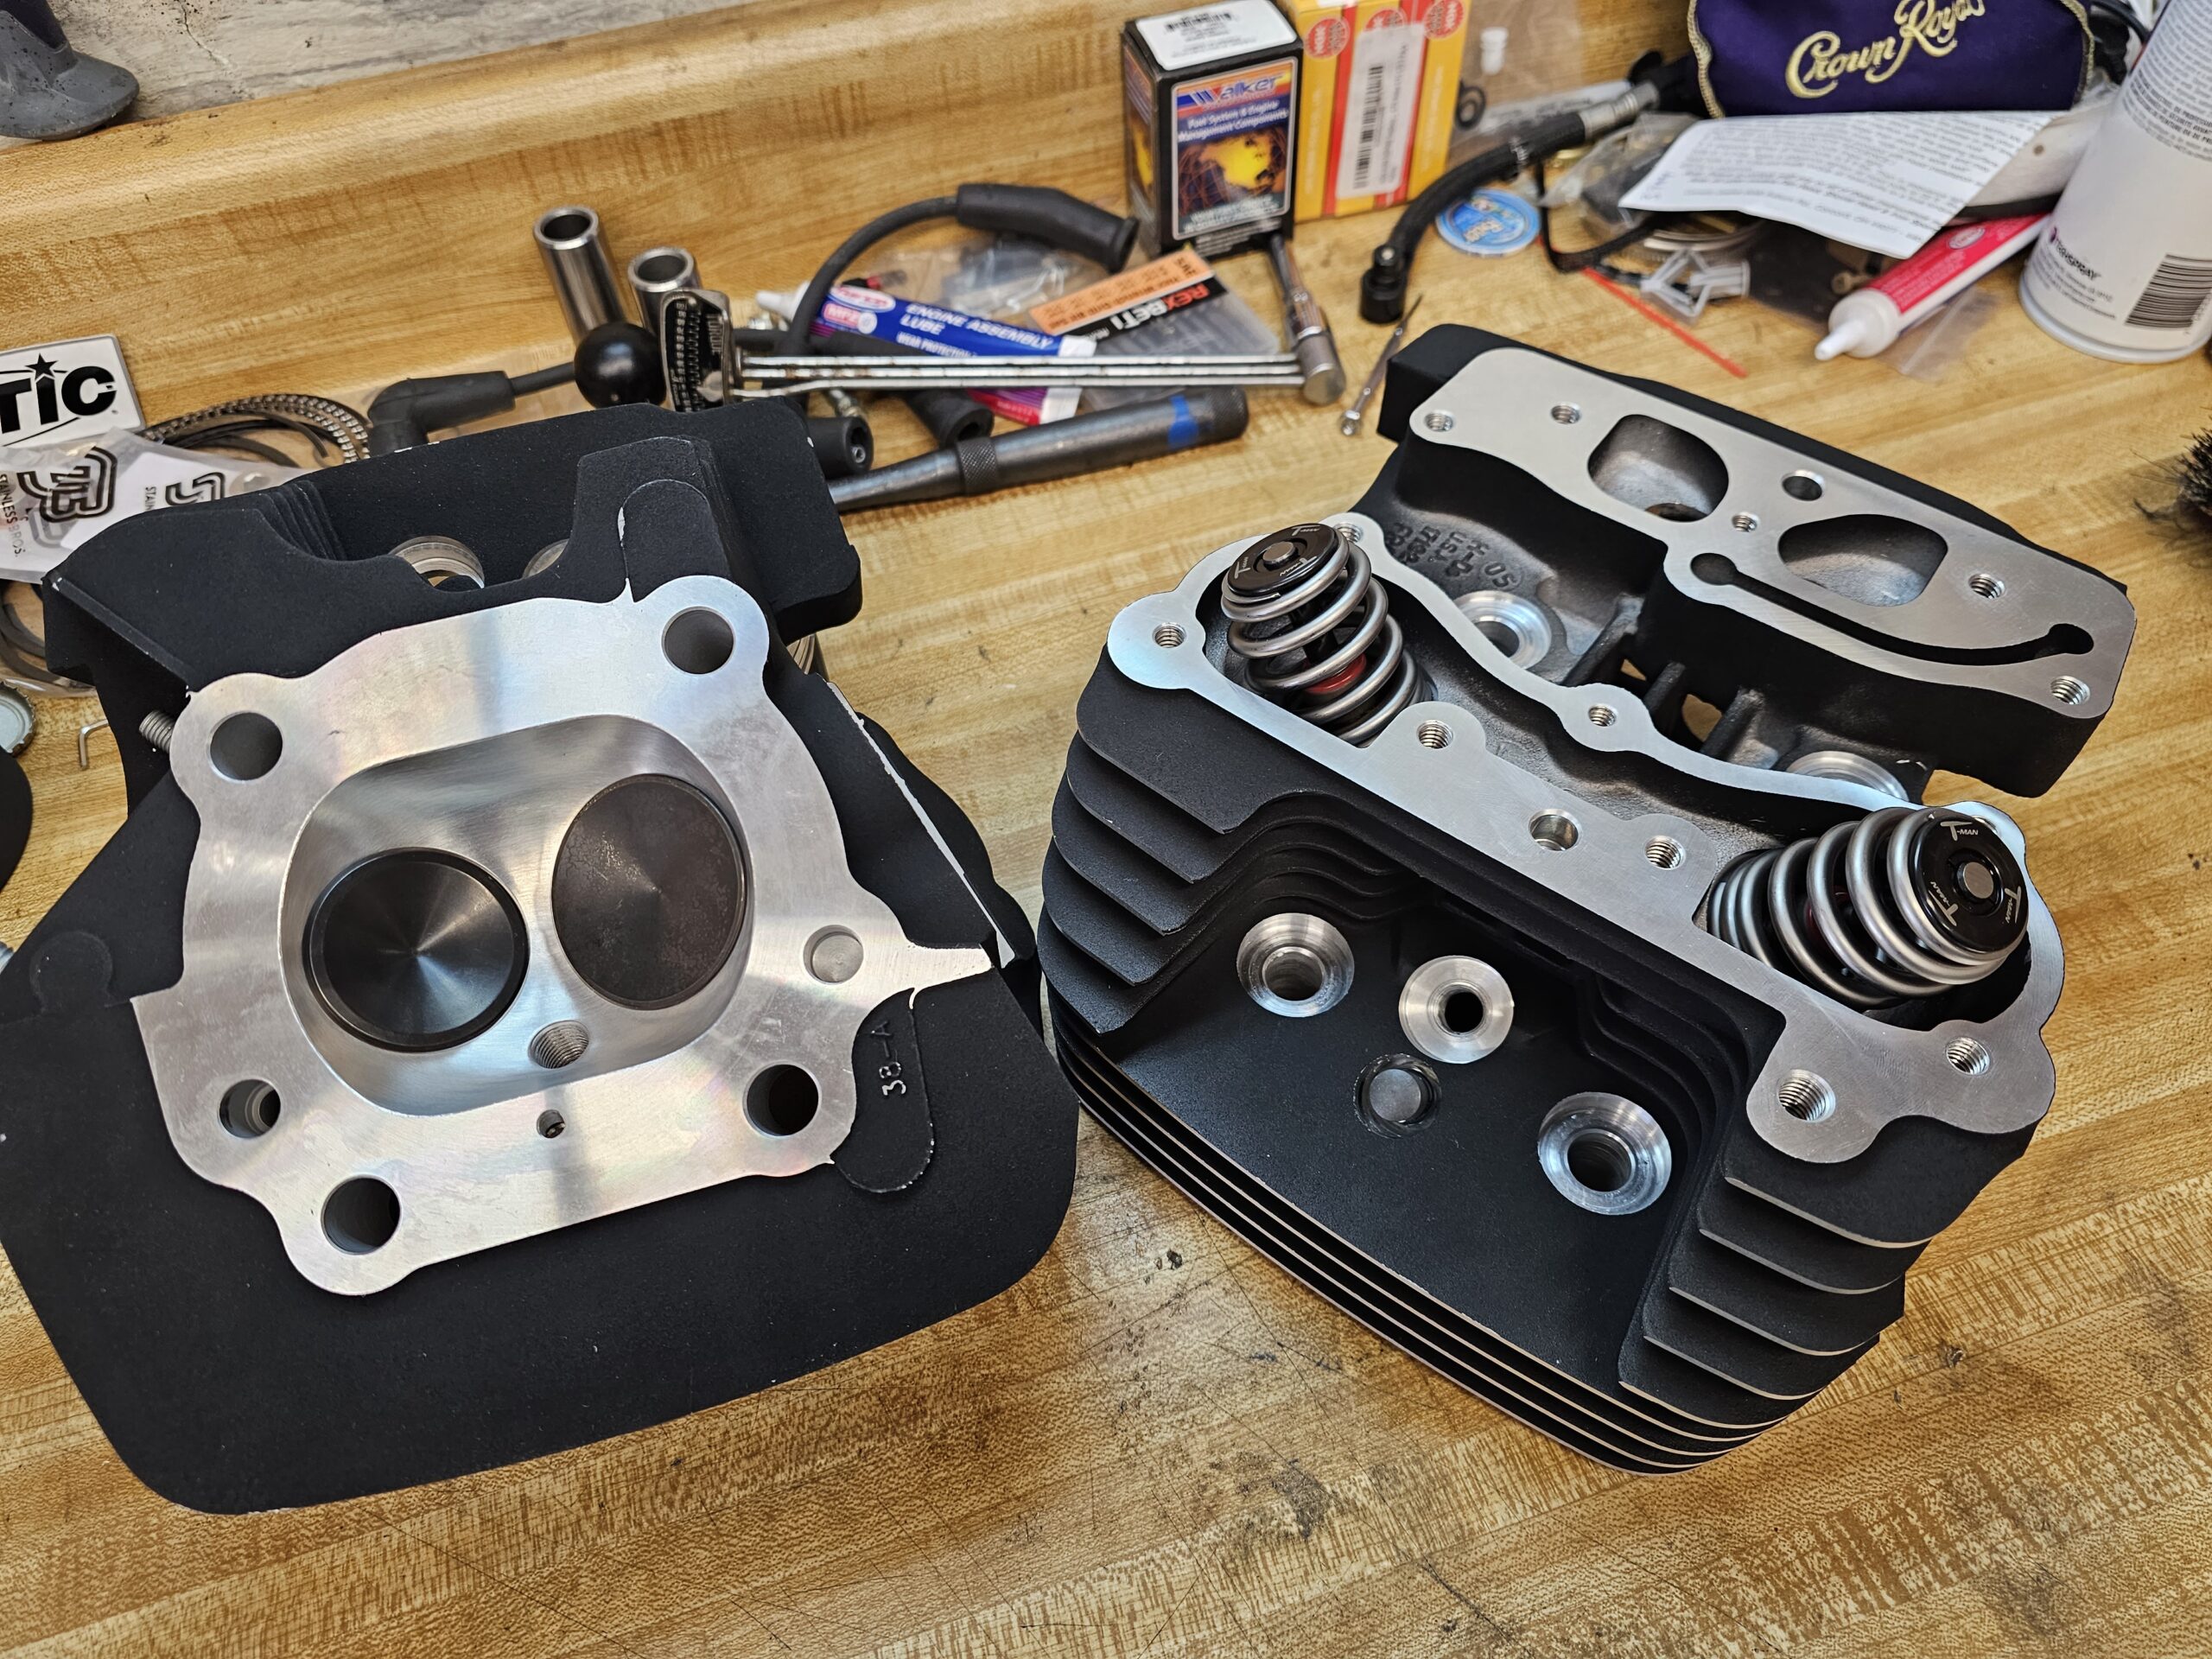
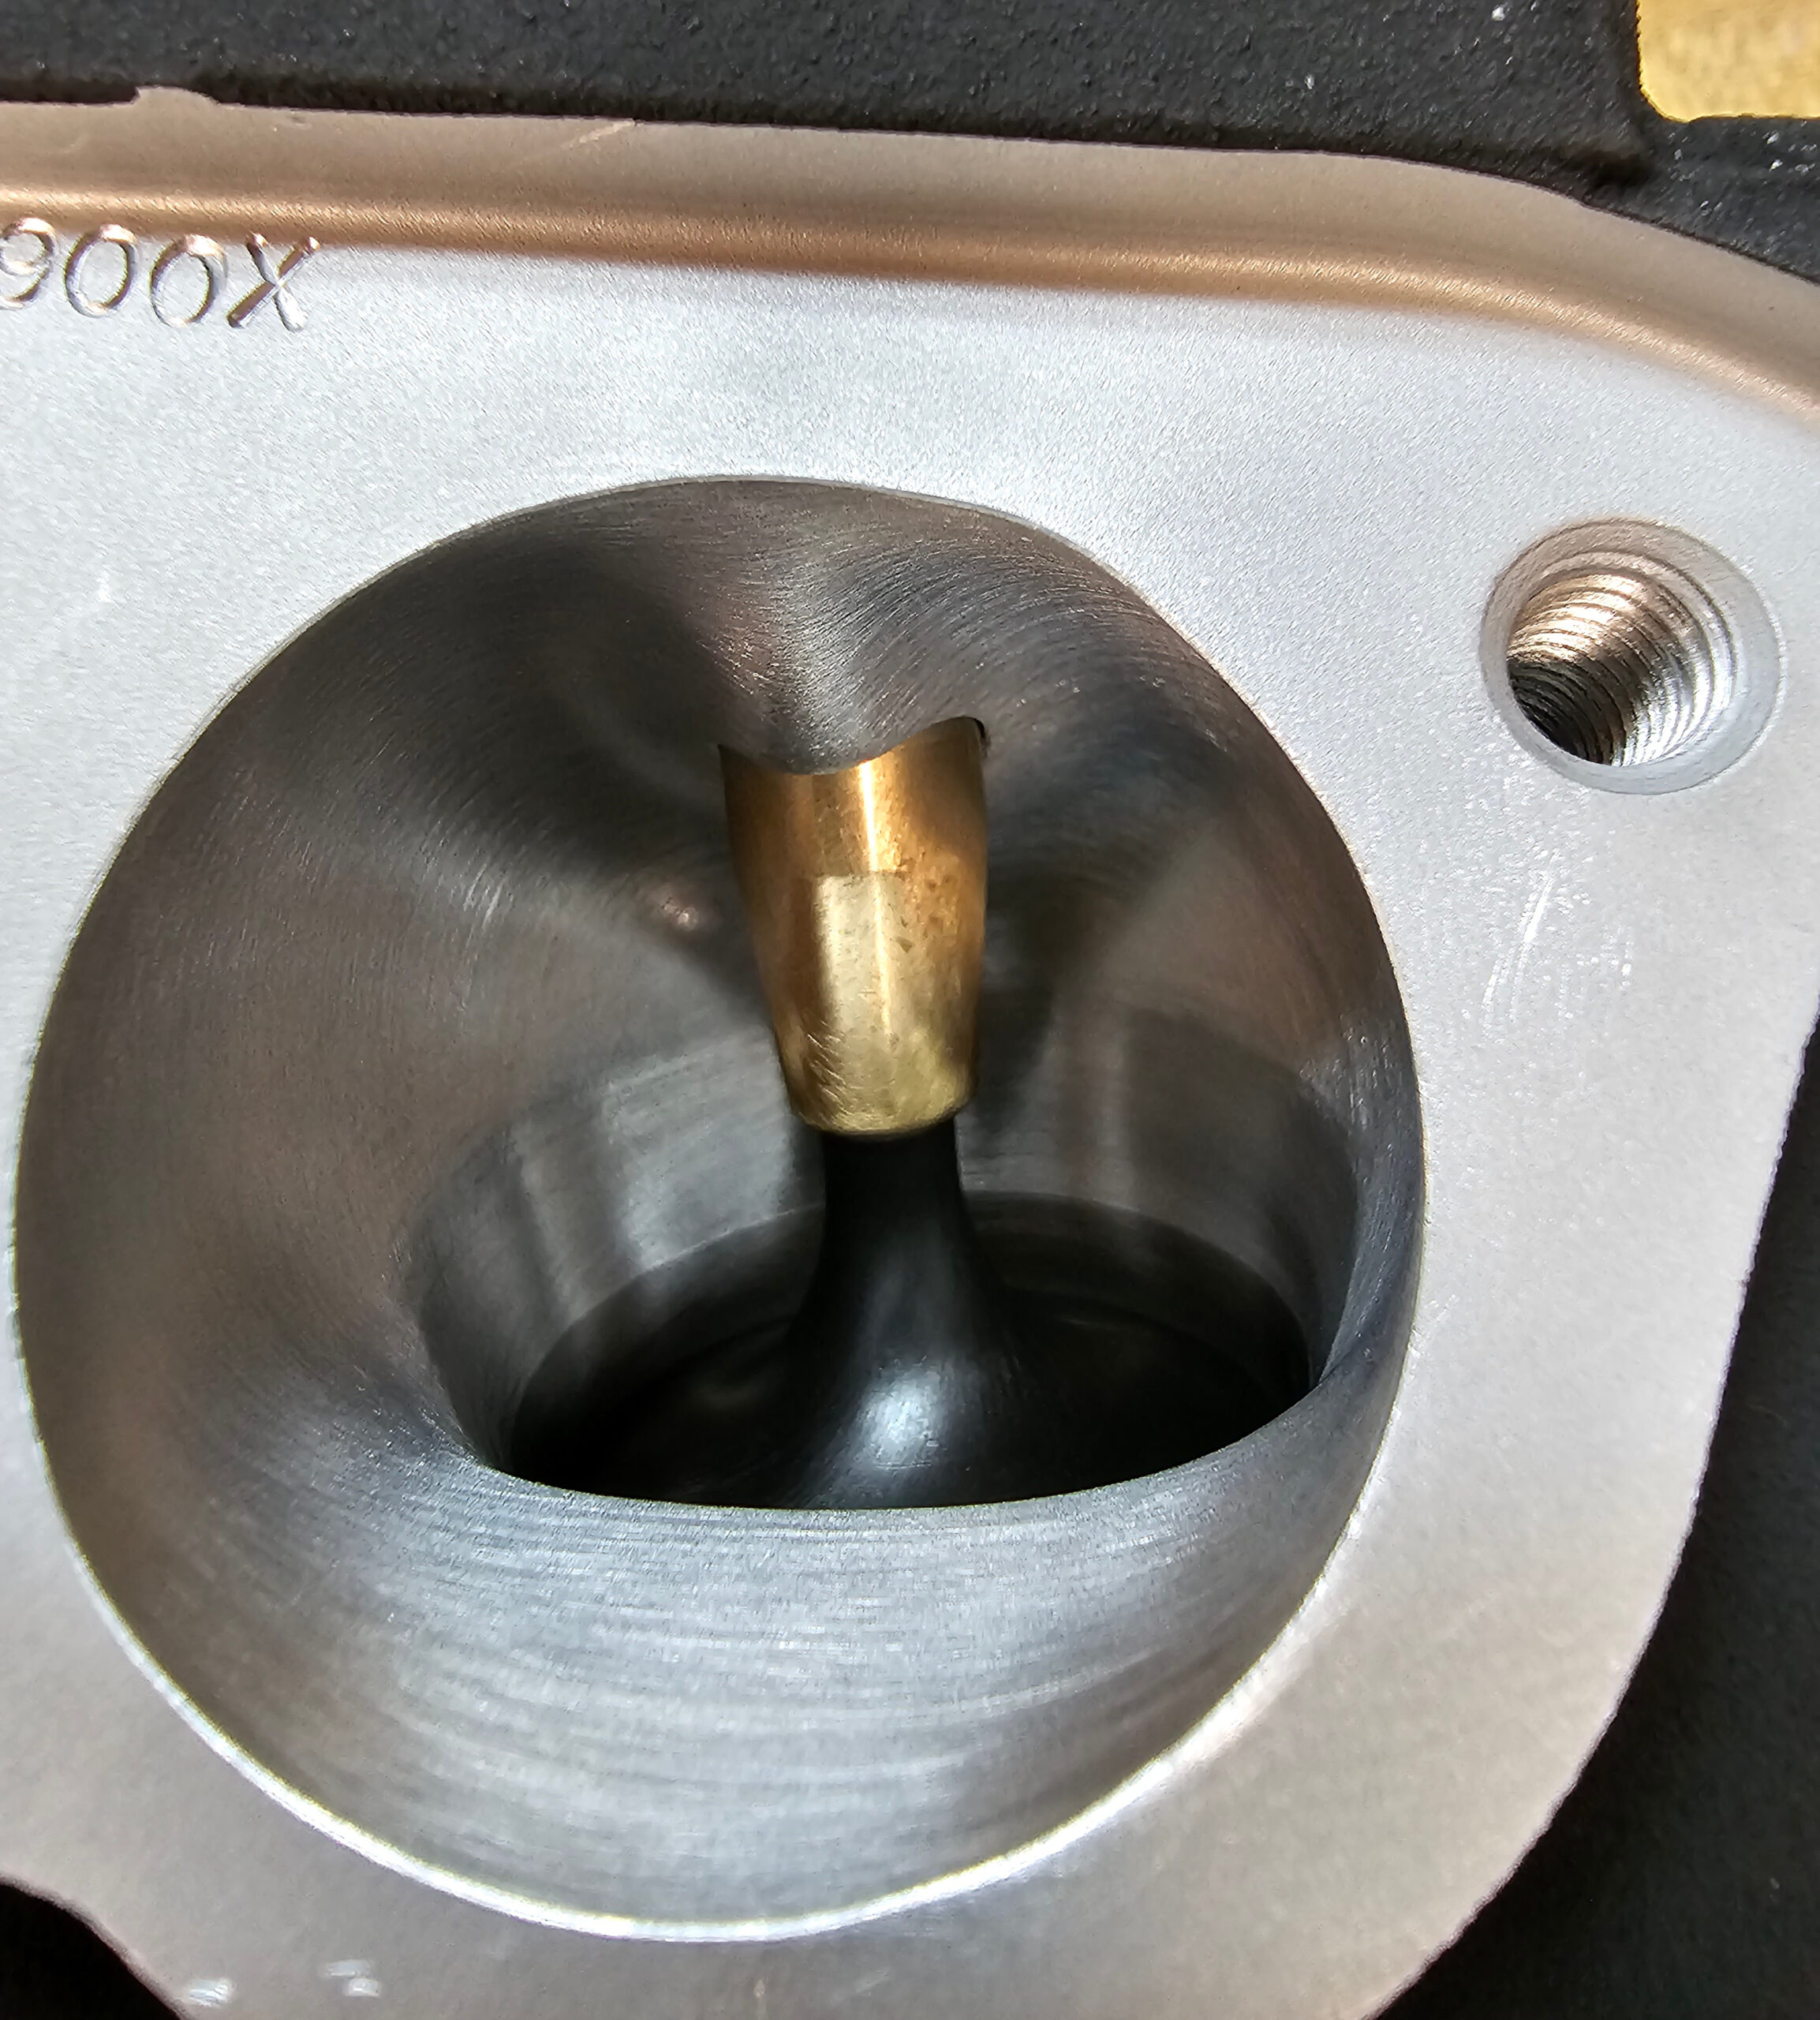
That day finally came, and it was well worth the wait. When the cylinders and heads showed up, the
attention to detail and the quality of the work was apparent at first glance, and even more obvious the
longer I looked. I took a ton pictures, and almost felt bad bolting them on because the beauty and
craftsmanship would not be appreciated once that happened. The pistons returned just before the
heads, and they measured exactly at 4.002” and fit the cylinders so seamlessly it was oddly satisfying to
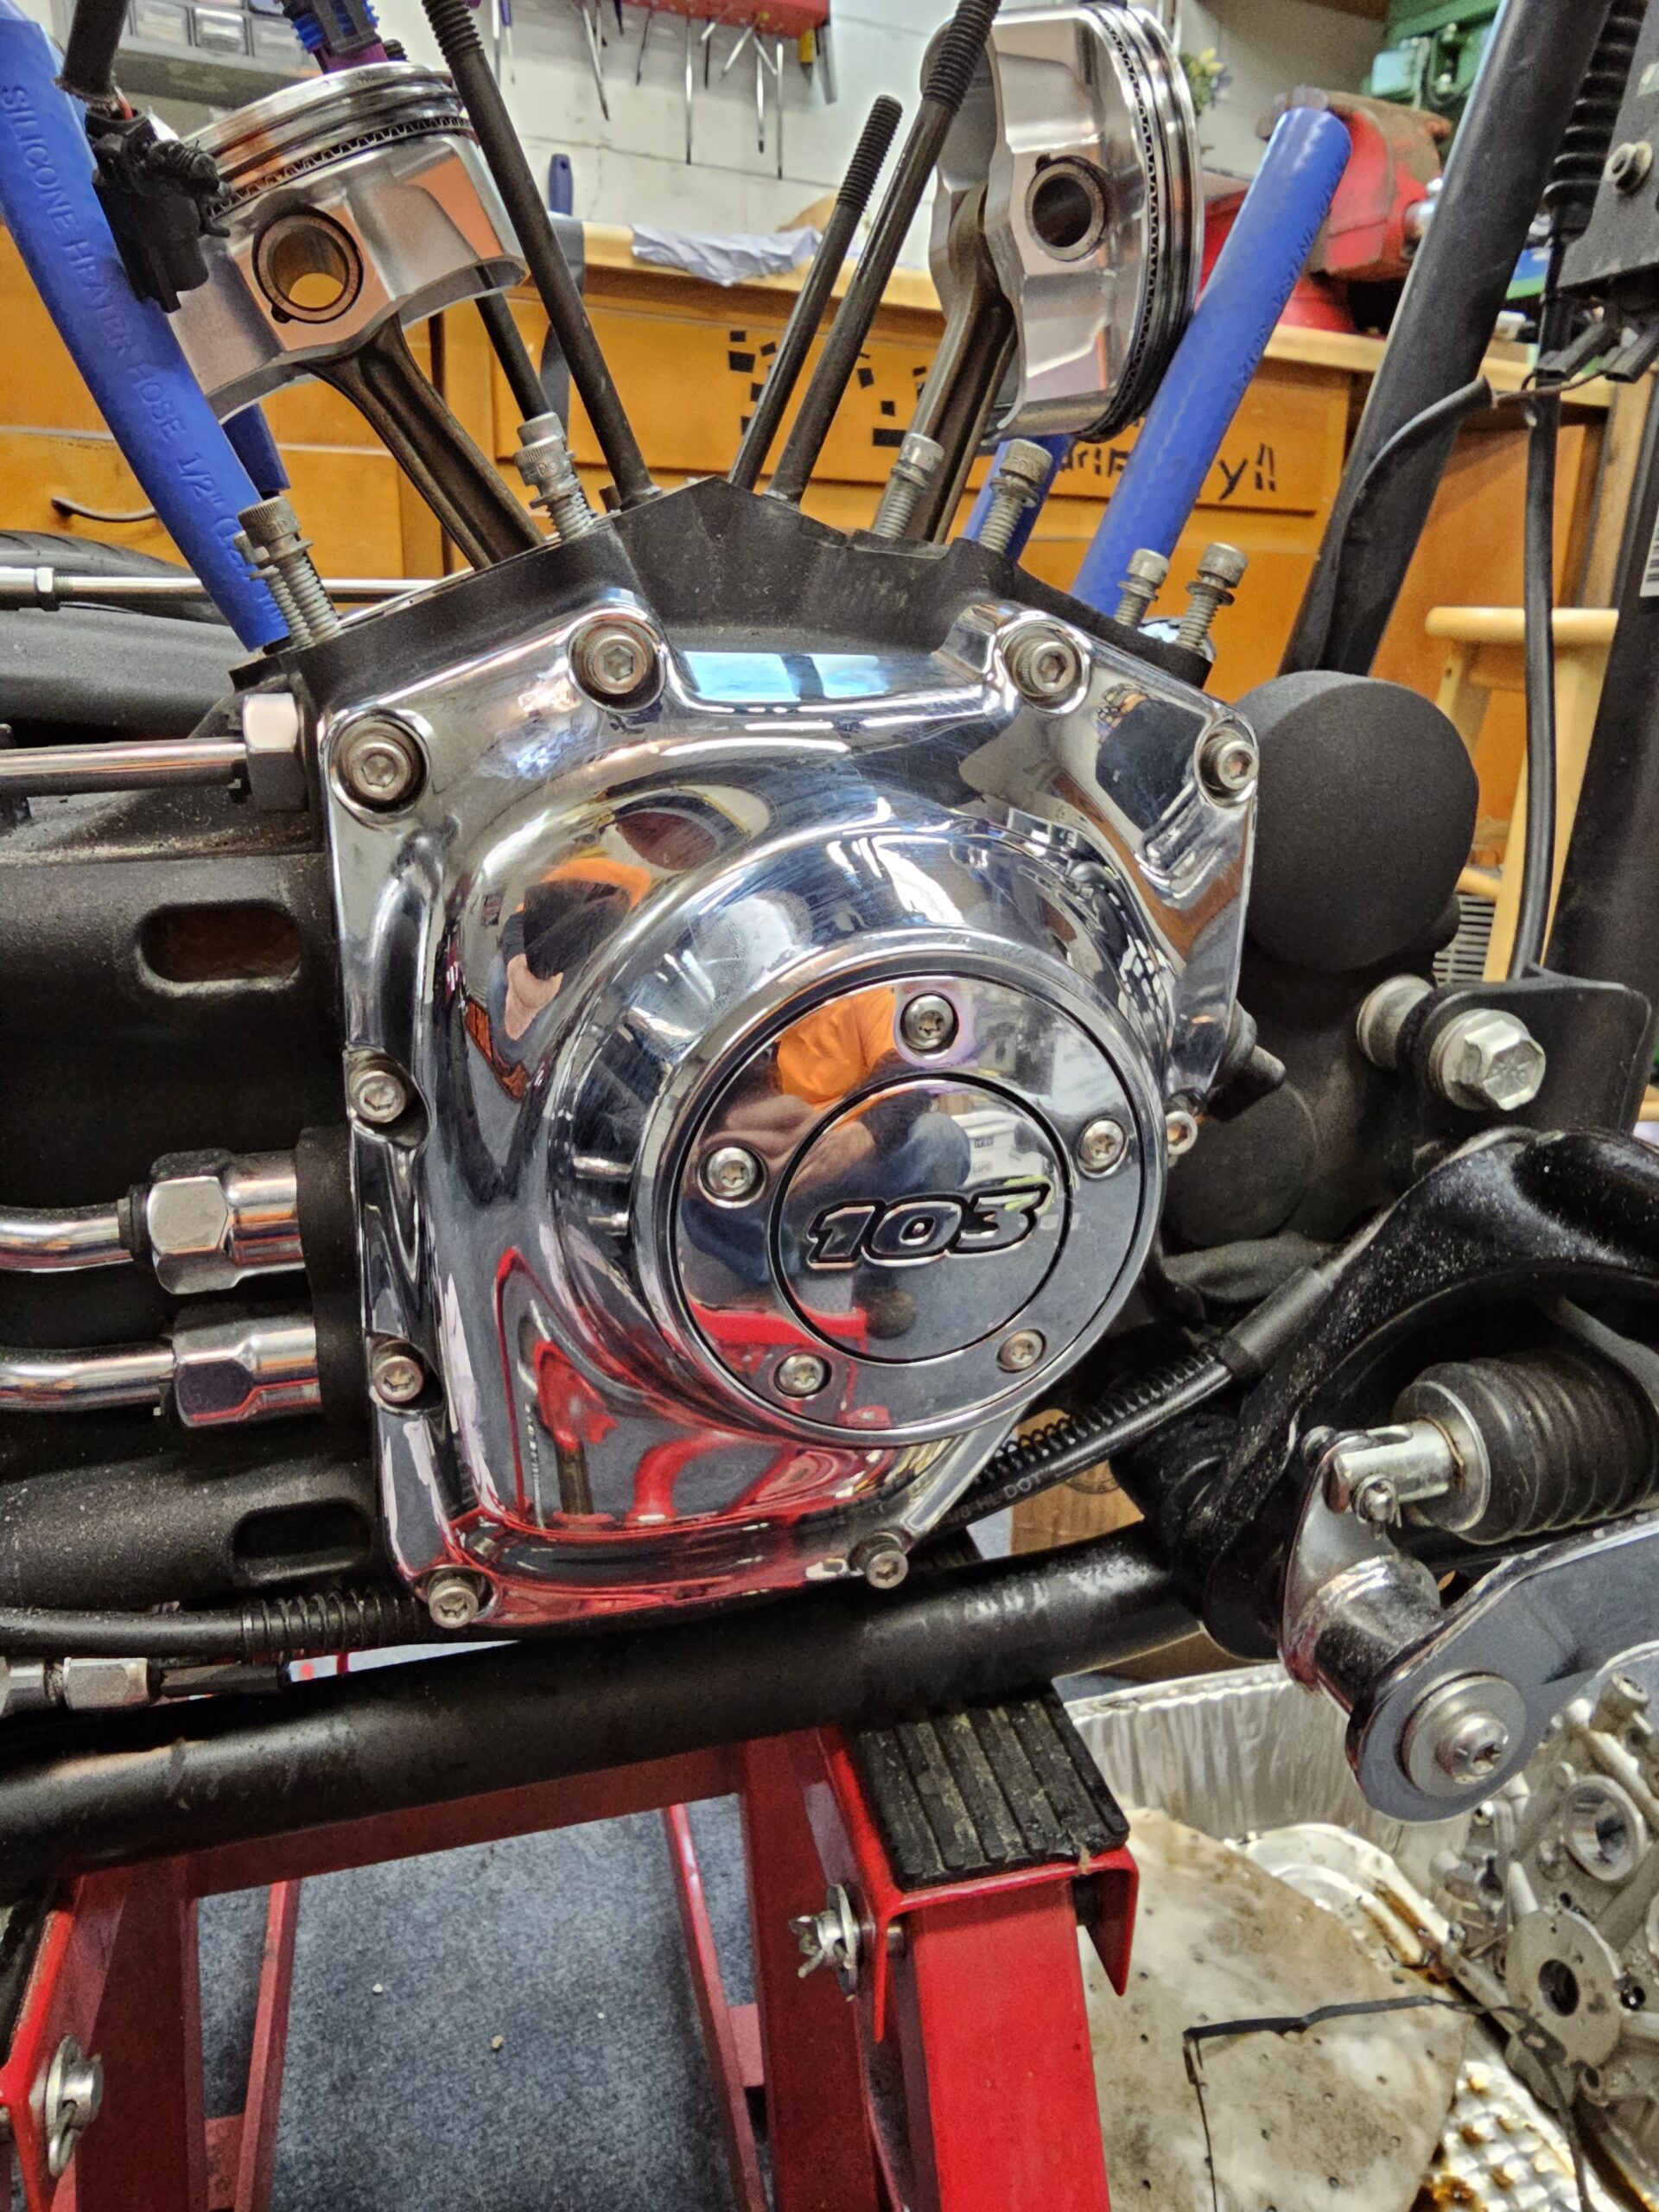
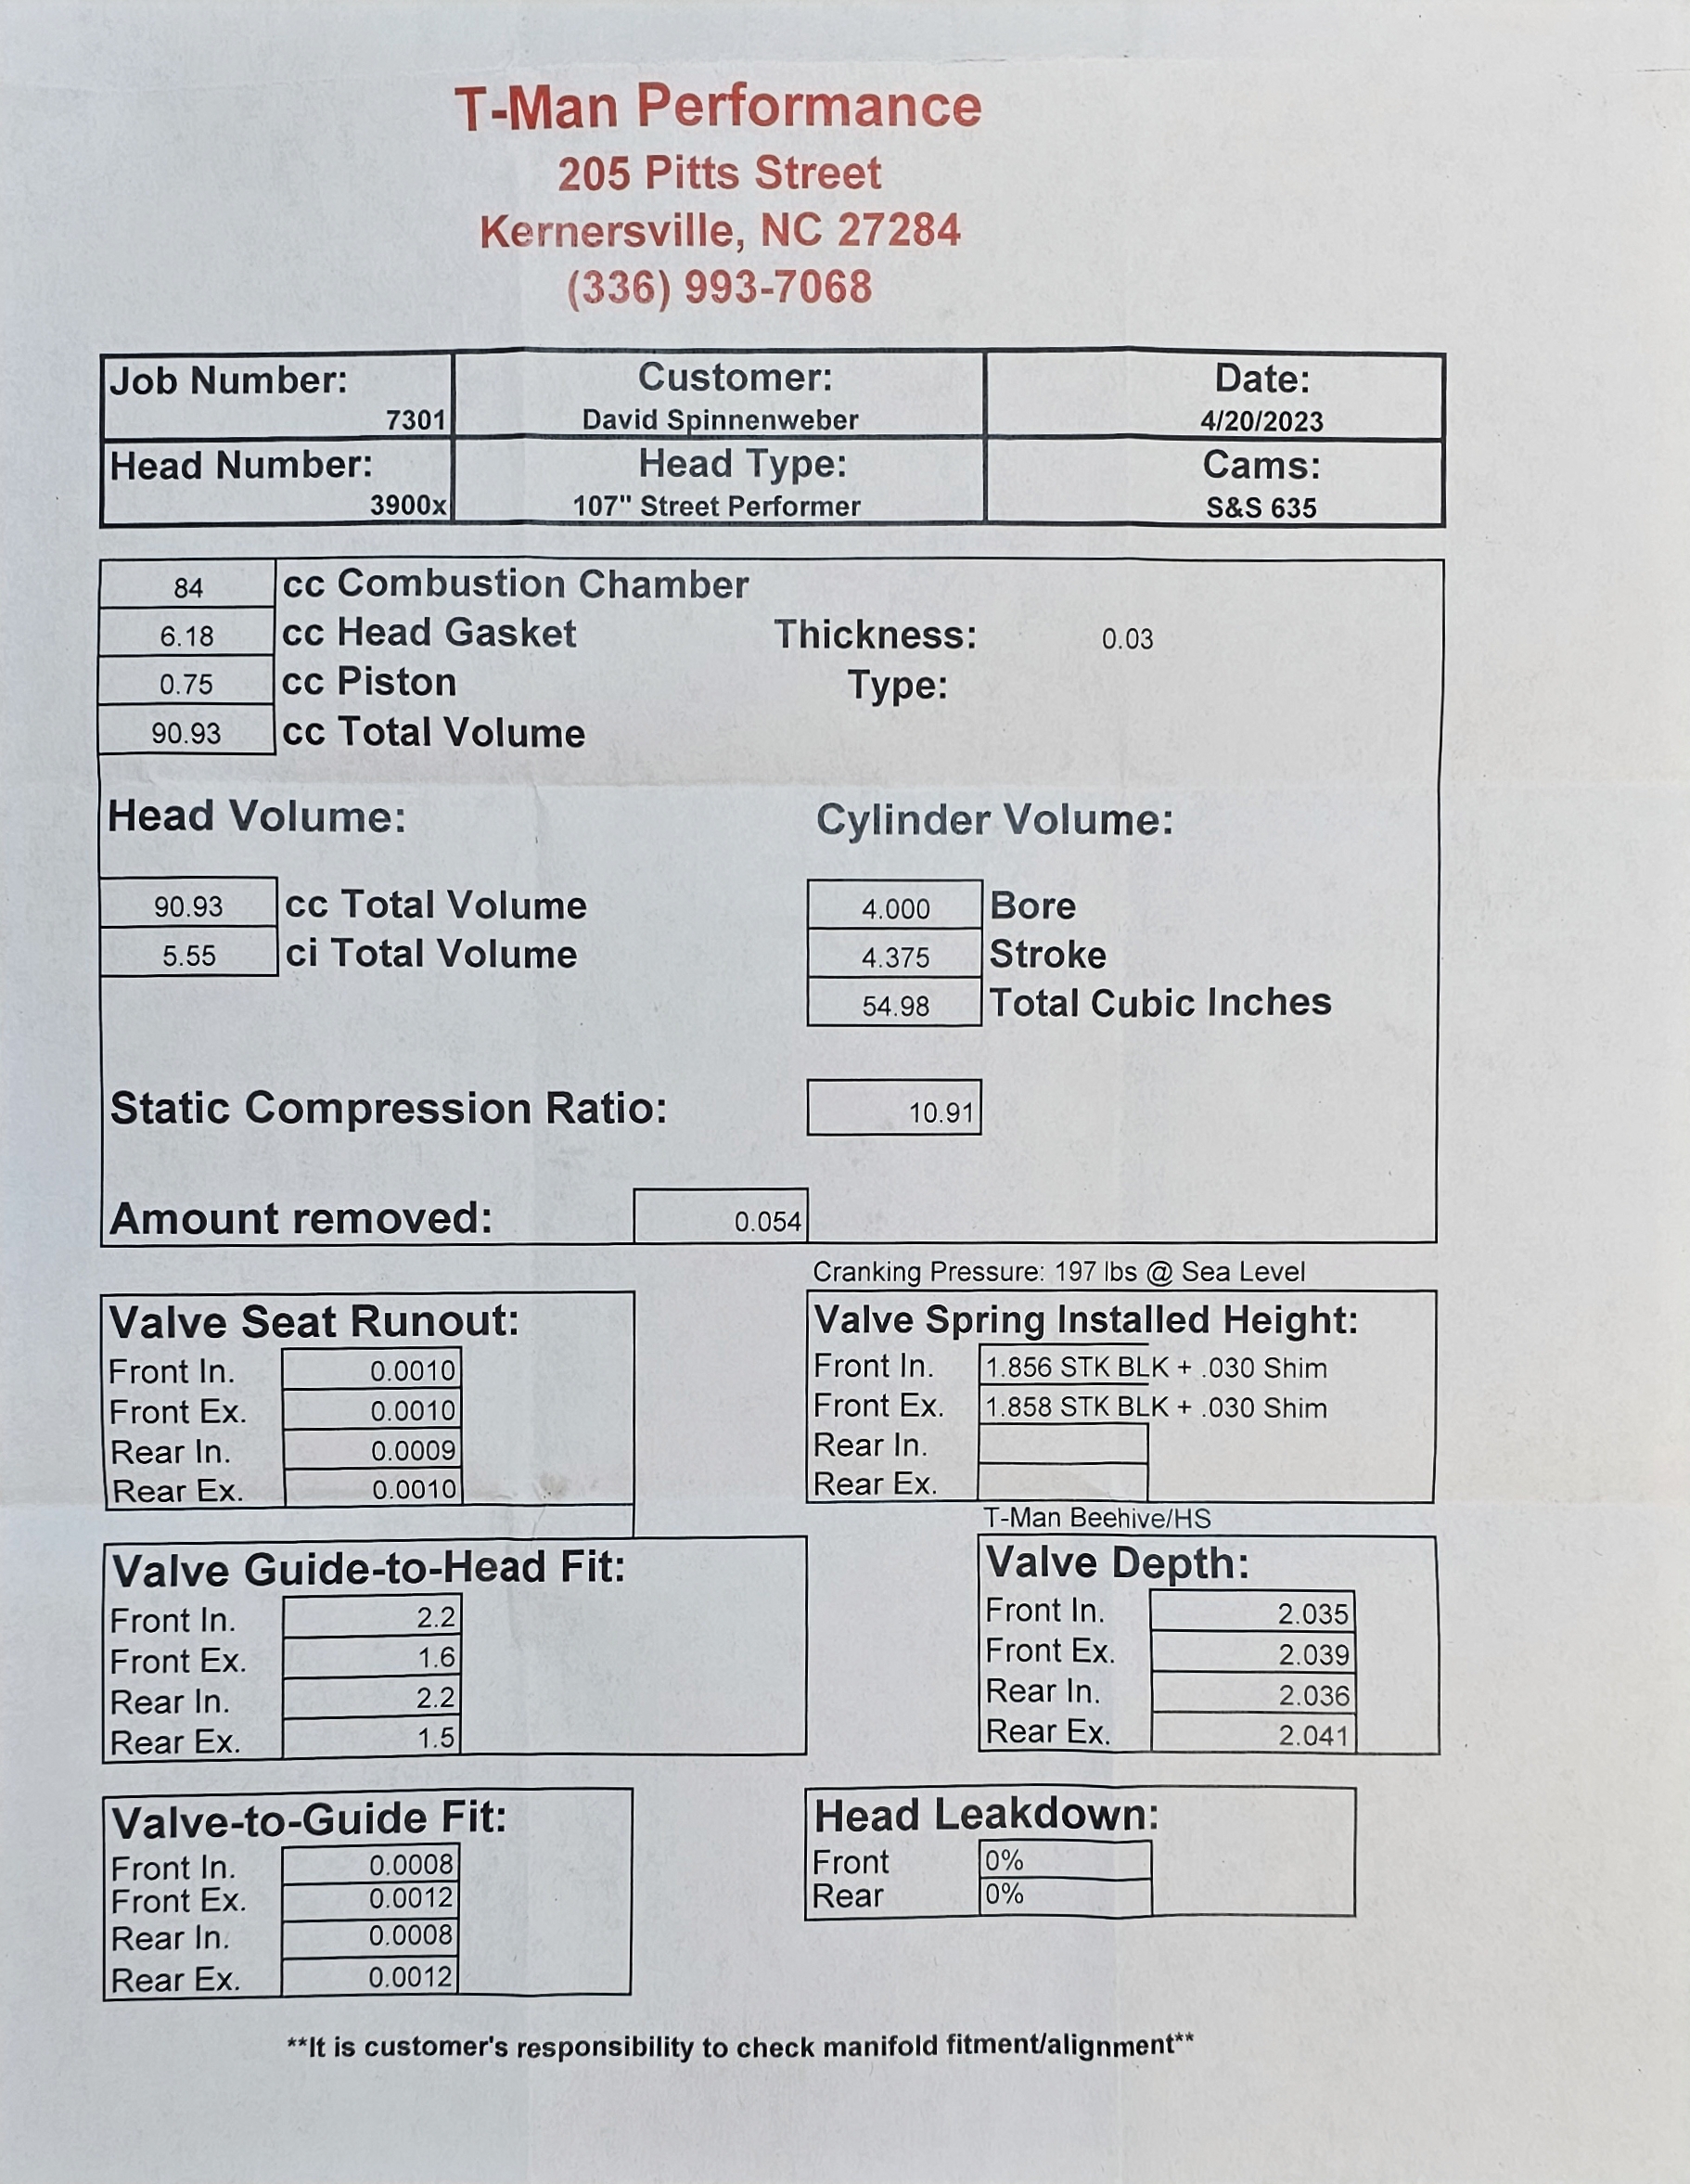
test fit on the bench. Included with the heads was a spec sheet showing all the final numbers. With
10.9:1 Compression, I had manual compression releases installed on the heads as these do not have the
ACRs like the factory heads did.

Finally, with all the parts on the bench I was ready to start checking clearances and get it put together
with only 4 days until I flew to a Caribbean paradise for a long awaited vacation. But after all the
problems, hiccups and headaches, I couldn’t go away without at least hearing it fire up once. So started
the long nights and marathon days of bolting this all together.
On a Friday afternoon, I assembled the engine and turned the motor over by hand with clay on the
pistons to check the valve to piston clearance, did some math, then tore it back apart. Washed
everything and began the final assembly that night. 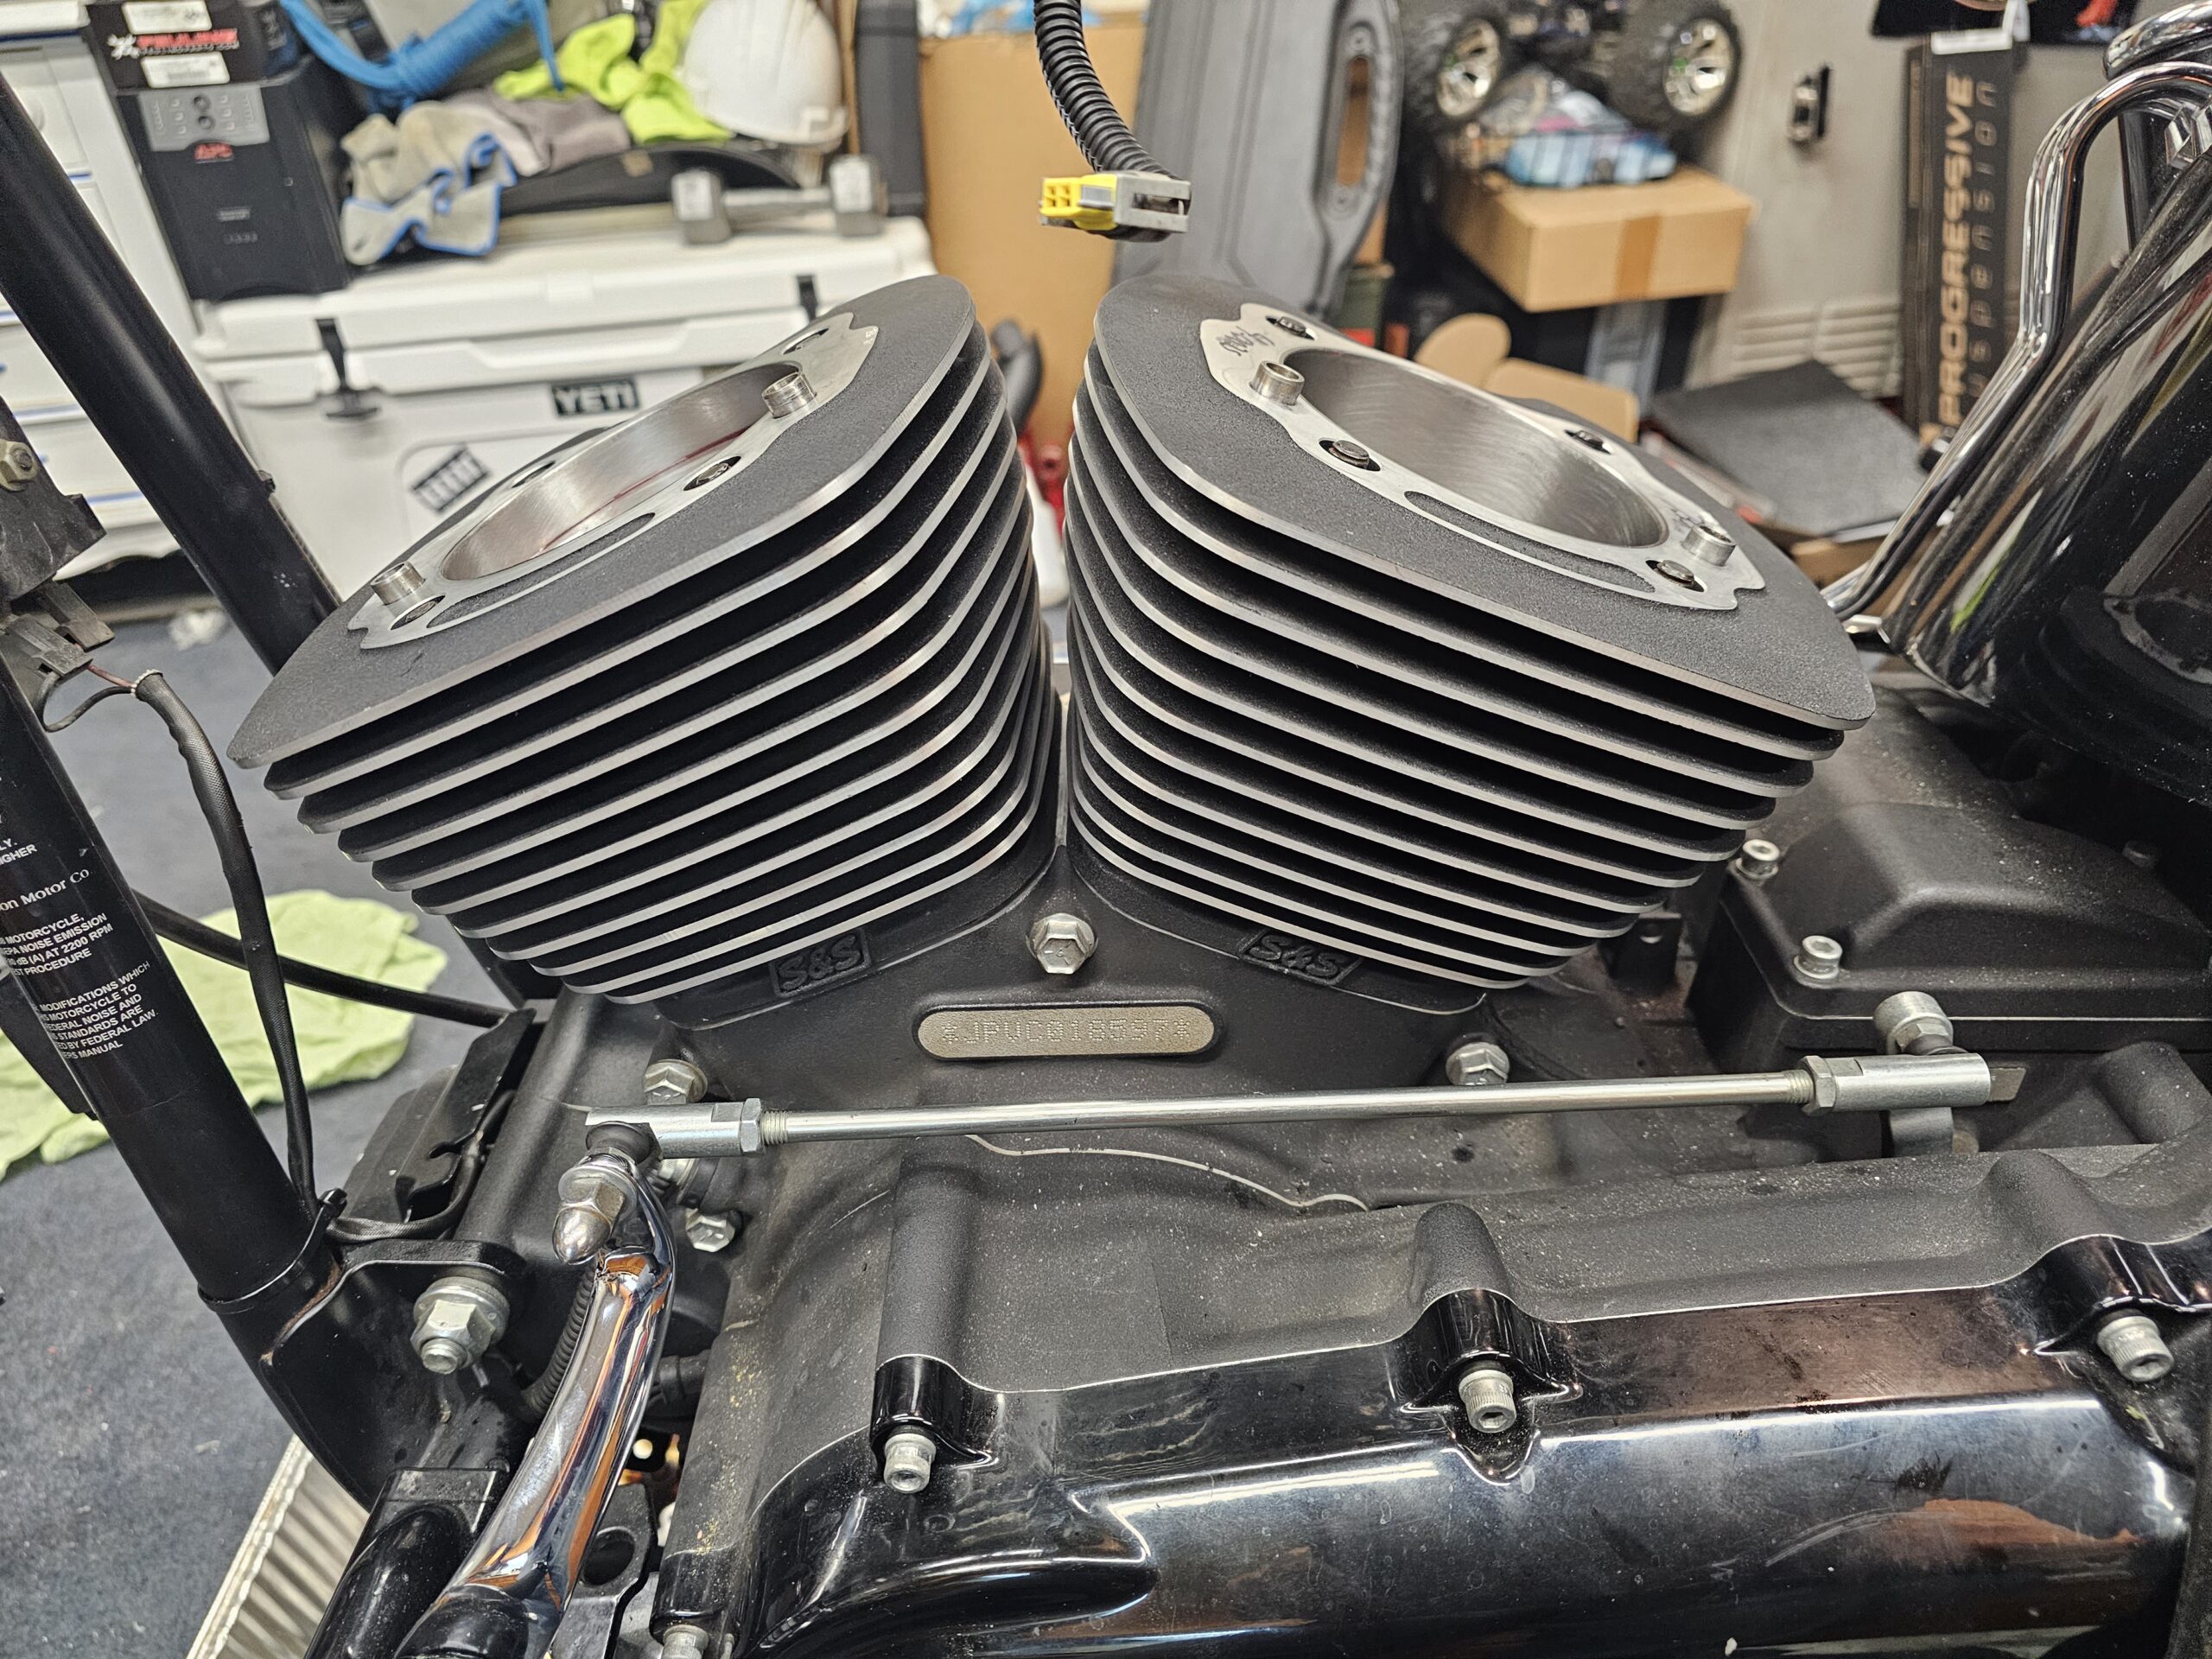
The assembly went well, without much hassle. Starting late at night I once again was thankful for the full
gasket set from Cometic. I didn’t have to worry that at 11pm I would need a random O-ring I hadn’t
thought about. Cometic already did the thinking, so all I had to do was match up which size seal I
needed for a particular part. I mounted the pistons to the rods, aligned the rings as per the directions
from S&S, and then dropped the cylinders on to the pistons.
Using the Cometic .030” head gaskets, I installed the heads on to the cylinders and torqued the head
bolts down as required by Cometic.
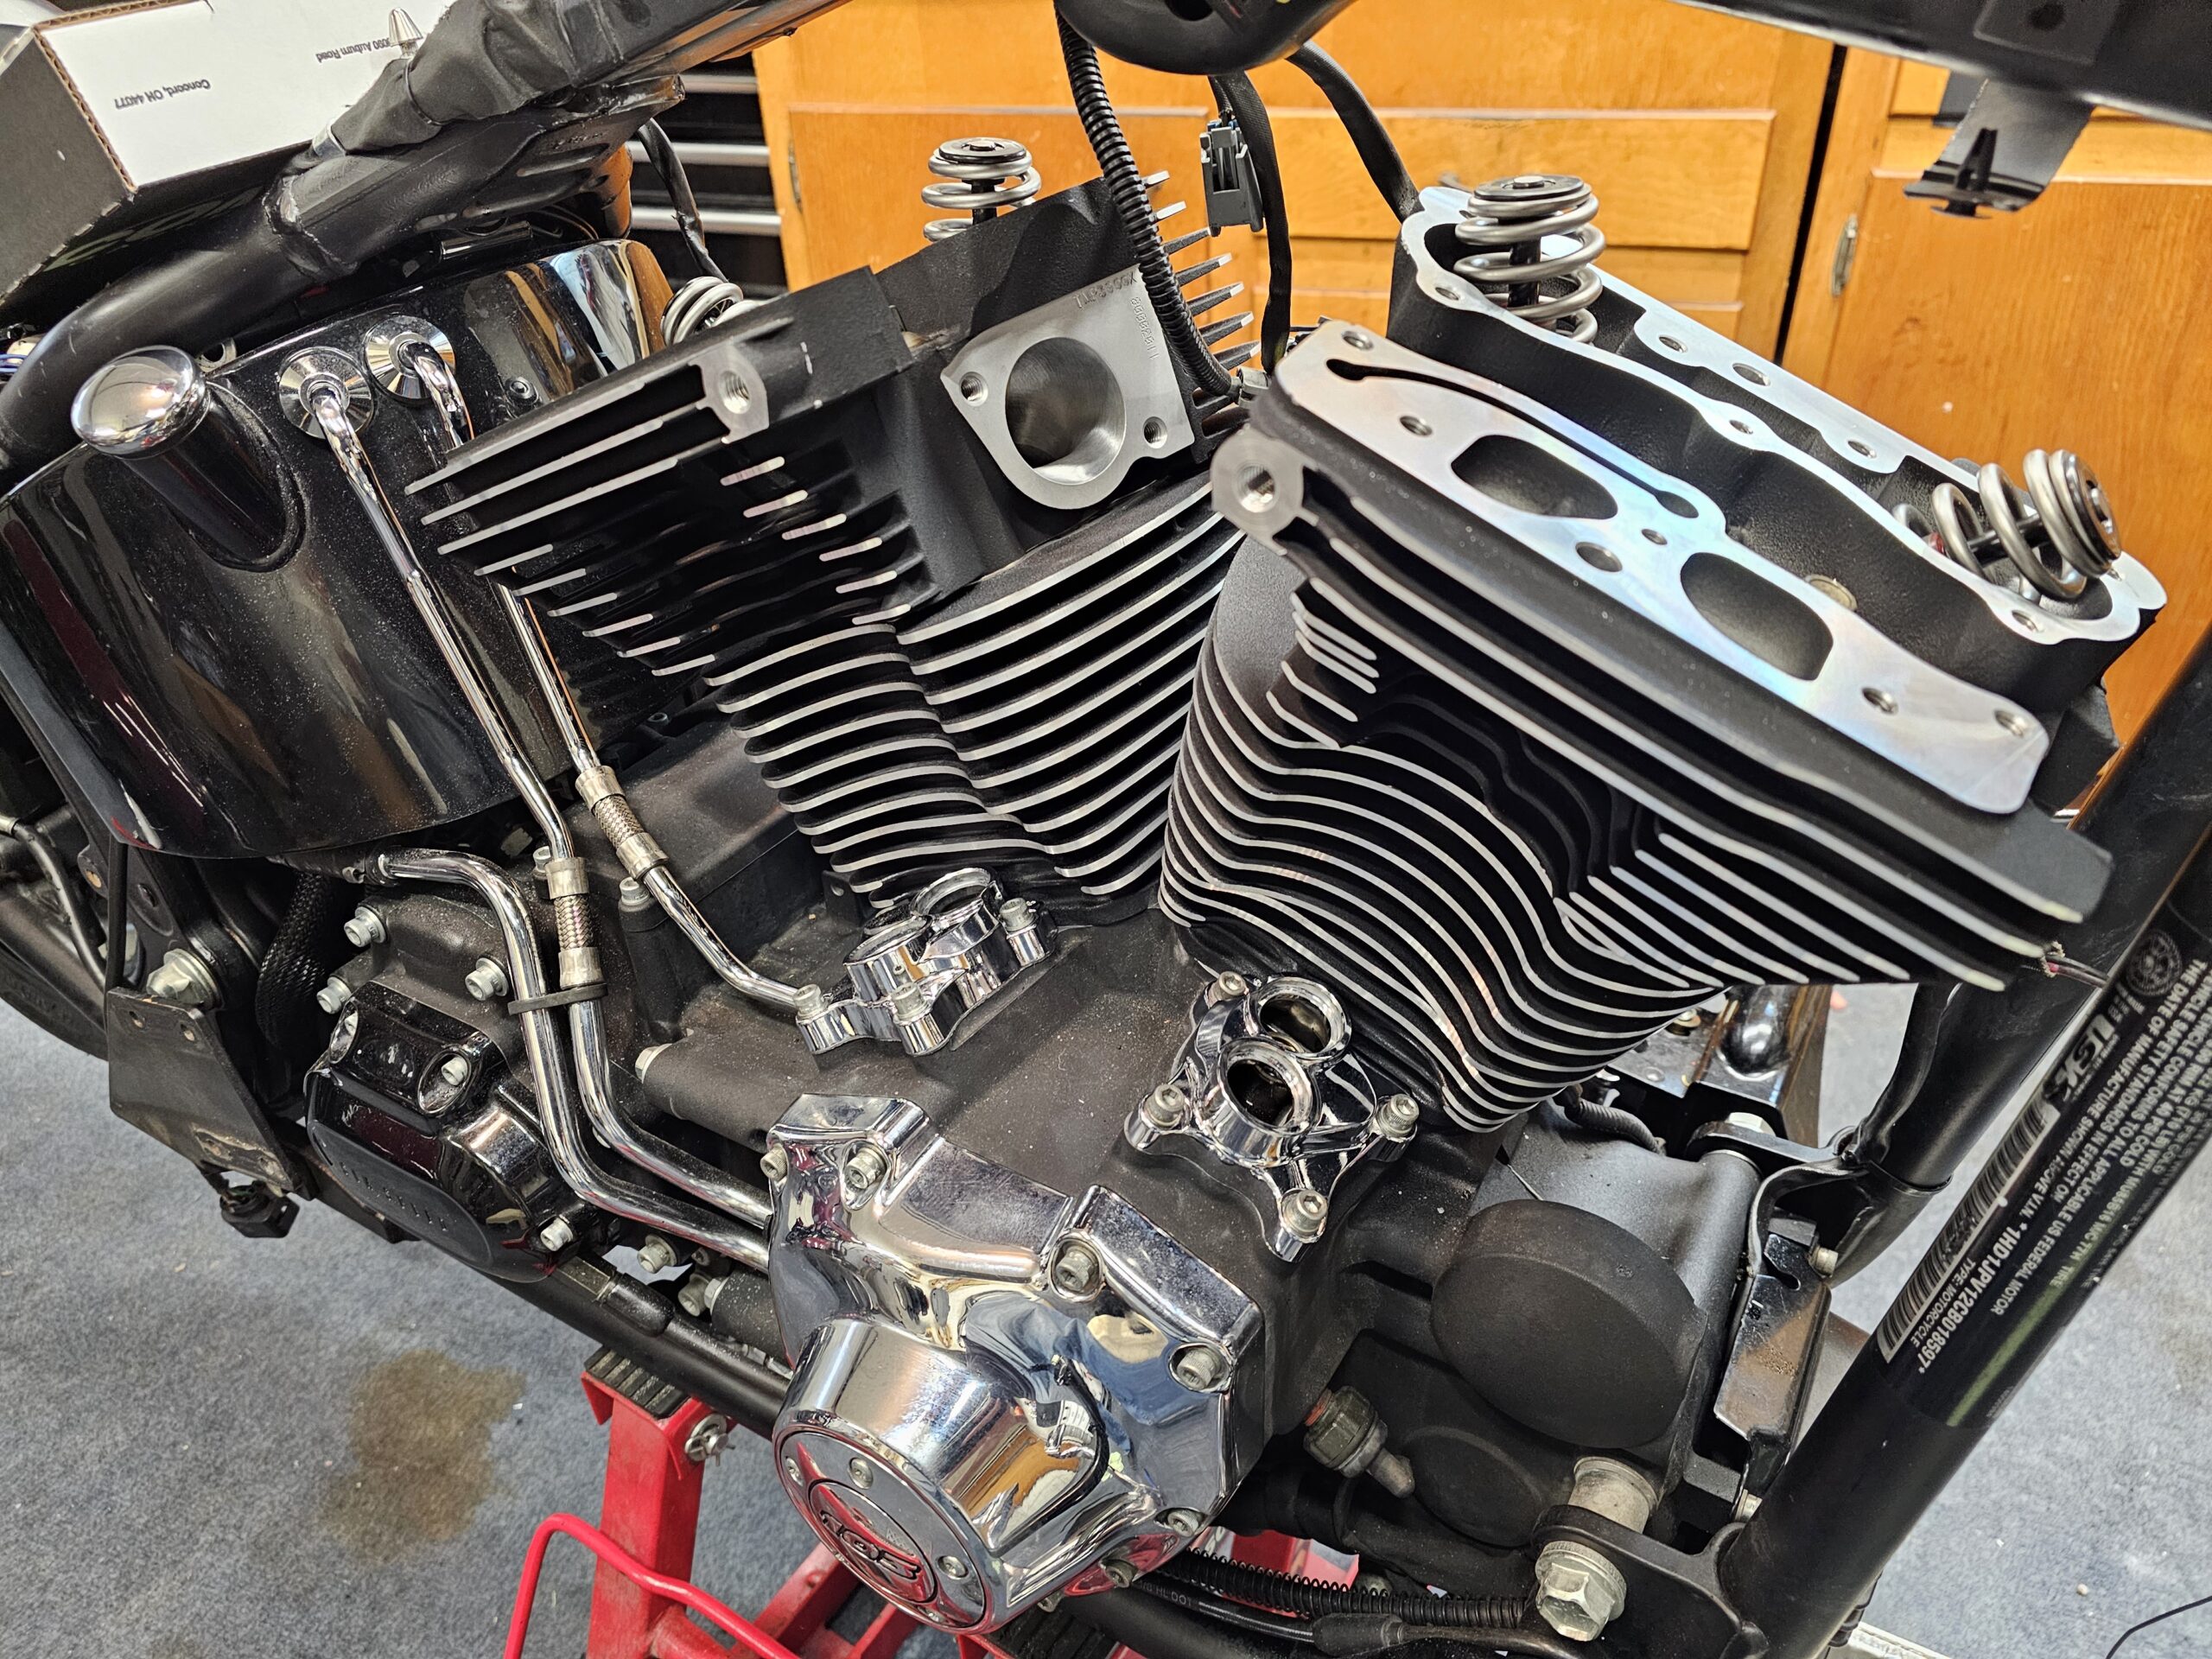
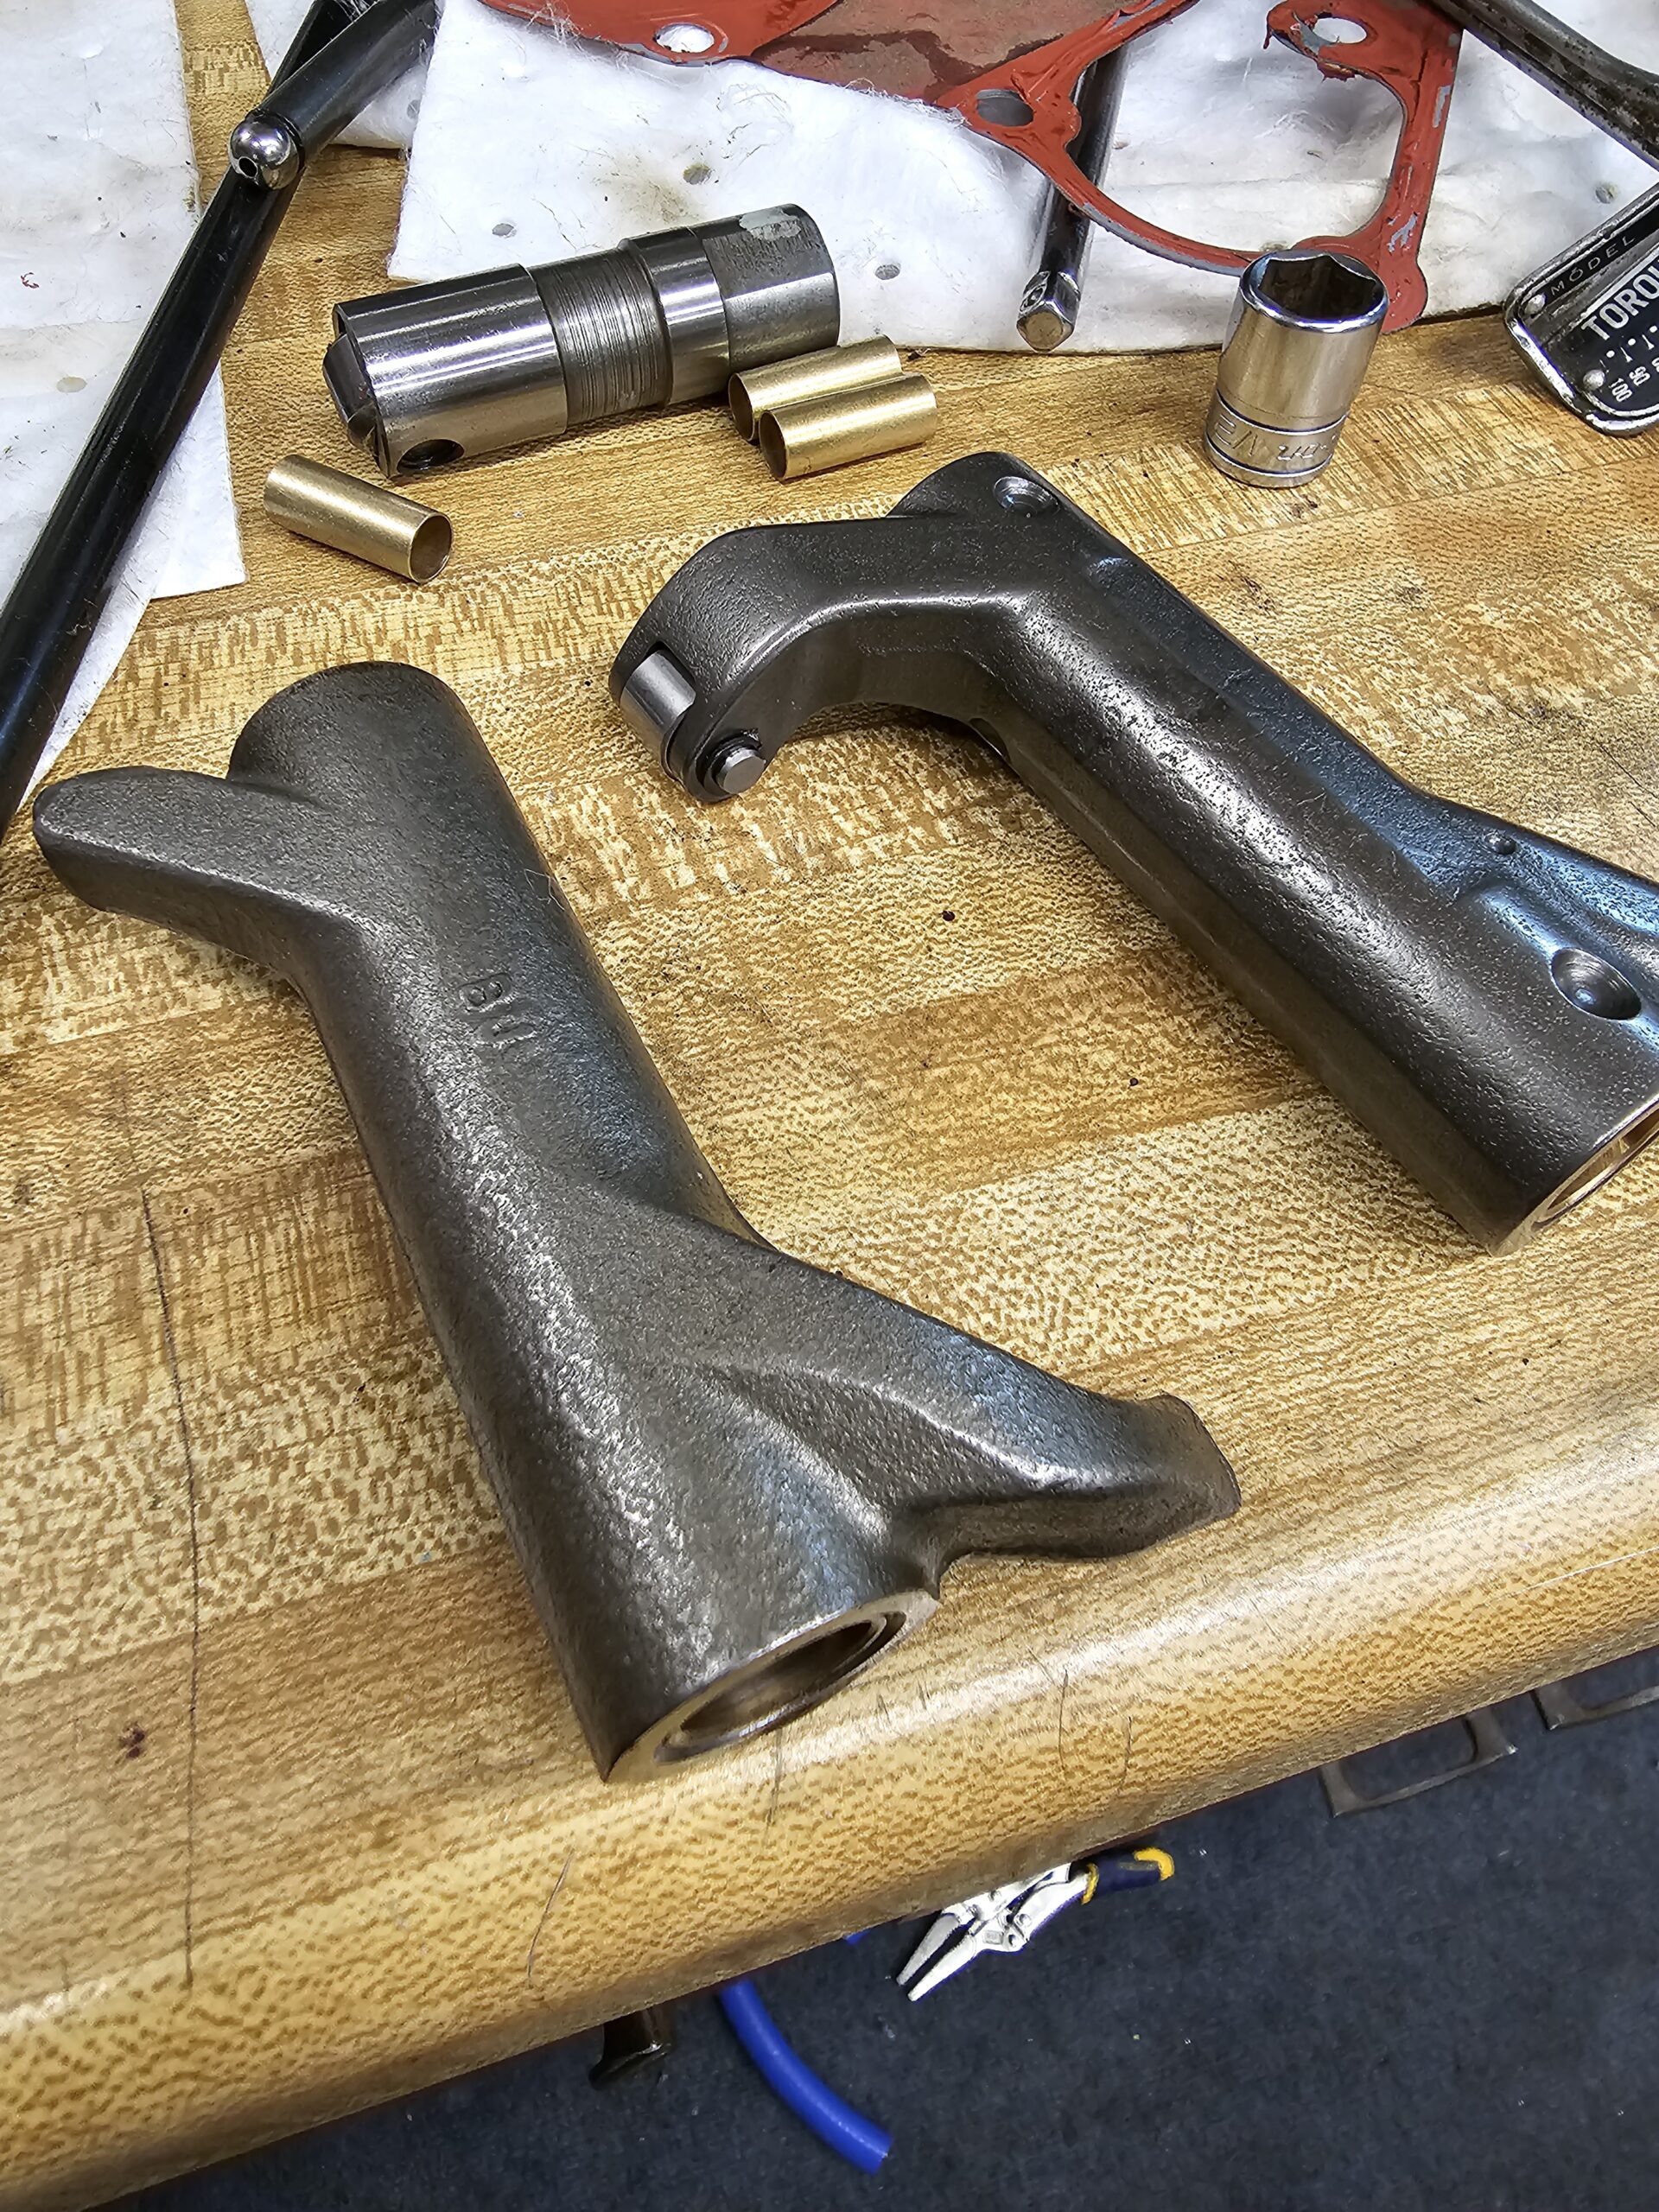
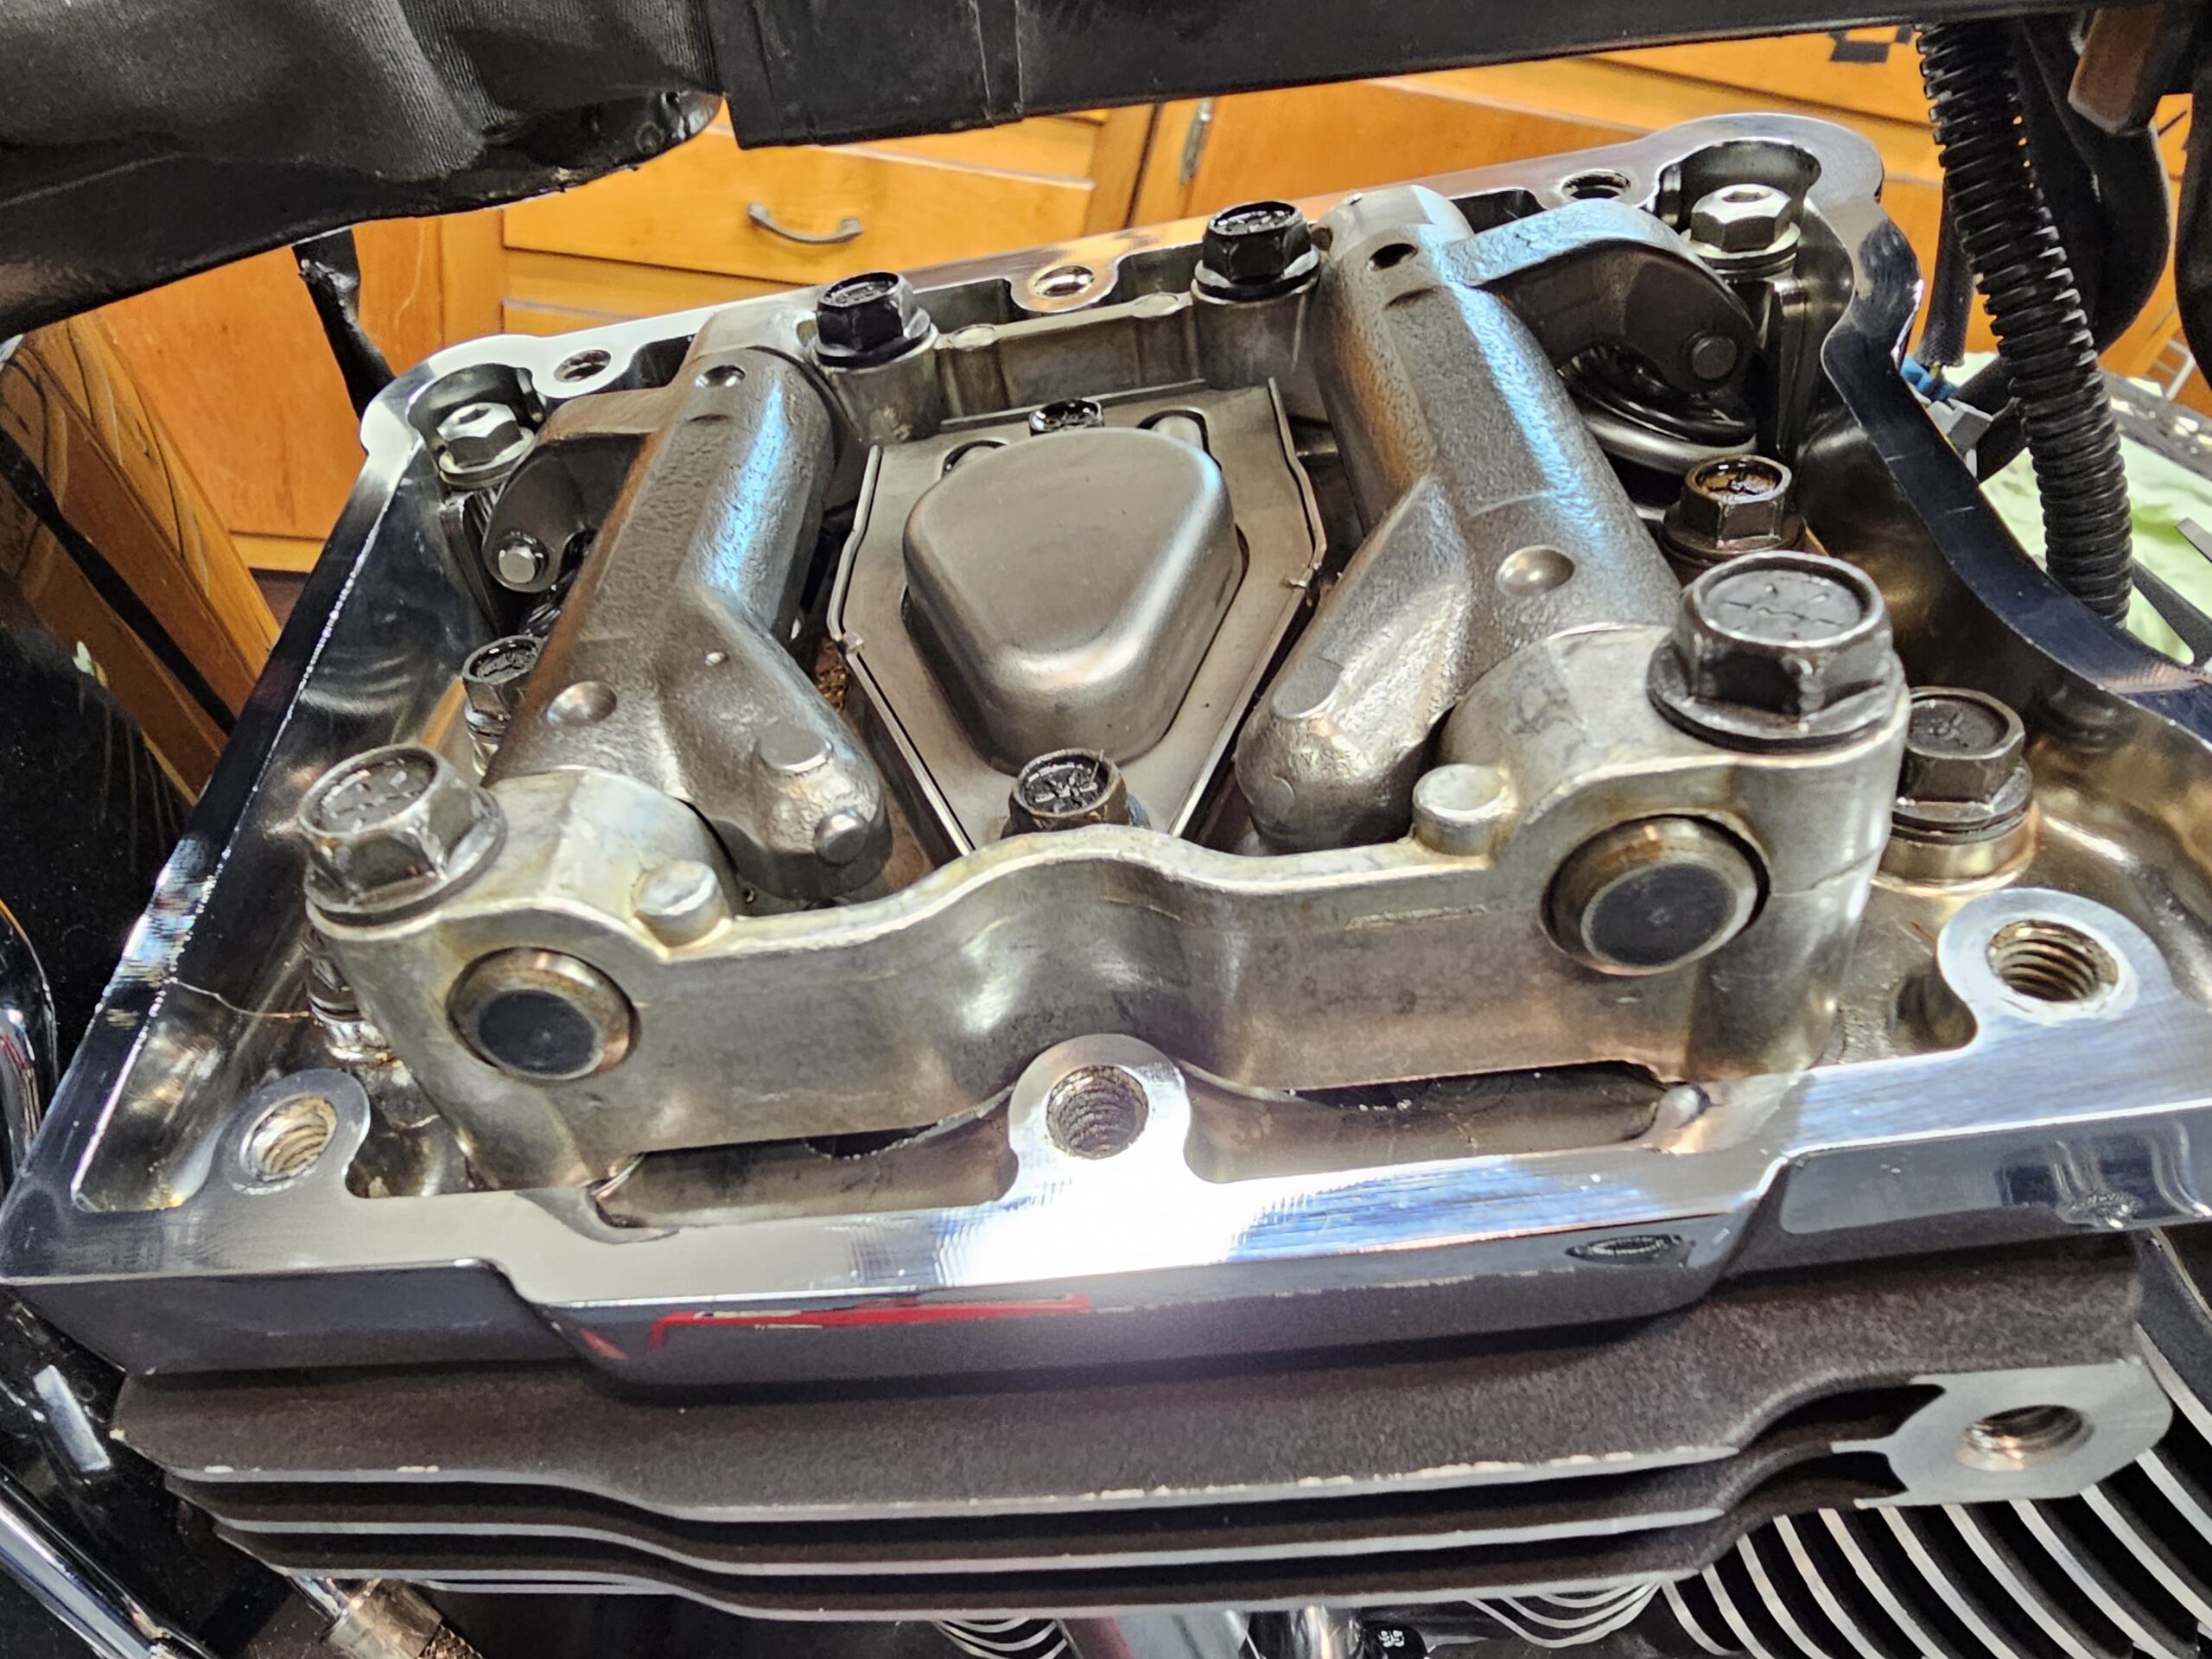
To top off the heads, I decided to go with S&S 1.625:1 Roller Rockers. With high spring pressures and
cam lift at .635” coupled with less than ideal valve geometry, I figured it could only help lessen the strain
on the valve train and aid in longevity. The quality of these parts in the hand, the fitment and precision is
confidence inspiring to say the least.
Finally, after I finished the top of the valve train, I got the S&S adjustable pushrods installed and
adjusted as described in the instructions. 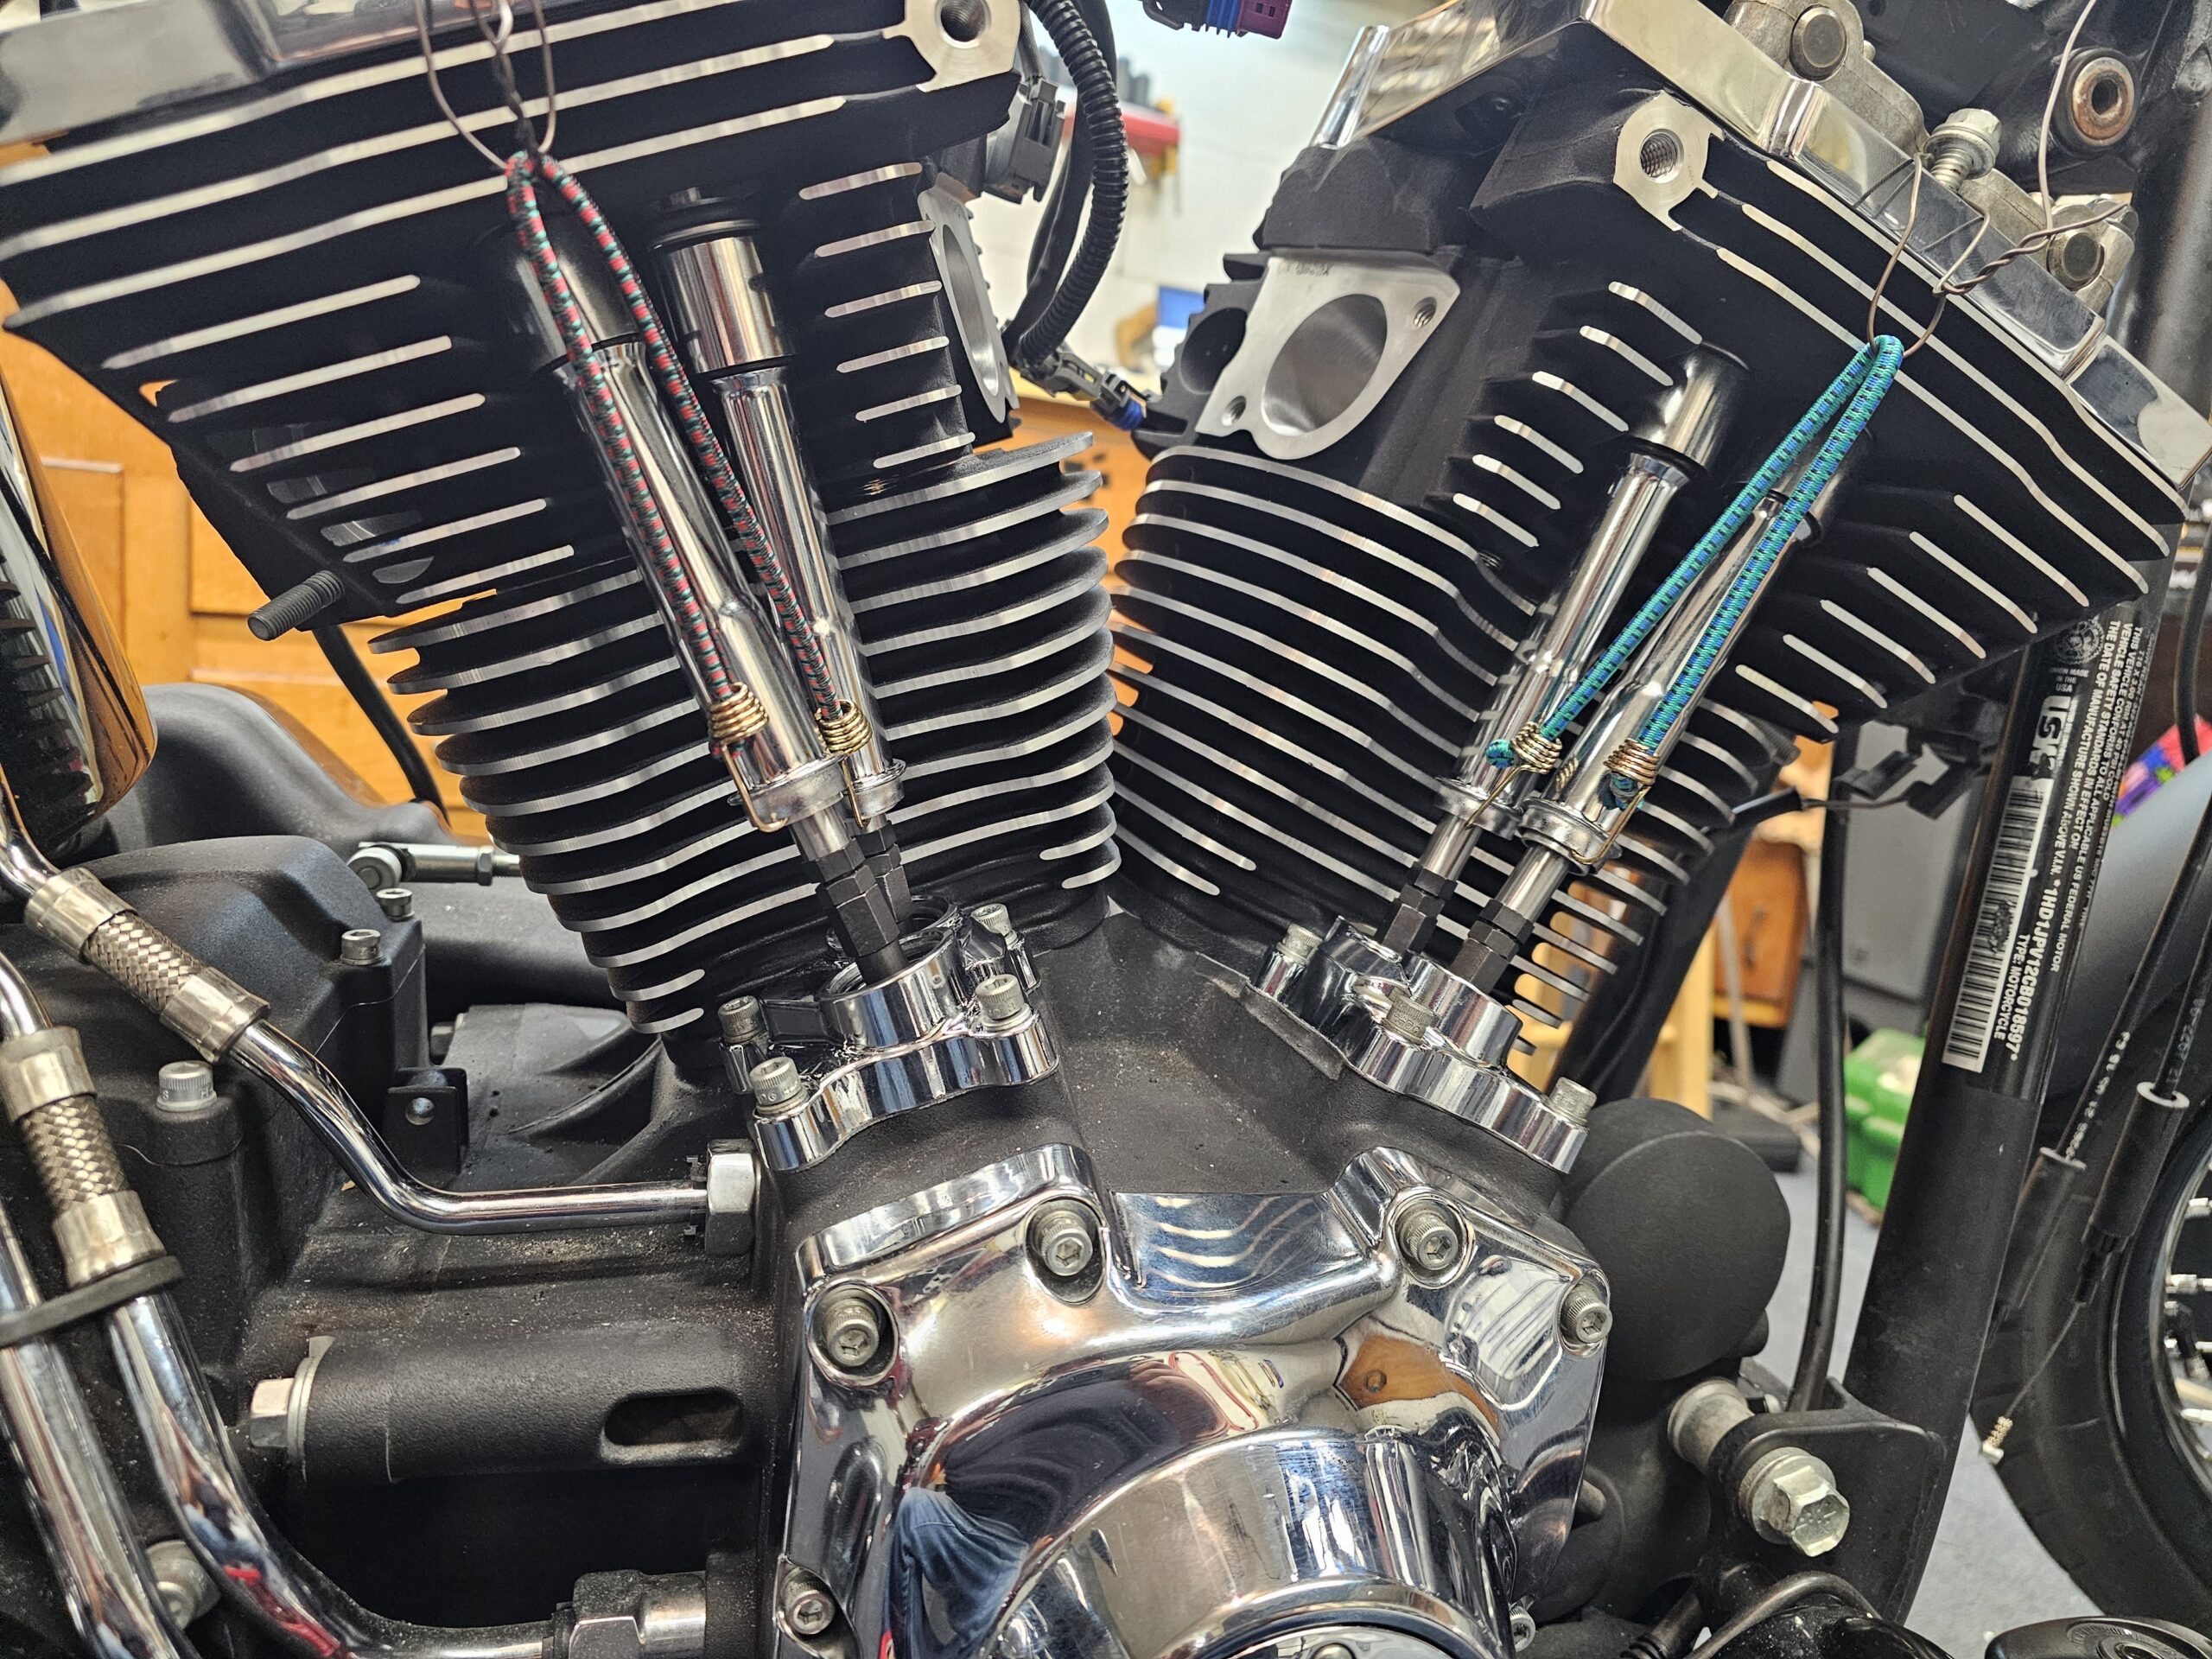
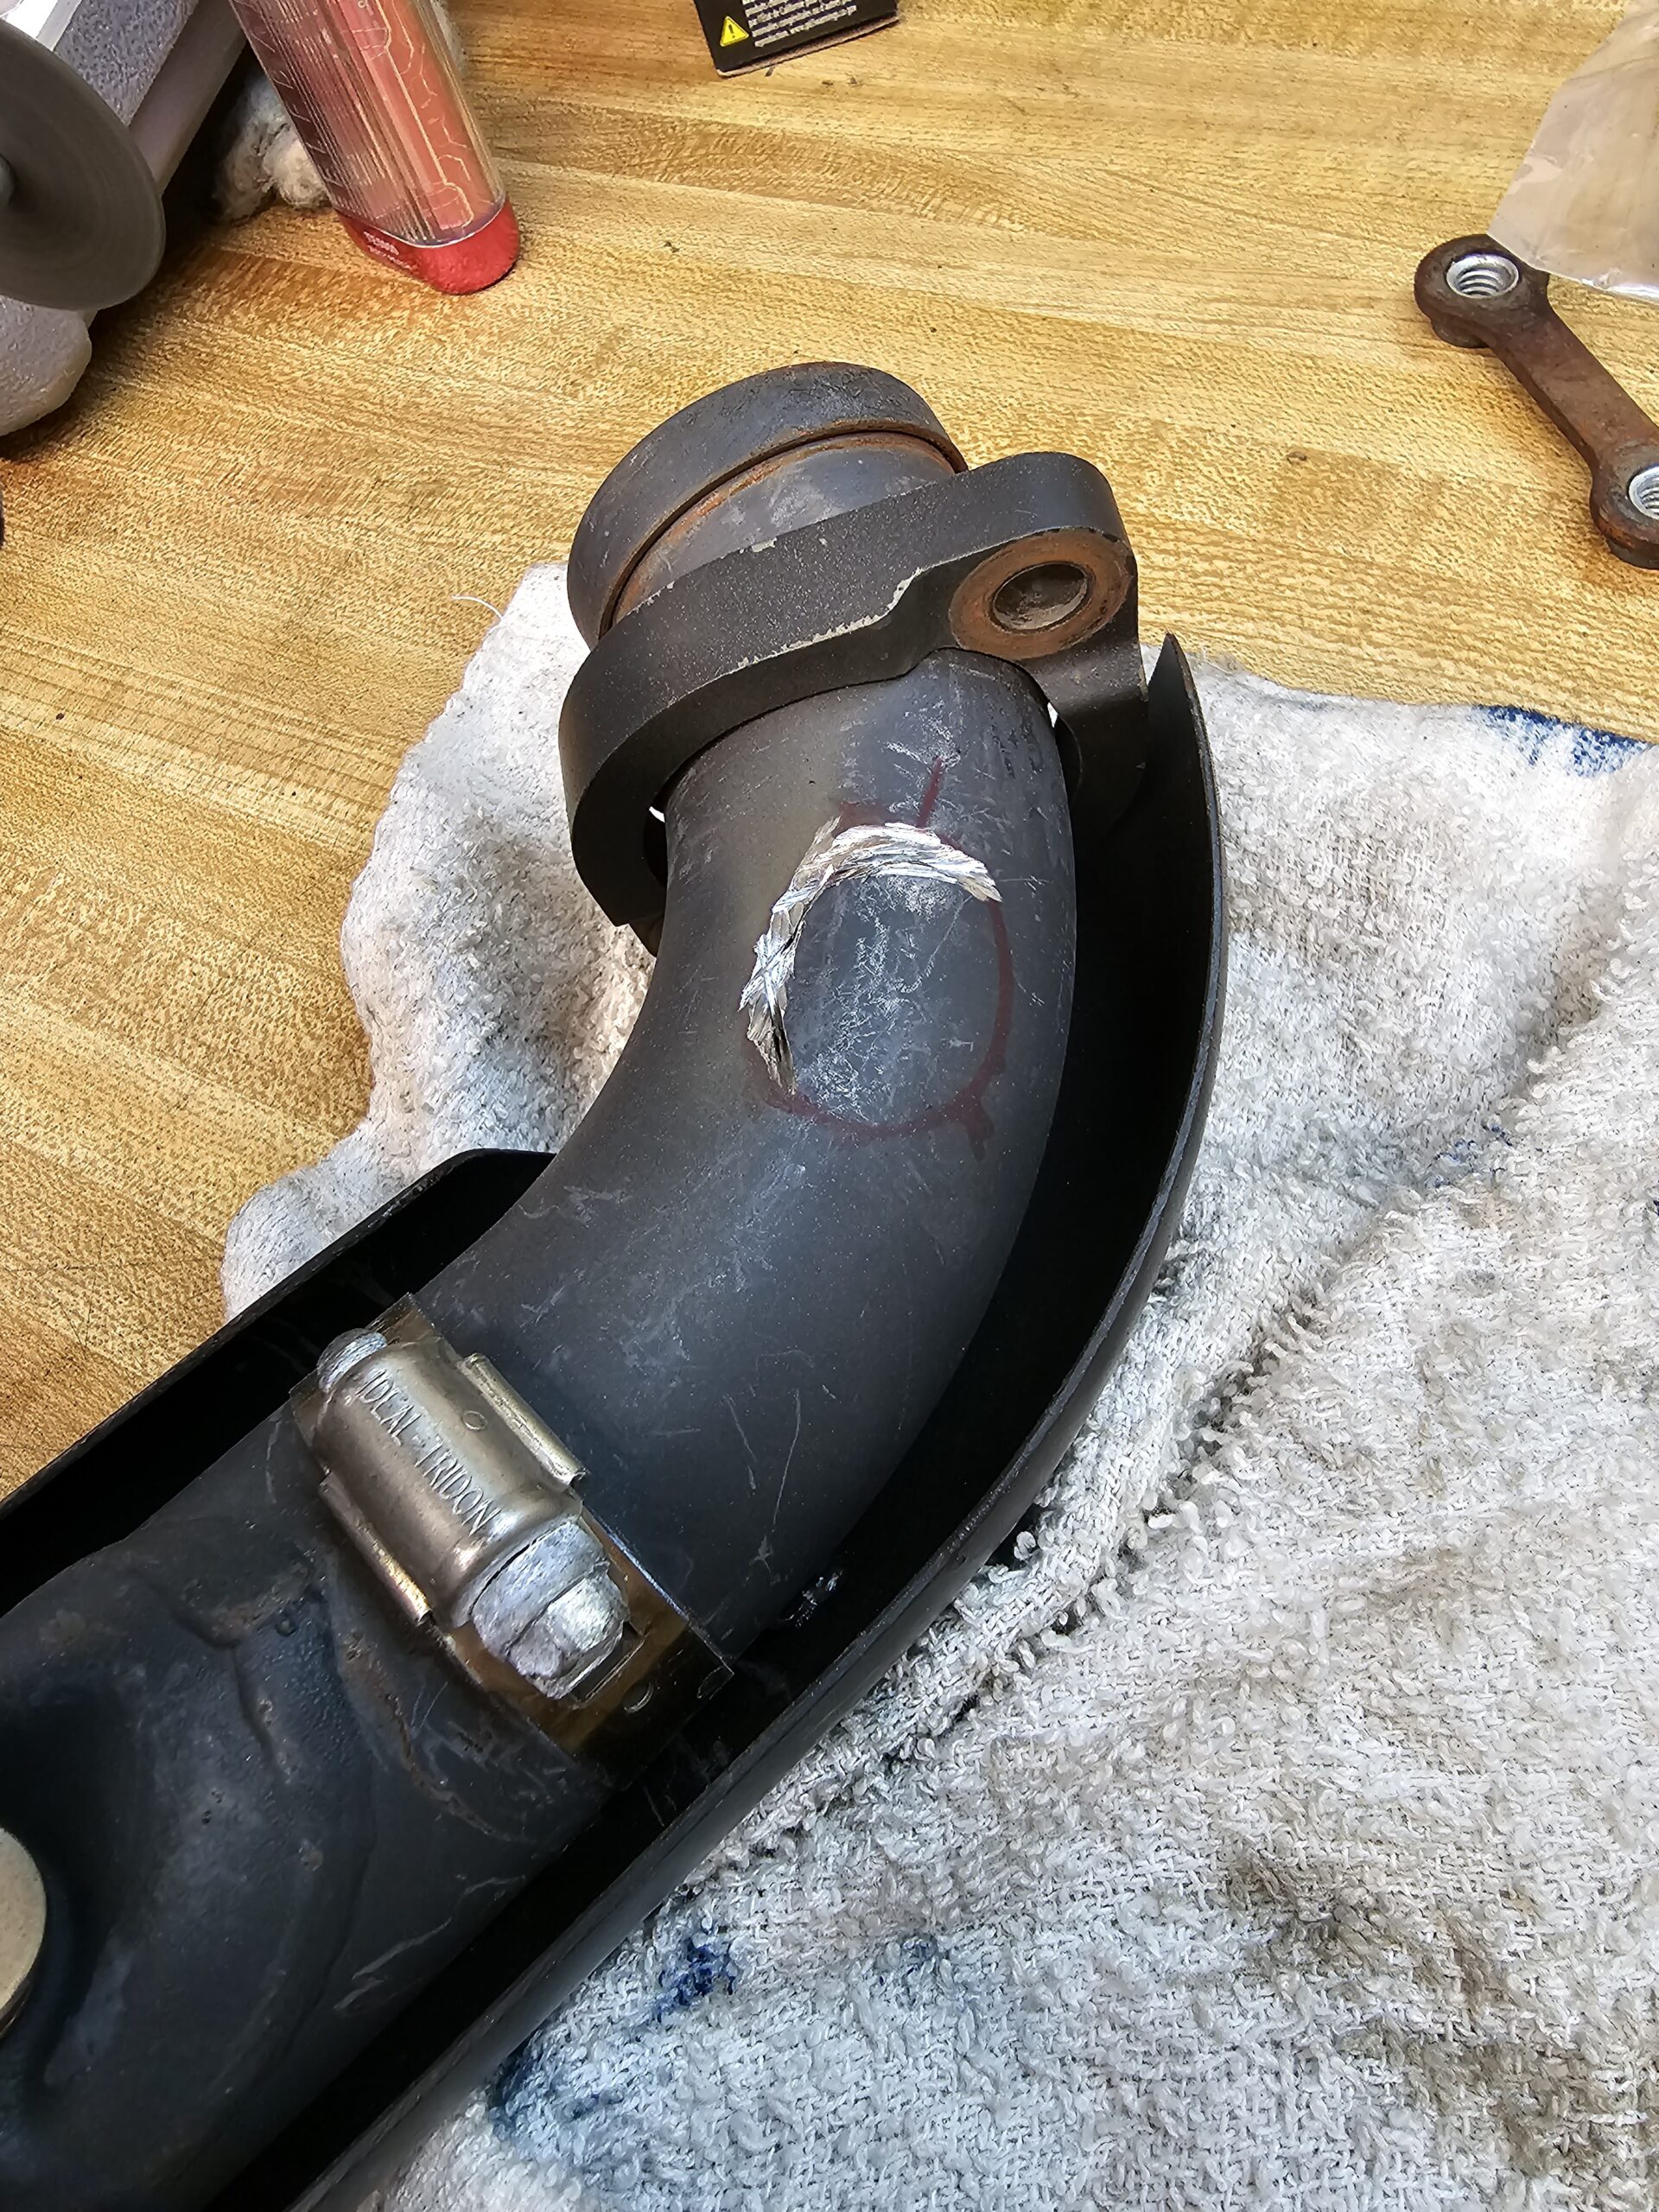
With the engine back together I had one thing to modify before I could put the rest of the bike back
together. Early on a Saturday morning, I found myself in the garage quietly modifying the Vance & Hines
Big Radius exhaust for wide band O2 sensors. The exhaust on my bike was of an early make and did not
have the provisions for the larger thread size of the wide band sensors so I had to cut and weld new
bungs into the pipes. A welder I’m not, but they will let anyone buy one. My theory: “A grinder and paint
makes me the welder I ain’t”. I can make things stick and it will be strong, but it’s not gonna be a stack of
dimes. So while Alyssa was sleeping upstairs, I was “quietly” cutting and welding the bungs into the
exhaust.

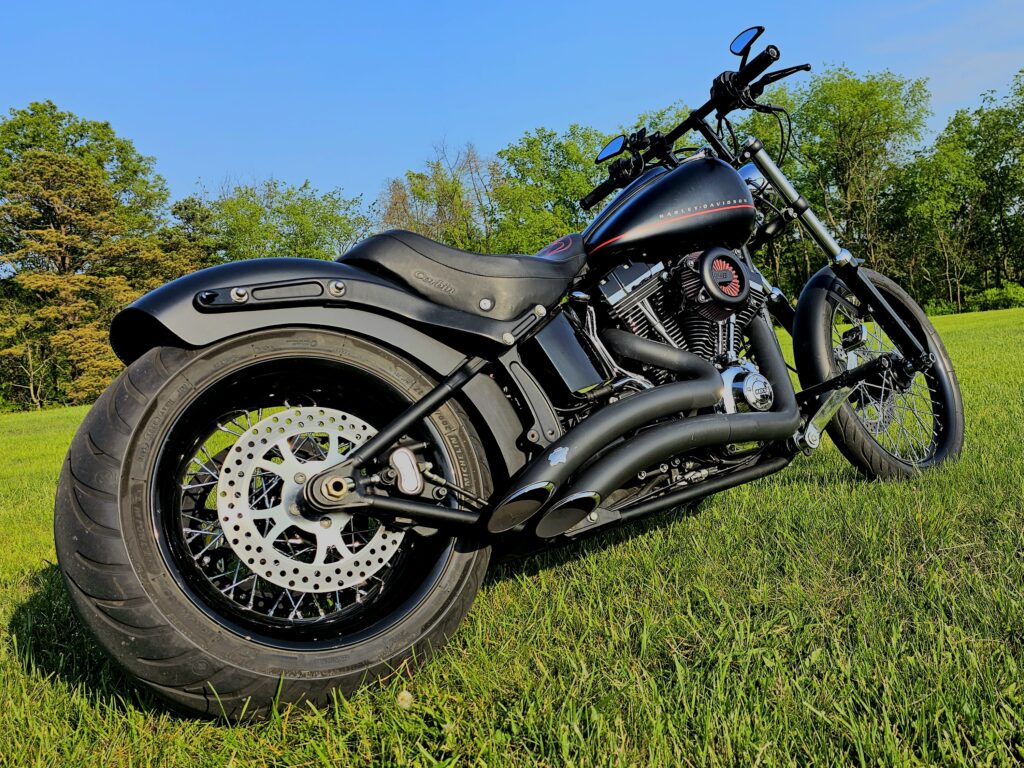
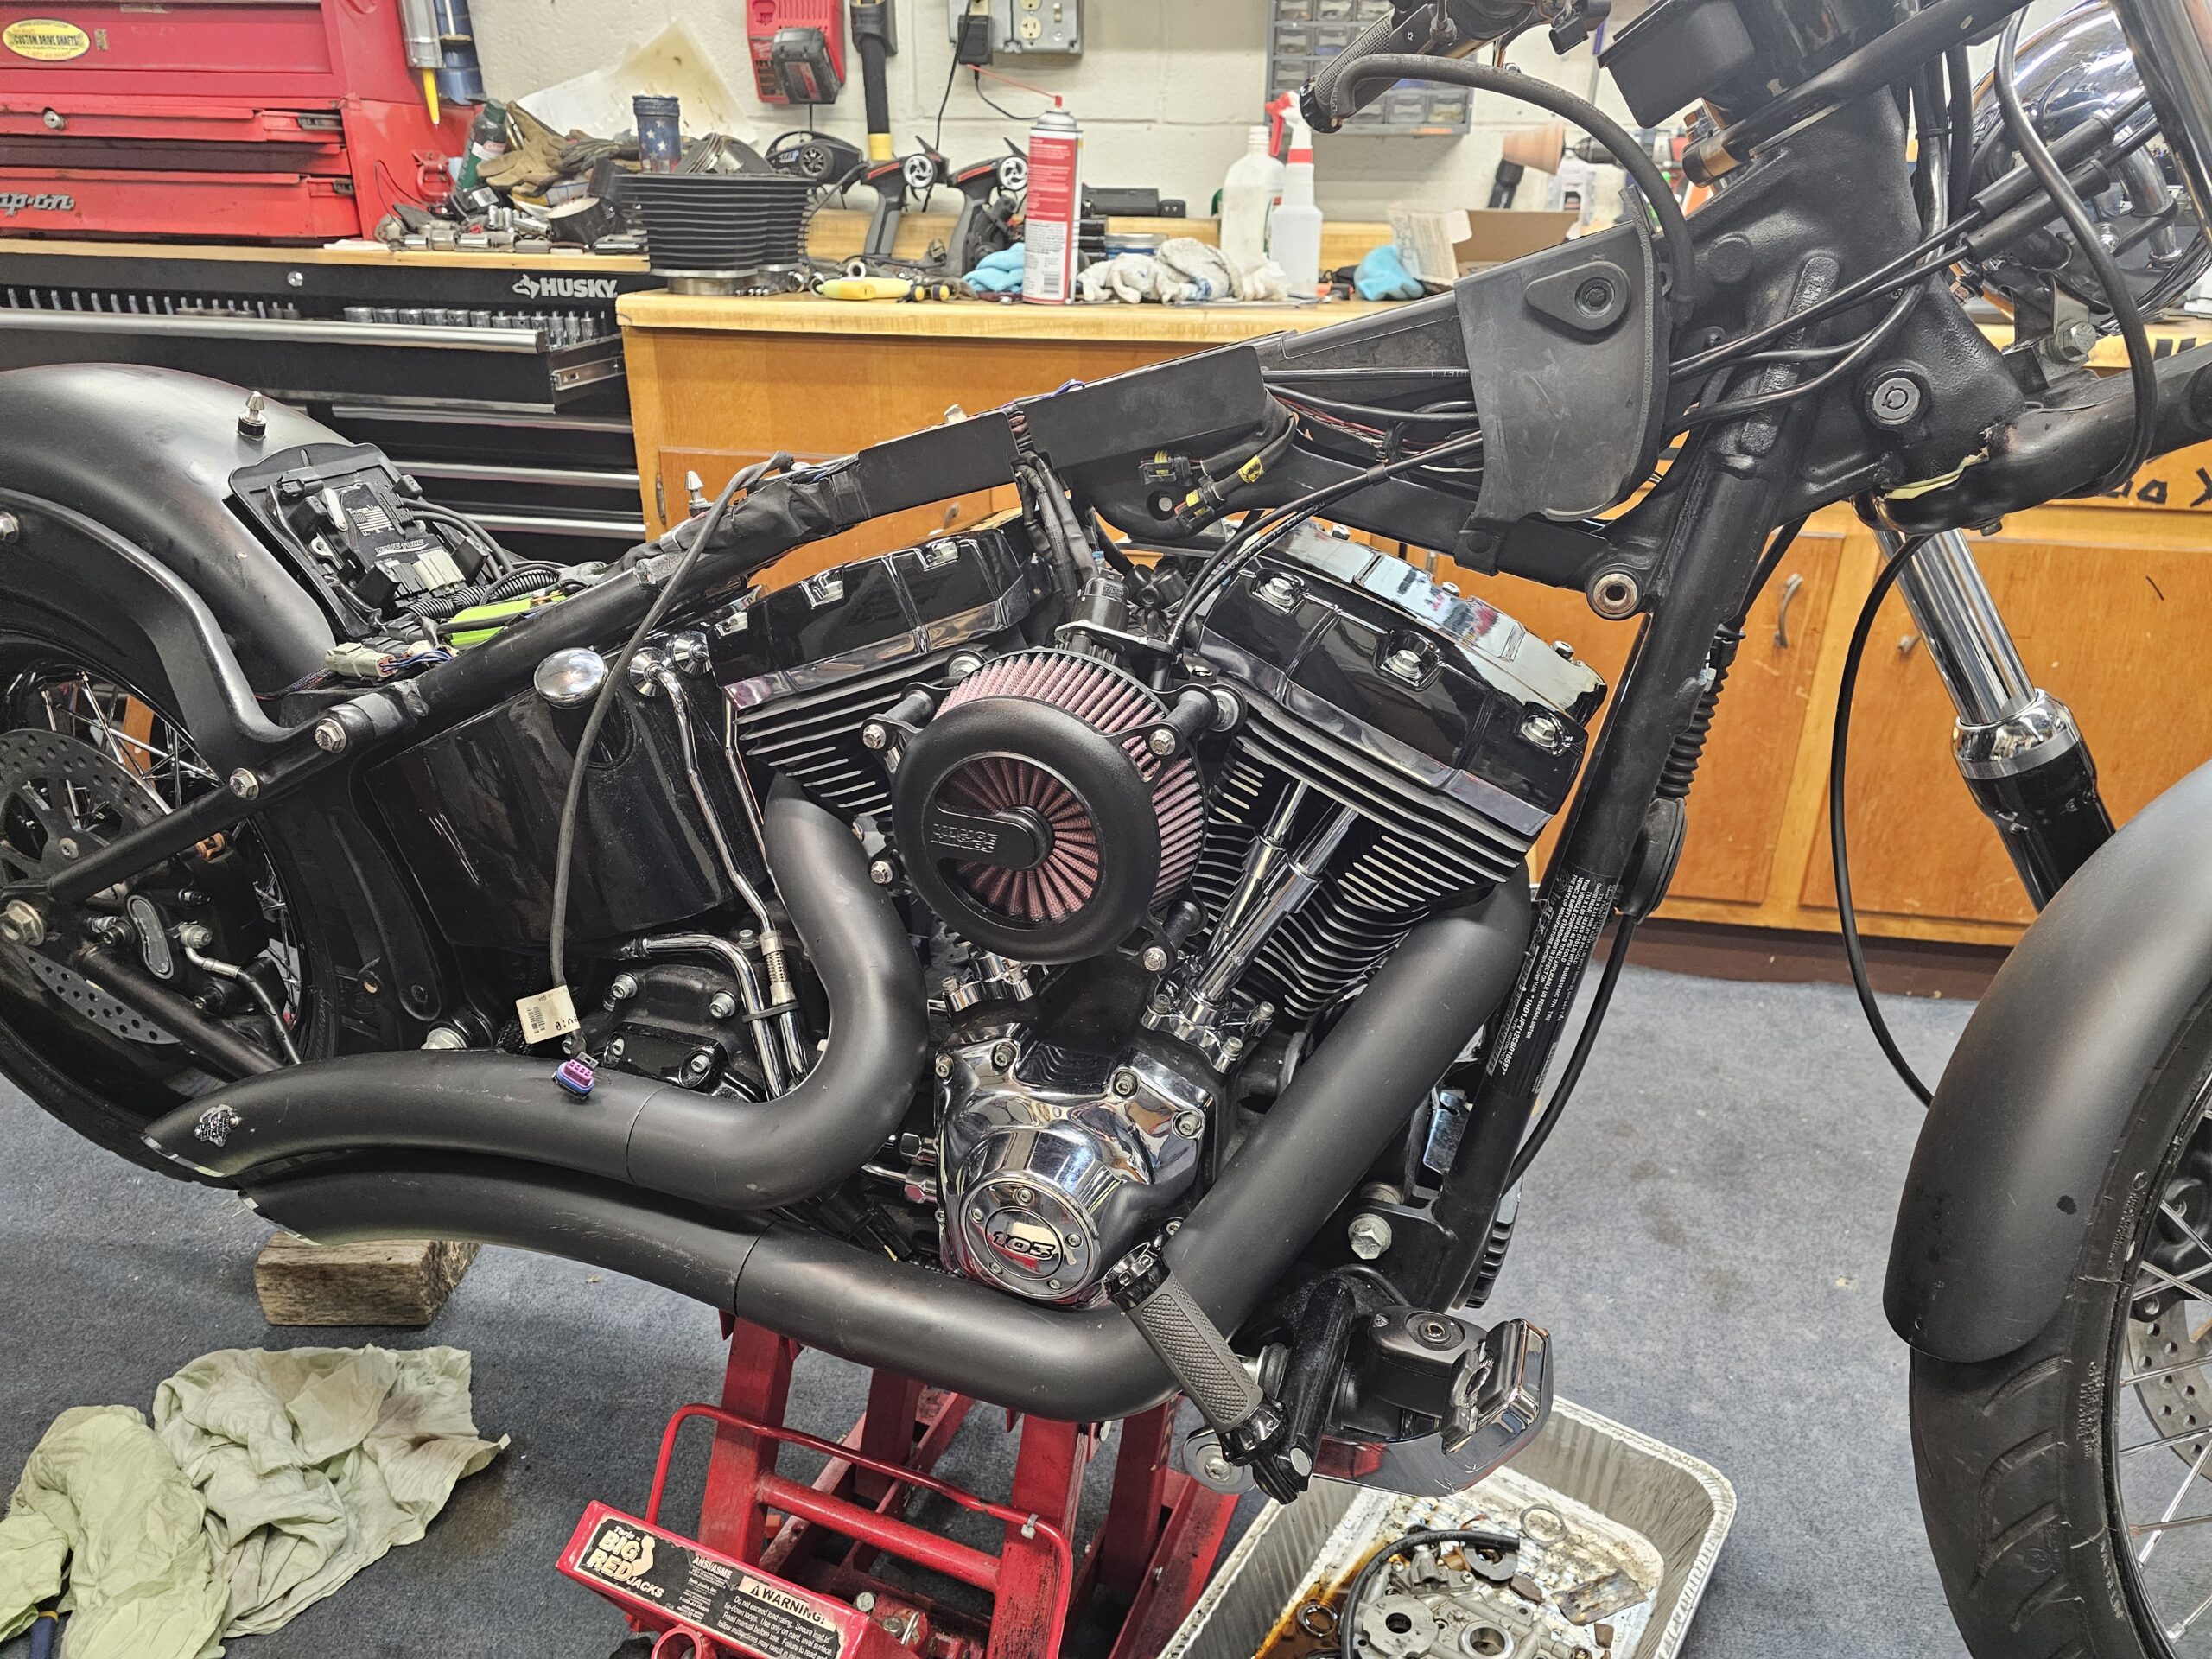
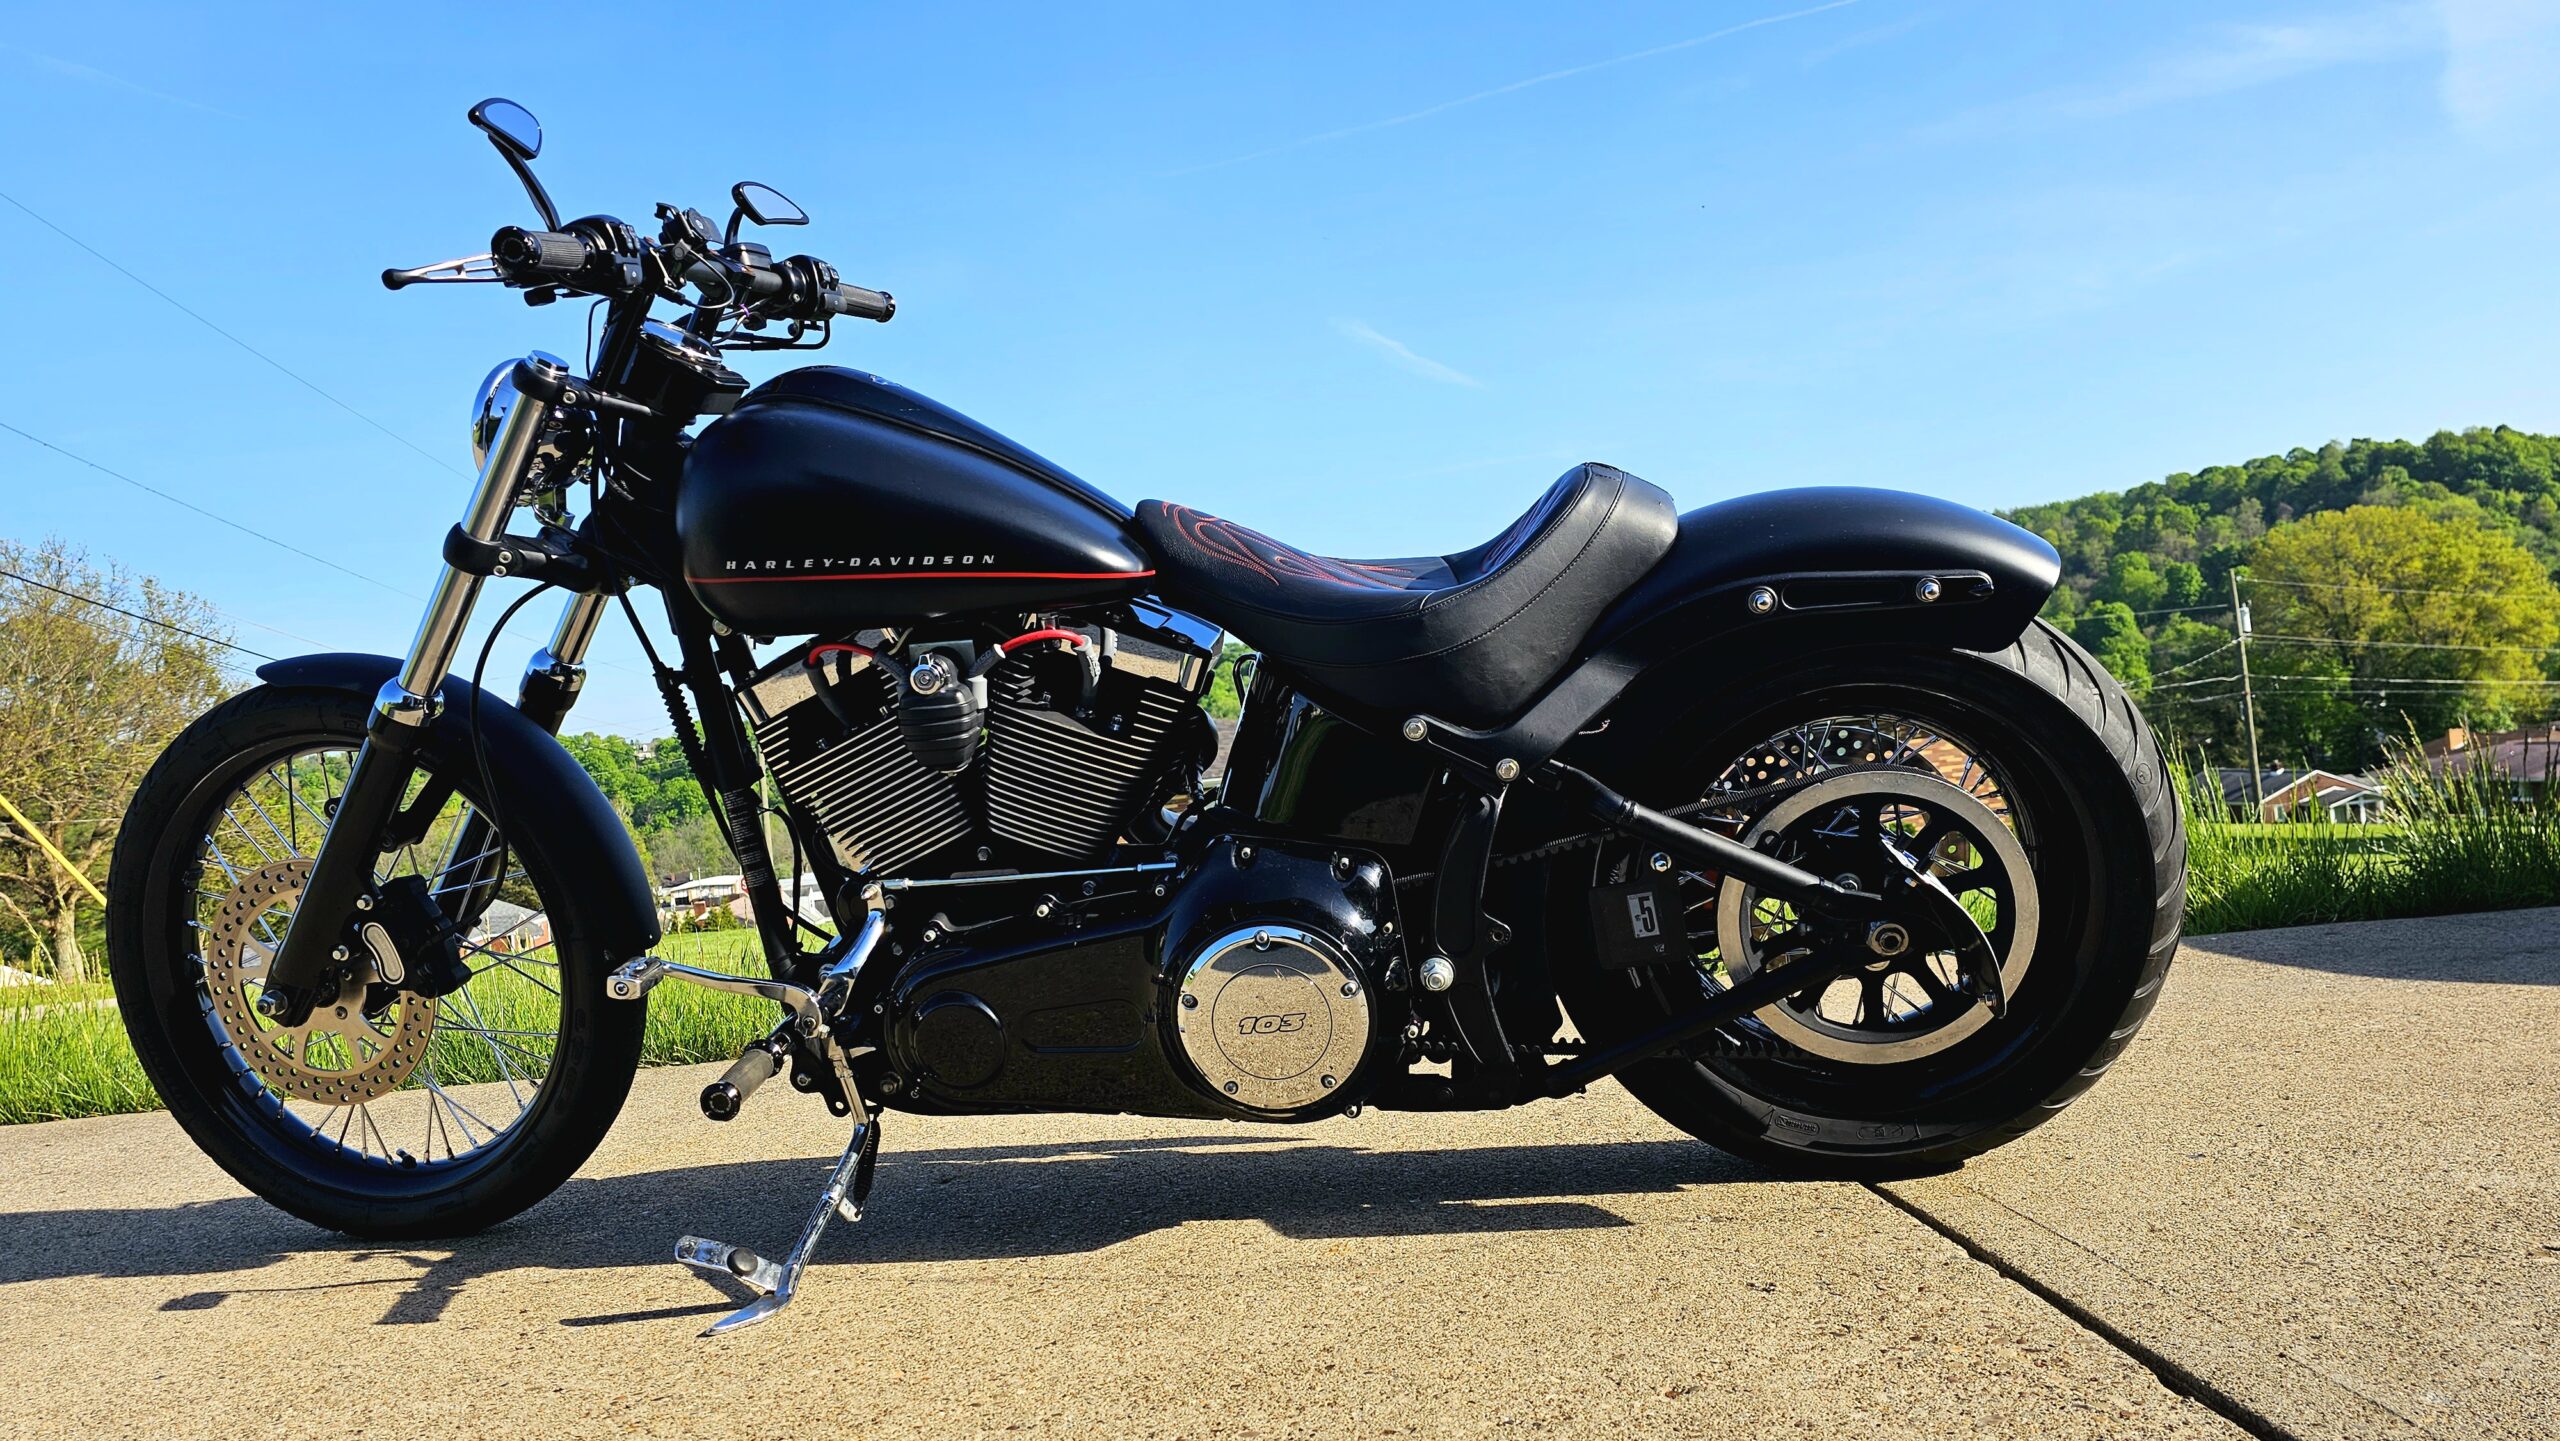
The rest of the bike went together without much fuss. Like a giant Lego project with nuts and bolts, the
pieces went back on, the wires plugged back in, and the fluids filed back up. For the first times in months
I had the bike back on its tires, and ready to fire up. 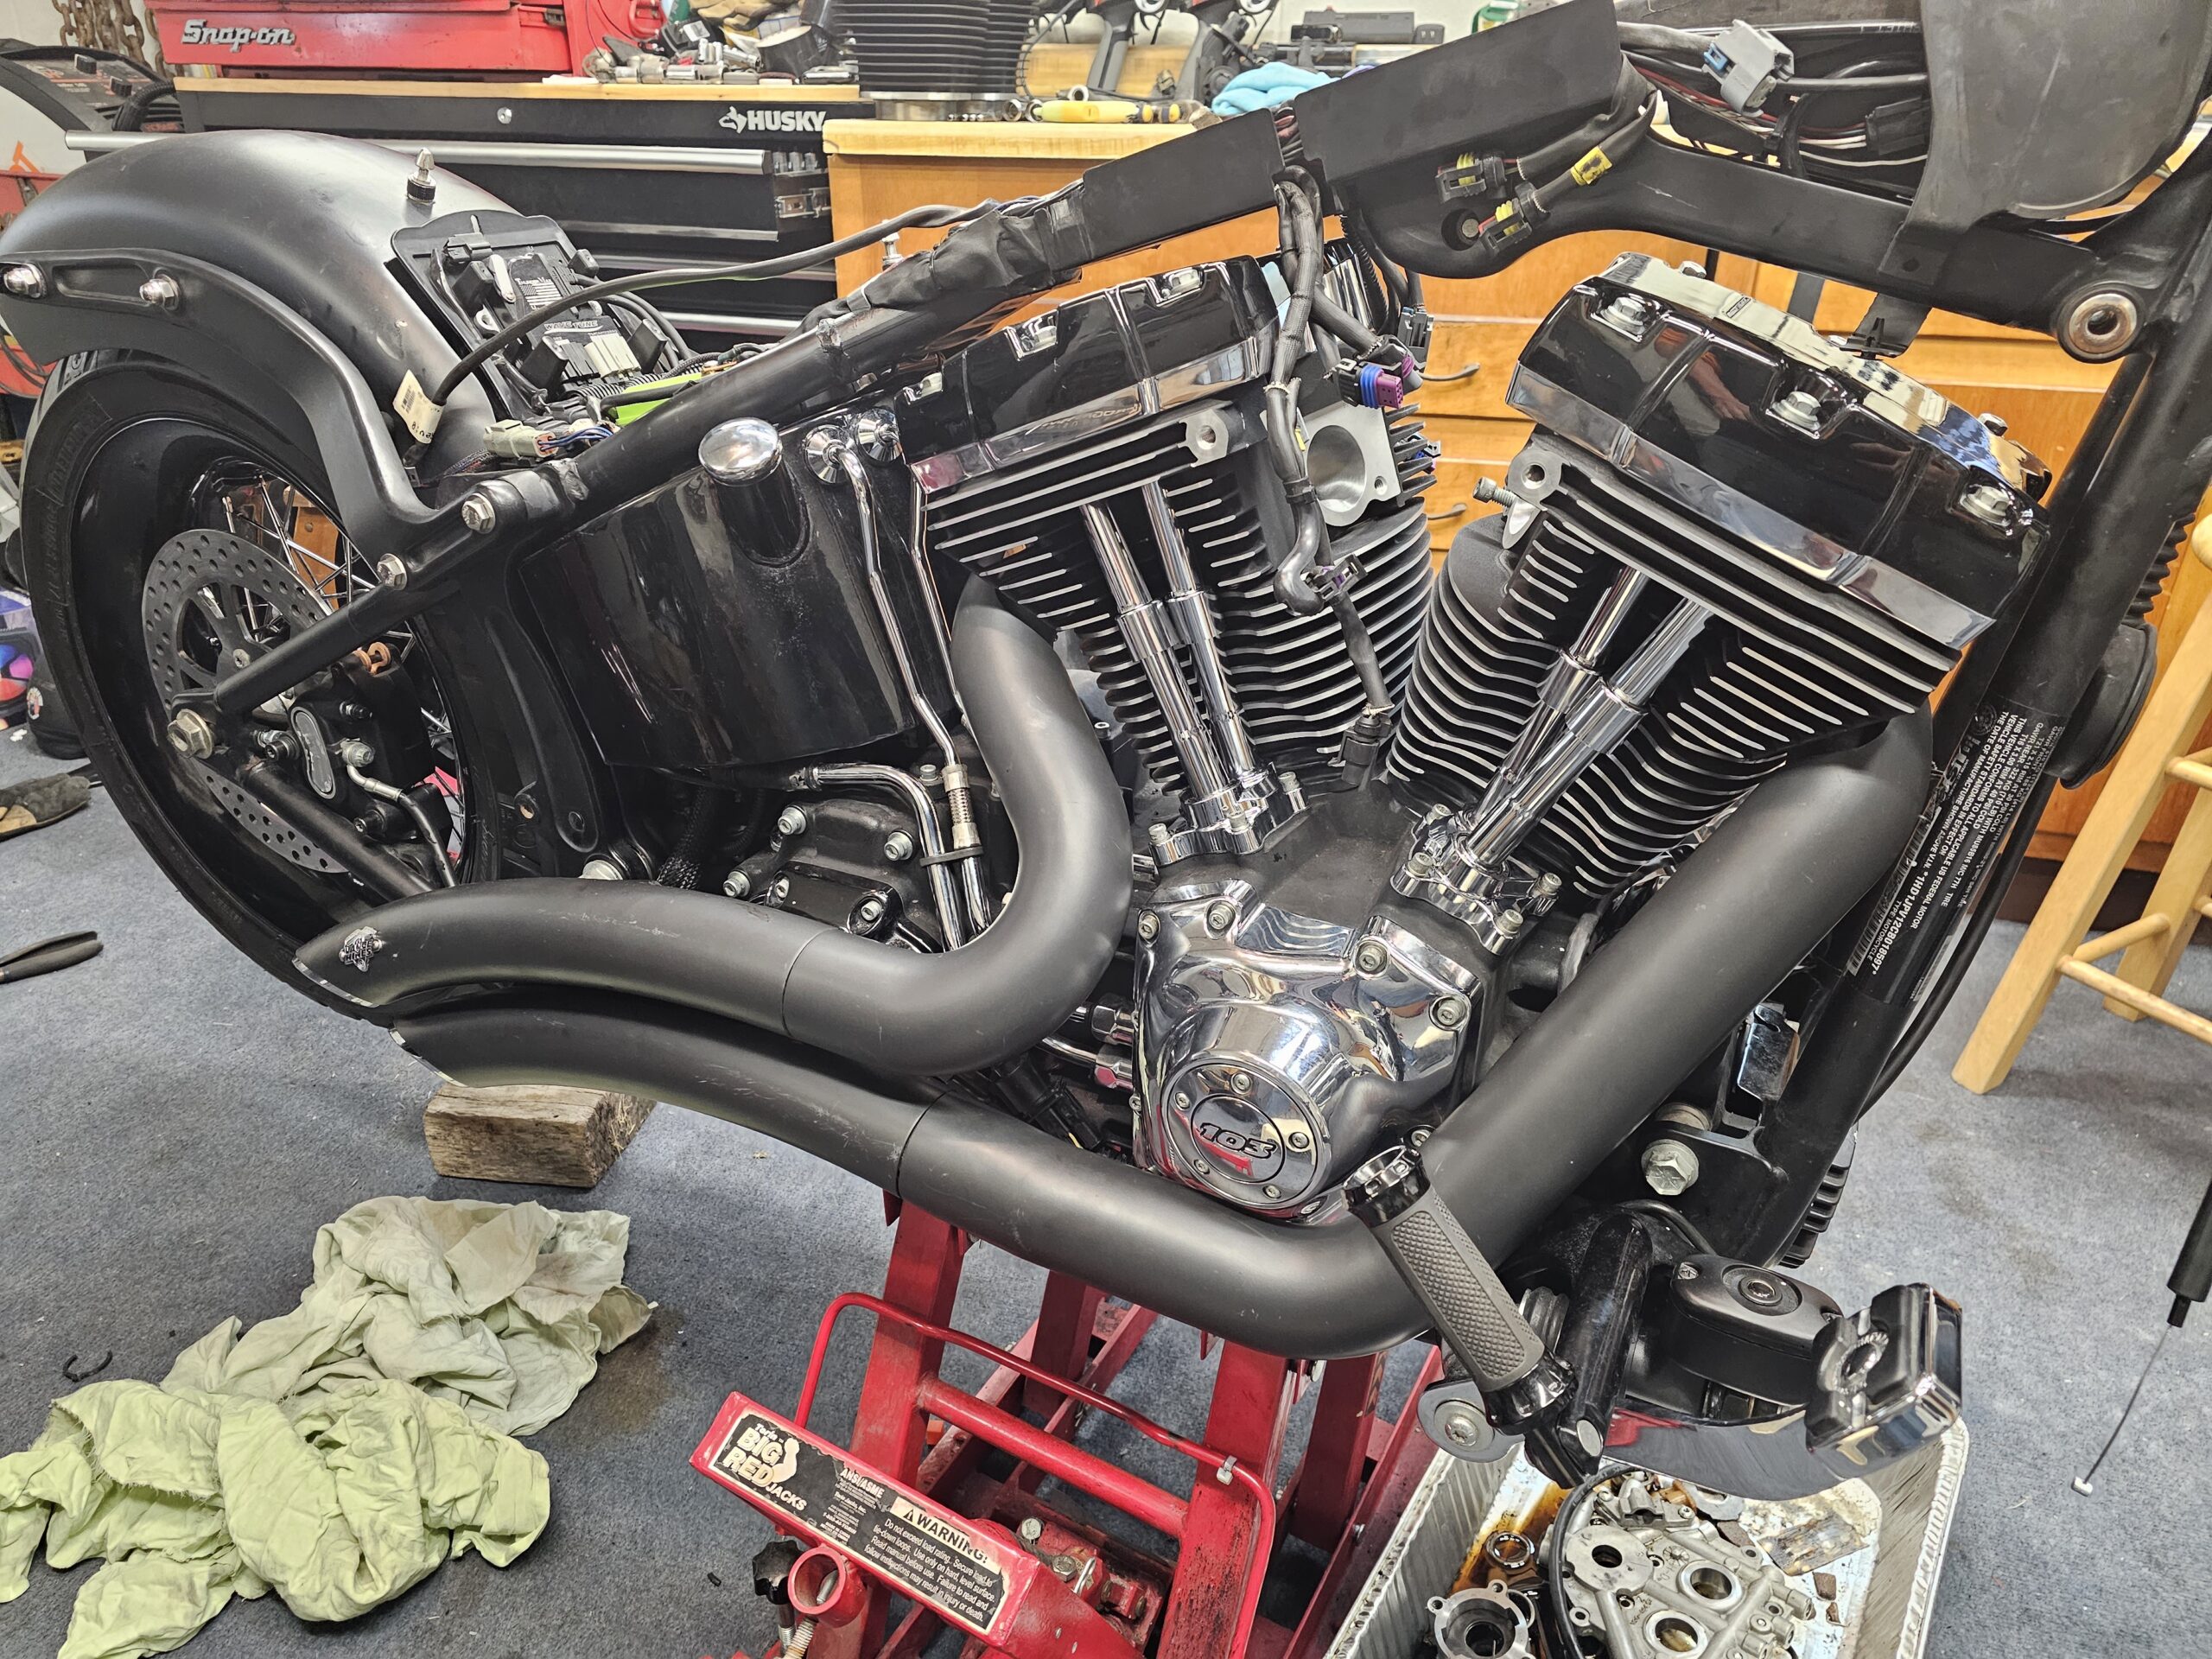

Those eagle-eyed followers reading this may have spotted some things; yes, I made a few other changes
and upgrades while the bike was on the stand and waiting for parts to arrive. I know, I know… I also left
one major part out of this. I can hear some of you wondering what I did for the tuning/fuel control. I’ll
cover that and the other mods in detail in the next part.
This has been an adventure to say the least. I only covered some of the trials and tribulations but it has
been one of the most fun puzzles I have tackled in a long time. Sure, I could have ordered a complete kit
with all the parts fitted and ready to bolt on, but where’s the fun in that? I didn’t want to build someone
else’s kit, I wanted to build one that I had a hand in. Not the same cylinders, same cam, same head,
same exhaust, and sound as everyone else. I wanted this to be mine. Was it the cheapest way out? No,
not by a long shot. But I used what I had, and I made it work.
How does it run? Stick around, this where it either gets fun, or turns into scrap metal….


More Stories
DUNLOP NAMED OFFICIAL TIRE SUPPLIER FOR HARLEY-DAVIDSON BAGGER WORLD CUP
Harley-Davidson Reflective Rain Suit: Baptized by Ice Before It Ever Saw Europe
THE FOLDS OF HONOR RE-MANUFACTURED MOTORCYCLE BY JOHNNY MAC’S CHOPPER HOUSE