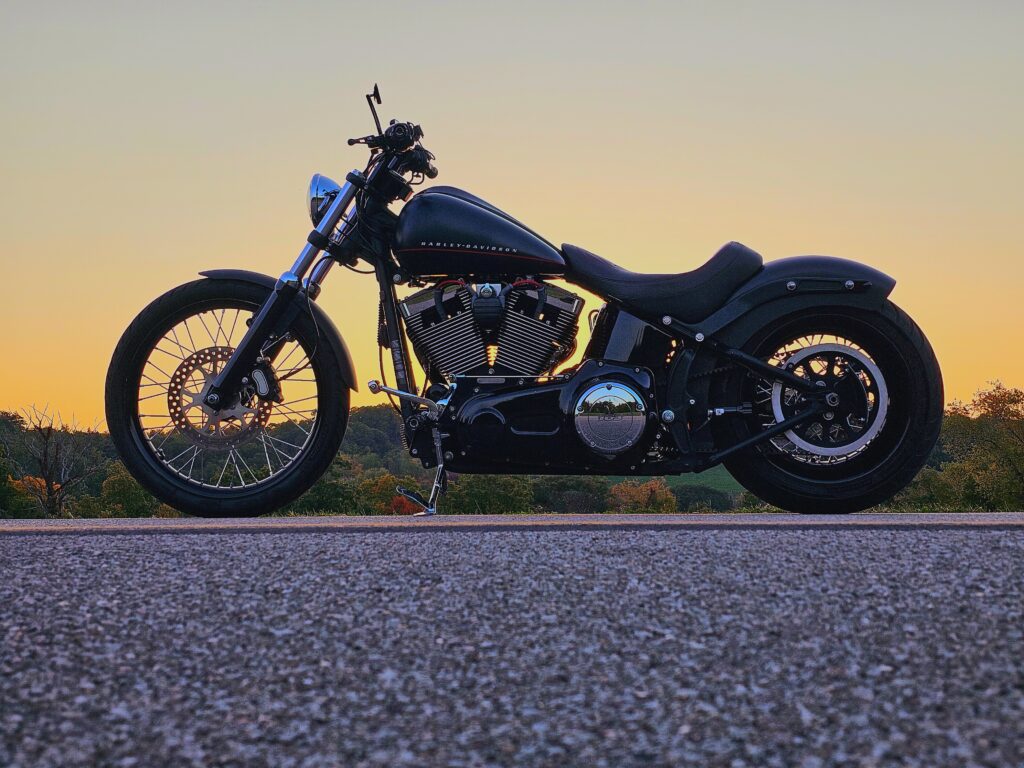
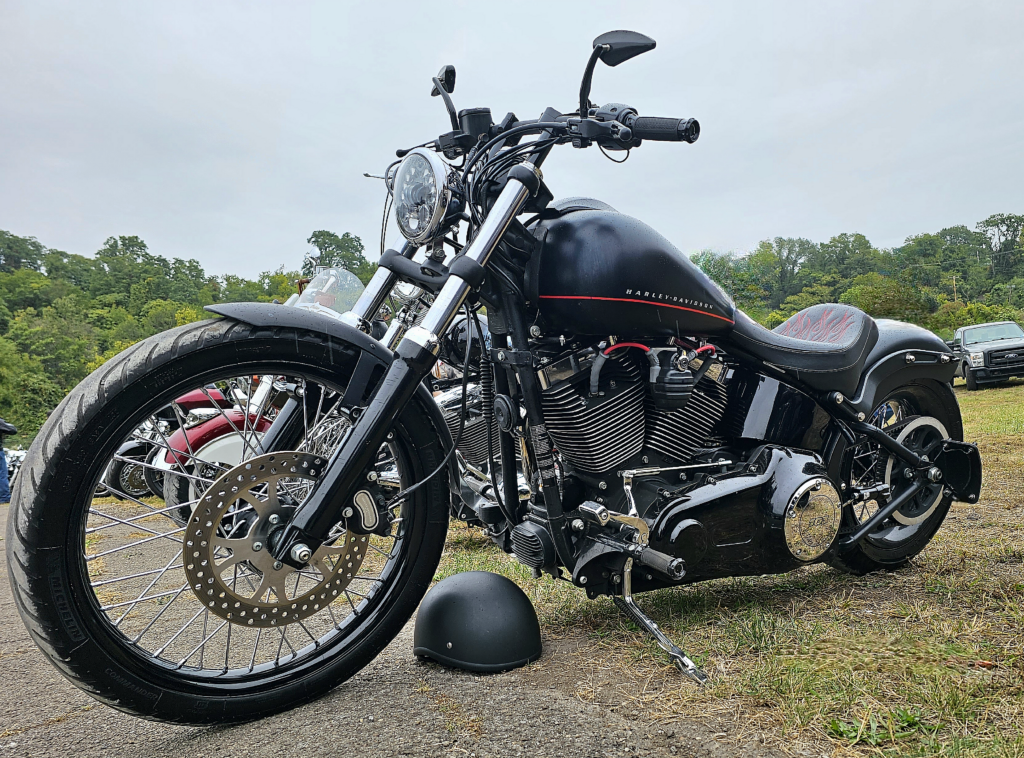
Like many of you, I spend time putting the “go” into my bike. The power to pass most of the others, and turn a tier over at will, certainly induces perma-grin. The engine overhaul was a winter time project that just kept growing, and getting more difficult as the days ticked by. But struggling through it was more than worth it. It has made this bike that much more enjoyable to ride. The idle alone plasters a grin on my face even if the neighbors are rolling their eyes at 6:00 a.m. when I head out for work.
The flip side of finding more “go” was the recognition that I also needed more “whoa” to reel in the beast when the lights turn red, a critter turns up, or the road takes an unexpected turn. At first thought you’d think a simple brake upgrade would be all that’s needed, but as with everything else, you upgrade one thing, and it shows the next weakest link. The wallet gets lighter and more overtime gets worked. But the results ended up far and away better than I could have hoped.
Needing an upgrade of some sort to the brakes, that were getting low anyway, I looked at the many options. The big brake kits looked functional, but I’m not a fan of the look. There had to be an option that would give better braking and still maintain a stylish look. That’s when I came across a brake and rotor set from DP Brakes. With stock size rotors it would keep the look I wanted with a slight change to the style. Better yet, upgraded friction material would provide the improved brake performance I needed.
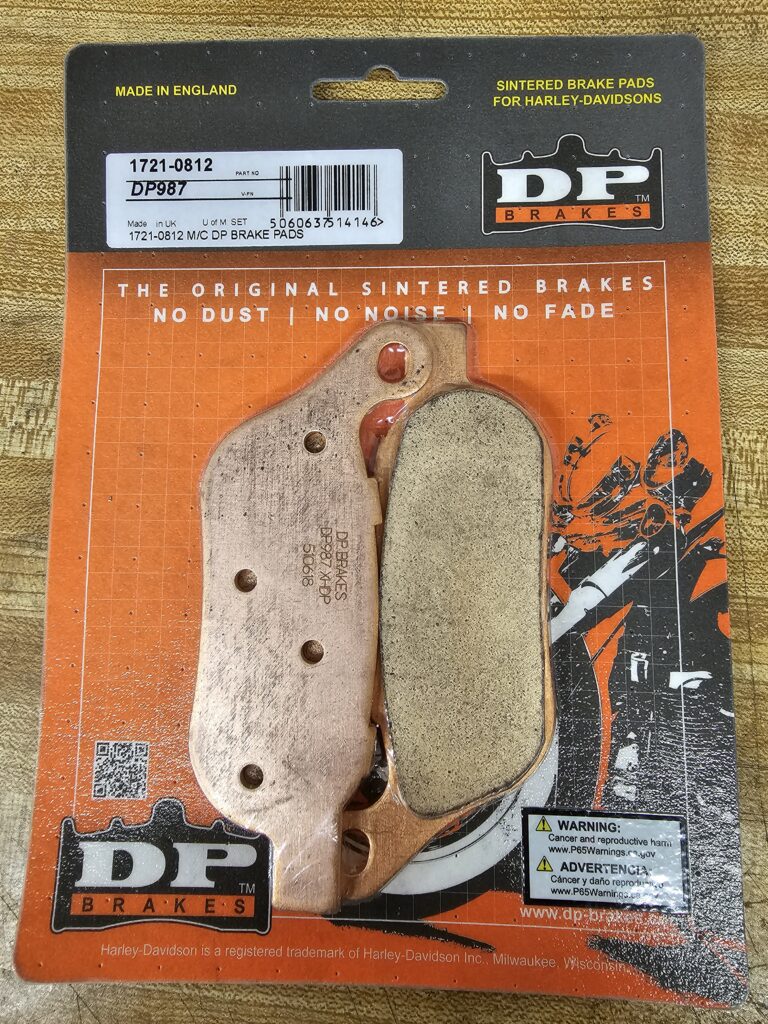
I decided to go with new rotors and pads. Upon opening them, I was thoroughly impressed with the quality and feel in the hand. The precision of the rotors and care in the design was evident right away, as was the quality of the materials. I’d compare them to the factory ones, but there really isn’t a comparison to be made, the DP pieces are just that good.
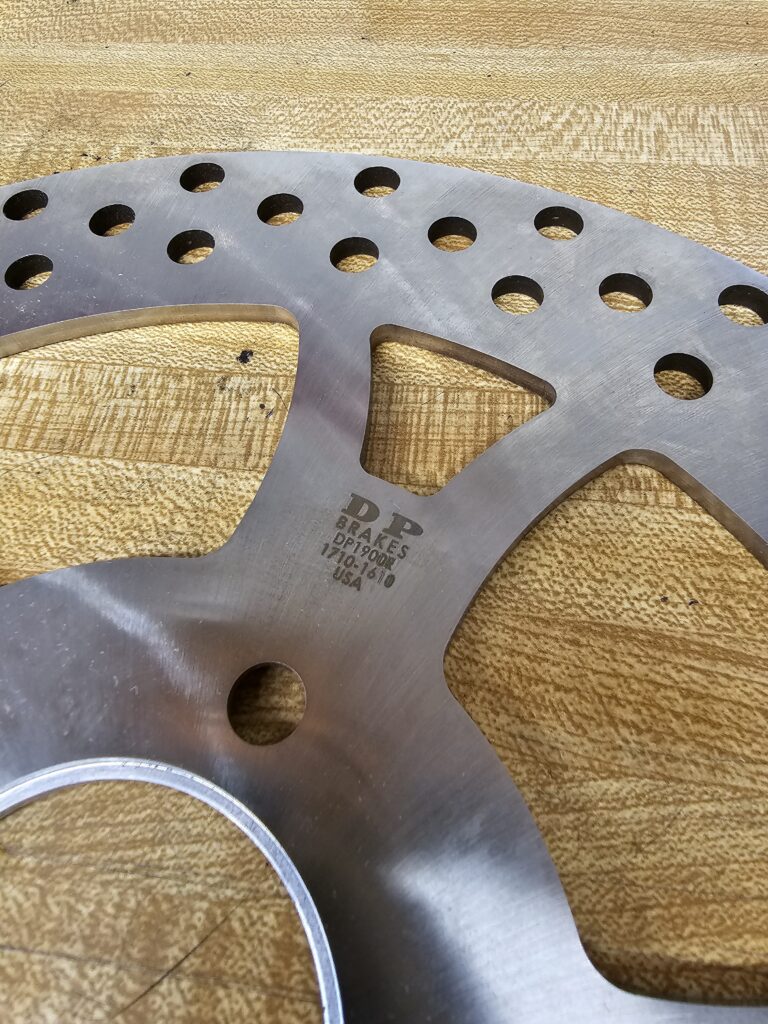
The actual installation of the parts was pretty straight forward. Remove the wheels, unbolt the factory rotors and bolt the new ones on. Well… there’s a bit more to it than that, but there’s no modifications needed. The rotors and pads are precision manufactured to fit like factory parts. No sanding, grinding, filing etc. They just work as intended, and install as expected, which is refreshing in this world of cheap imports and questionable quality.
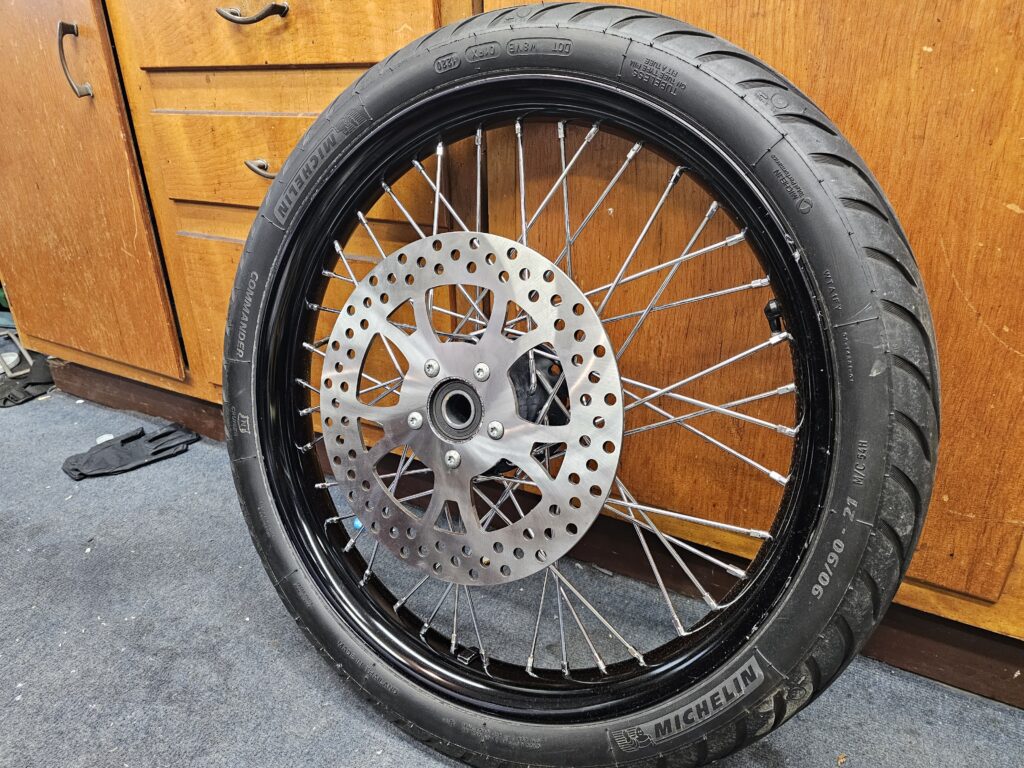
Taking them out for the first ride, bedding the brakes in and letting everything wear in showed markedly better performance. Exactly what I was looking for. The look of the precision cut rotors from DP Brakes adds just enough style that its noticeable but not, “HEY LOOK AT ME!” In a world of skulls, spikes and flames, a little subtlety goes a long way. Overall, the performance, install and feel in the hand of these parts is exactly what I wanted and needed. The only downside to this upgrade is it showed the next part that needed attention…
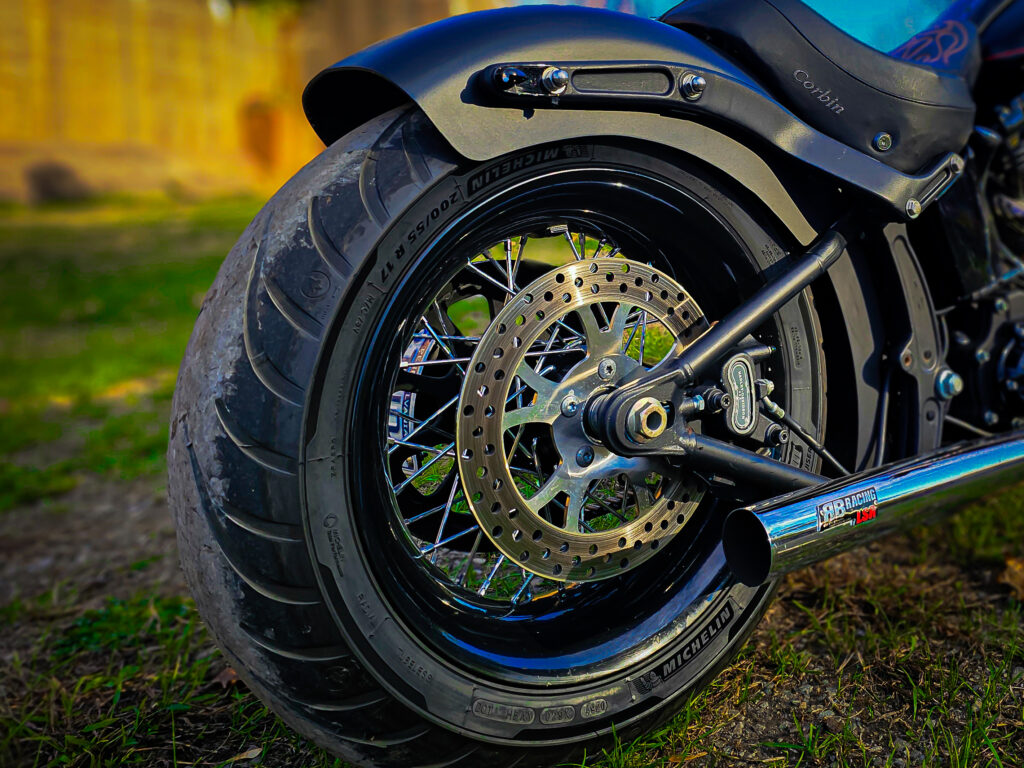
While riding with the new brakes, after getting them worn in, I was doing some hard braking±even panic stopping—to see how they reacted, how they felt and how they modulated. They did all of this very, very well and I didn’t notice anything with the brakes that left me feeling anything other than confident. What I did notice is how much the suspension moved before the brakes began shedding off the speed.
After a quick search, I found myself on the Progressive Suspension website, looking at options. At first I was looking at just the front, since that’s where I’d noticed the dive when hard on the brakes. But with 30k on the bike, my friends (who know more than me) strongly suggested that it was time to replace the rears too. So I made a call to knowledgeable people at Progressive about the build, how I ride, and parts selection as the forks on the Blackline are a bit of an odd ball.
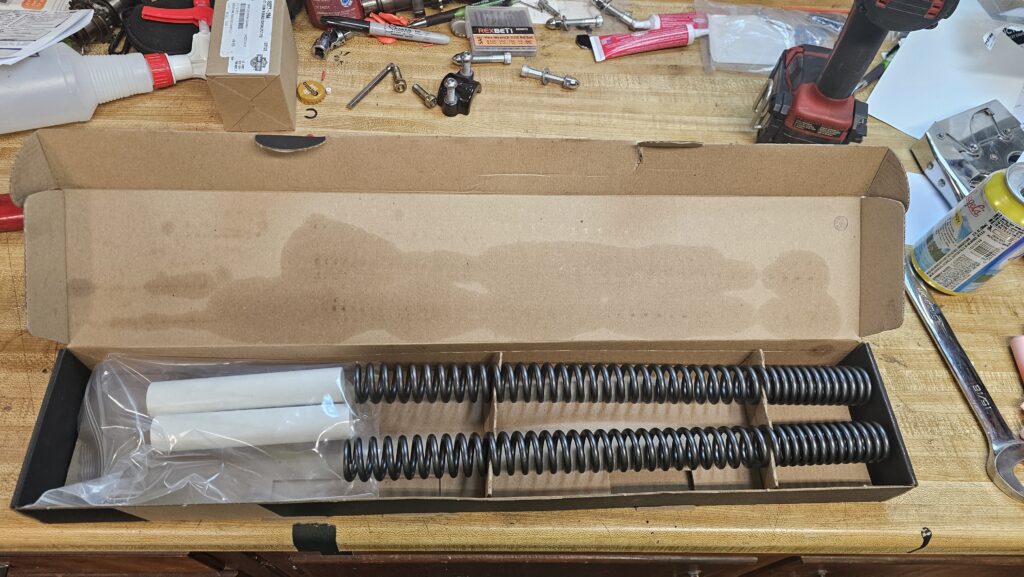
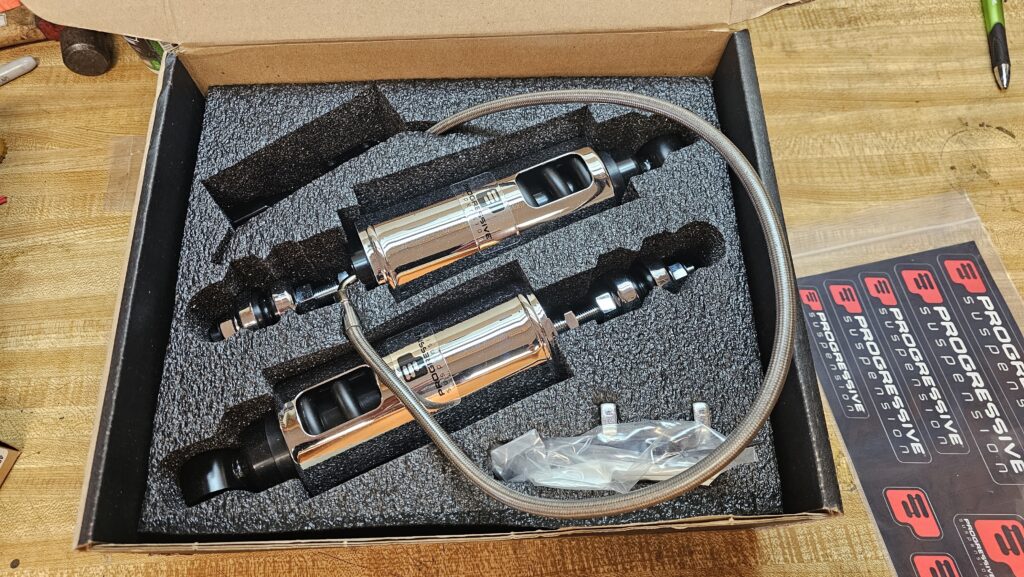
They got me set up with progressive springs and oil for the front forks, and the 422RAP rear shocks with standard springs for the rear. As a 200lb guy with a solo seat and no interest in riding a passenger (the joys of a fiancé who has her own bike) they made it very clear to me that I did NOT need to spend the extra money on the RAP (Remote Adjustable Preload), but I couldn’t help myself… I love being able to twist a knob, push a button or flick a switch.
It seems like of all the parts and systems on these bikes that everyone upgrades, the last one to get attention is suspension. Hind sight being 20/20, this is so bass ackwards it’s almost criminal. This should be the first thing we should be doing, especially if you’ve racked up miles or carry a passenger. The difference it made still has me in shock. It’s not just about comfort or the noticeably lowered look when parked in the lot at bike night. Tuning the suspension makes the bike feel faster in the straight, more stable in the turns, more comfortable on the long rides and (to my surprise) makes it stop better. That last part is how the DP Brake upgrade made me more aware of the squishy suspension. How they directly impact each other easily shows how much more important the suspension is. It literally makes everything about the bike, from the motor, to the brakes, even the lighting, work better.
The Install of the rear shocks was pretty straight forward. I positioned the bike lift in such a way that I would be able to get jack stands under the frame so I would be able to get to the front shock bolts. With the bike in 1st gear, I positioned a floor jack under the rear tire to control the movement of the swing arm.
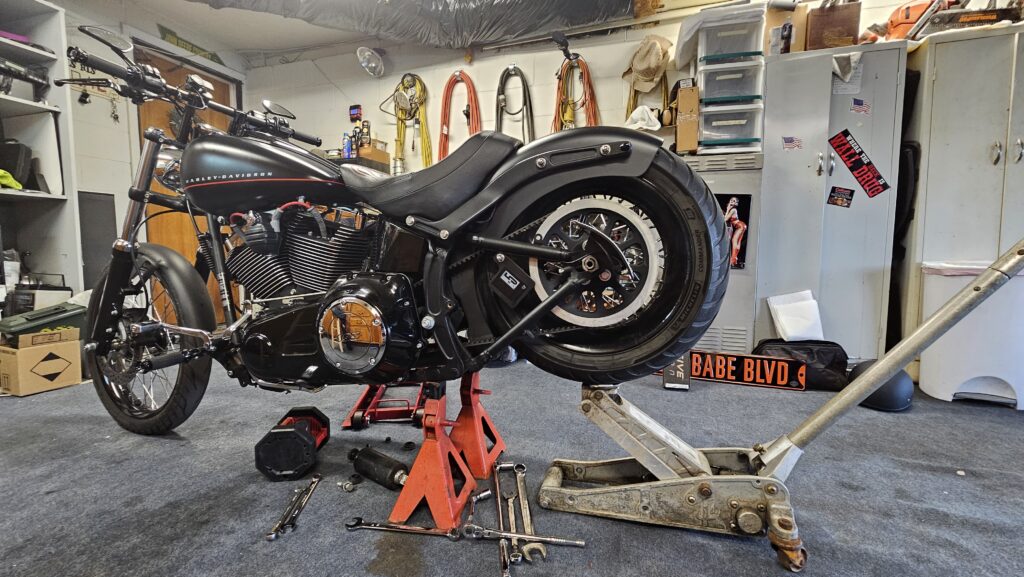
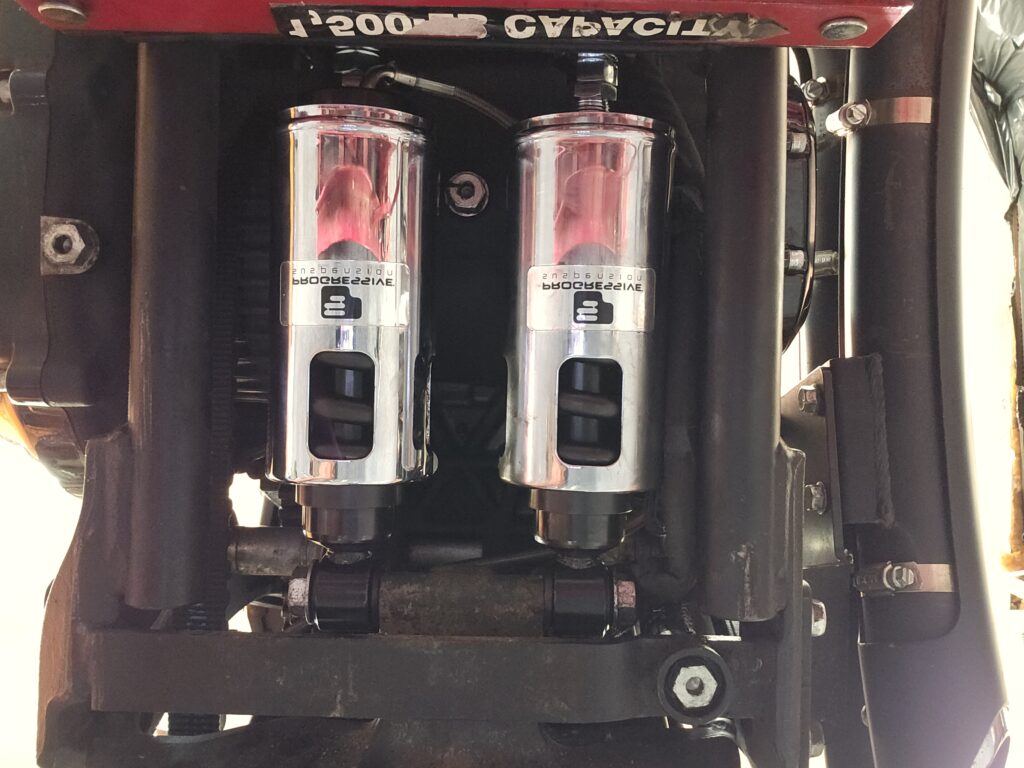
Then it was the fairly simple task of removing the bolts and dropping the worn original shocks out. I say fairly simple, because there was some fiddling around trying to get the right side shock out. It’s a bit frustrating, but it is possible without too many expletives being muttered. This is where the jack under the tire became necessary. You can move the swing arm to get everything to line up to get the bolts out. The rest of the install was straightforward enough. The directions provided by Progressive were very clear and the rest went without hassle. Even the install of the adjuster was placed perfectly with no interference or contact with other parts. This was clearly a well thought out design.
Installation of the front springs was a bit more involved, but for my first time into a set of forks, I managed to pull it off in a couple hours – with a bit of ingenuity. Before I started I did some research and learned that replacing the fork bushings was recommended, so I made sure to have fork rebuild kits on hand from local dealer. I began by removing the front wheel, then draining and disassembling the forks. Beware of the top fork caps, the factory springs have quite a bit of spring tension on them.
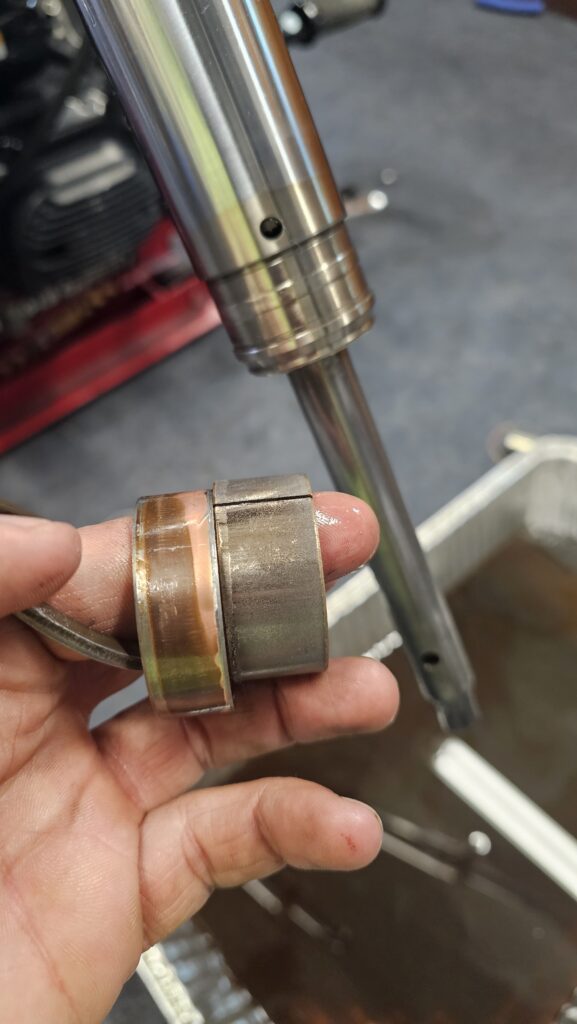
By looks of the bushings and the oil that came out, they were definitely due to be replaced. I thoroughly cleaned the fork tubes, installed the bushings and seals in the proper order and re-installed. I didn’t have the proper seal driver for the fork seals, but I managed to drive them in by wrapping electrical tape around the fork and using that to hold the seal while I drove the fork body on to the seal with a rubber mallet. (It’s not dumb if it works)
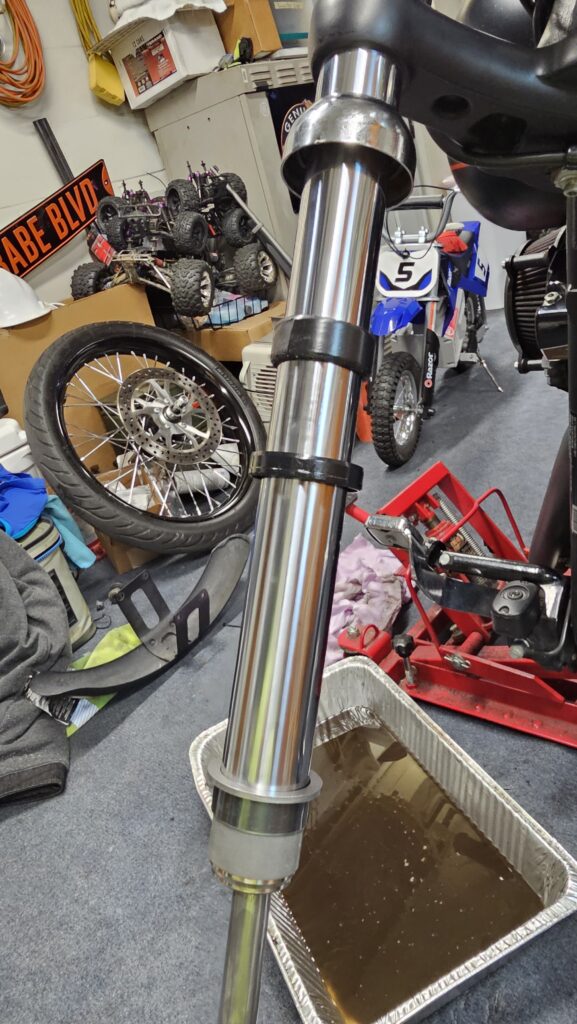
Getting it back together, I dropped the new springs in through the top. I followed Progressive’s instruction on the amount of new oil to add. Specific to the Blackline, there wasn’t a set length for the included spring spacer. I started with removing ¾” and completing the install. After it was back on the ground, I made some ride height adjustments to the rear (the 422 rears allow stock height to 2” lower). Then I decided to lower the front some more by removing the fork caps and cutting another 1.5” off the spacer. This gave me the ride height I was looking for while still giving me enough suspension movement to not bottom out.
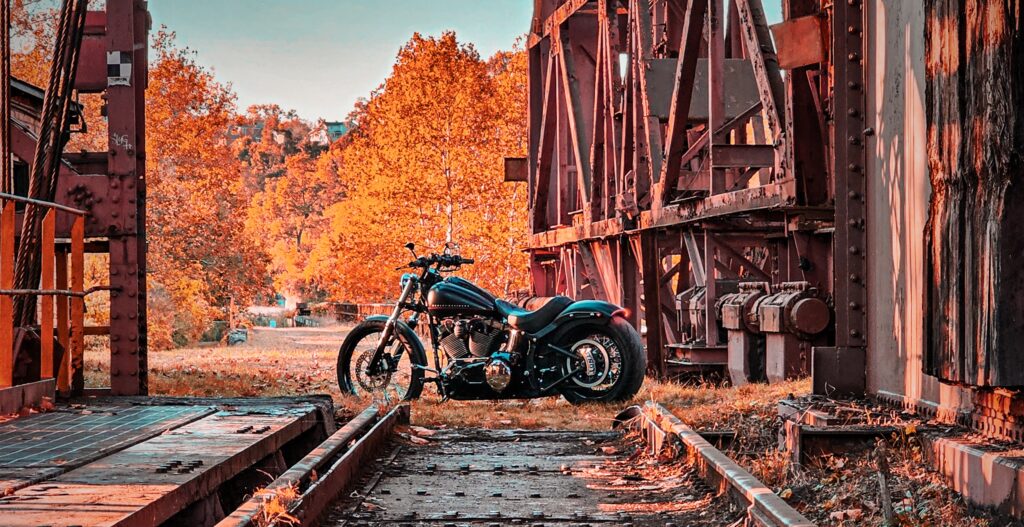
The first ride after everything was installed… Holy shit… was night and day different. It takes out the squish while still being comfortable; firm in the corners yet soaks up the bumps. I was riding around thinking, “Why don’t more people do this?”. I was kicking myself for taking so long to upgrade my bike’s brakes and suspension. As I learned, they work hand in hand, making every mile that much better.
The firmer suspension, coupled with the brake upgrades, has made this thing safer, more comfortable and generally more enjoyable to ride. The cherry on top? The stance it has at rest. Sitting at bike night or out in the parking lot at a show, it has the look I have been wanting and the comfort my middle age ass demands.

More Stories
Gear up for Sturgis With Motorcycle Safety Lawyers®
Long Beach BMW Motorcycles Delivers 2,000th Authority Motorcycle
Honey, Come Quick…the Full 2024 Sturgis Buffalo Chip Band Lineup Just Dropped!