


PART 2
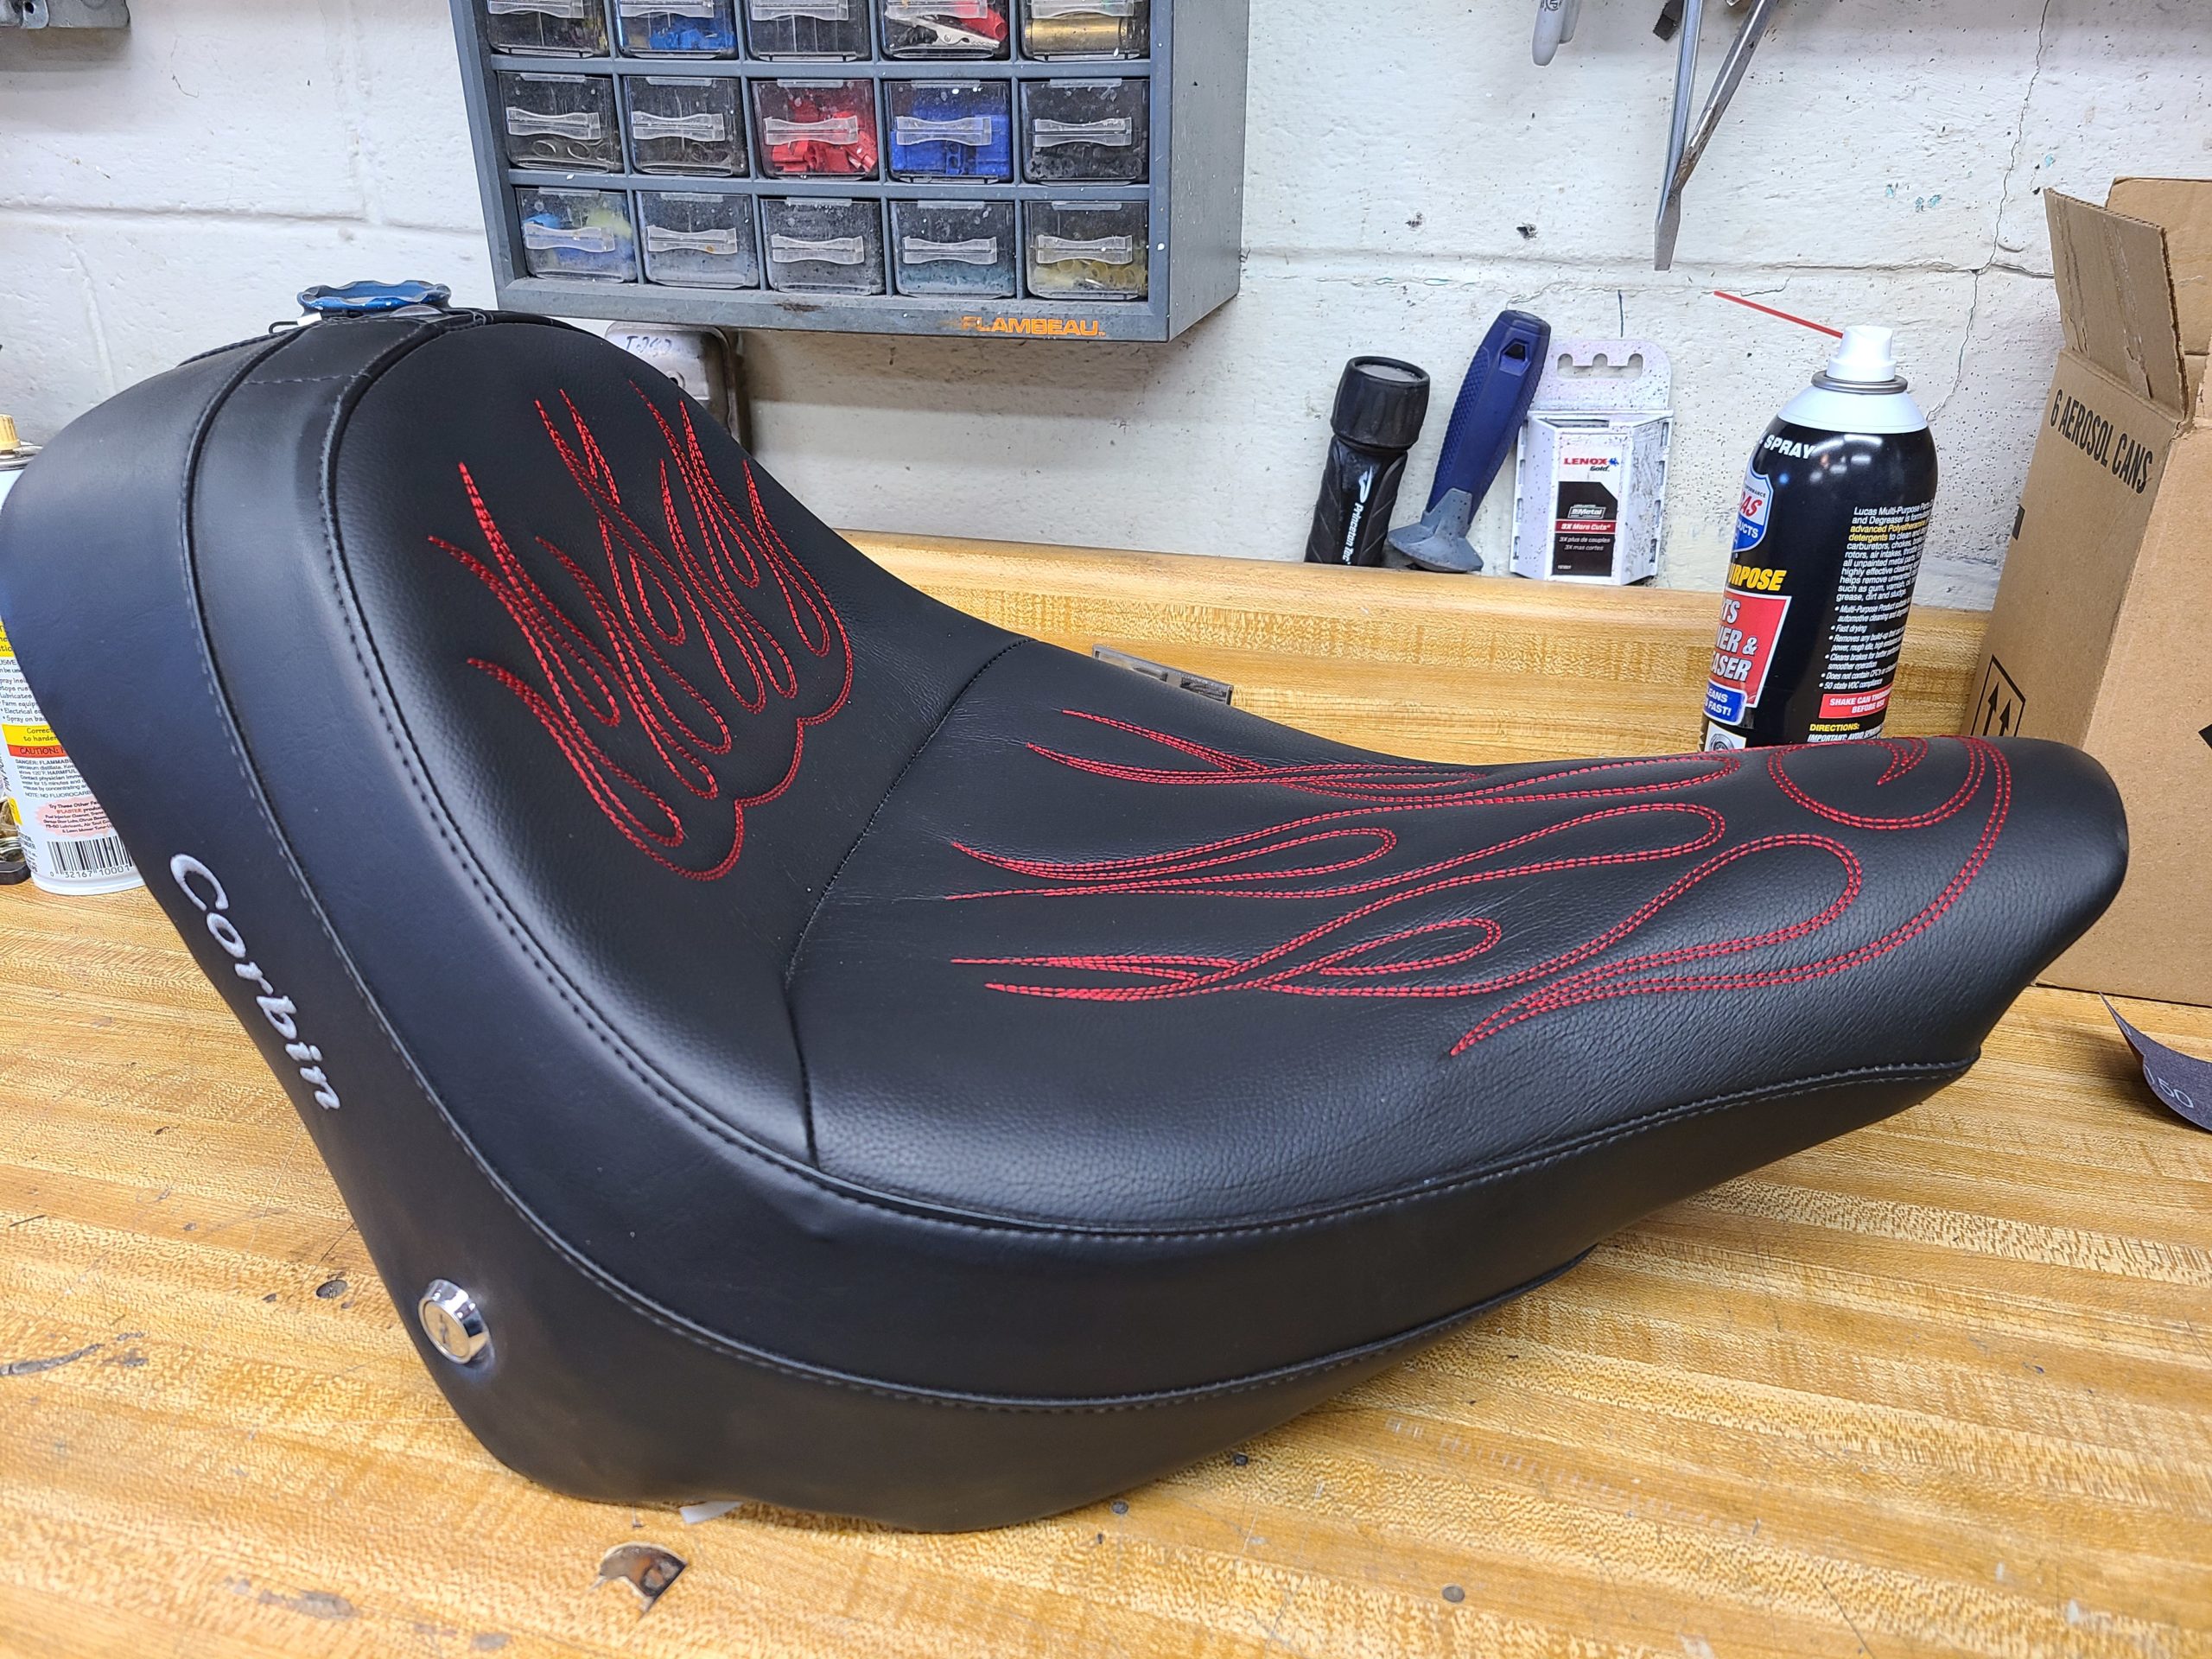
 I had worked off the favors I’d asked for and the snow was still piled up outside when a box from Corbin arrived at my front door. My first impression of the new seat when I unboxed it, slipped it out of the bag, and the intoxicating scent of freshly worked leather hit my face was, “This is too nice to sit on.” I admired it, the obvious care and skill that went into its creation, the attention to detail in the stitching, the hand worked seams and rivets to make the cover fit perfectly over the hand cut padding. I went down to the garage, turned on the heaters and (Gasp!) read the directions. I didn’t want to risk screwing this up and damaging the fresh leather. The installation was straight forward, and the fit was perfect. The Blackline is a bit obscure as far as Softails go. It was only made for a few short years, so I was surprised to see Corbin had a seat for it, and amazed at how well it fit.
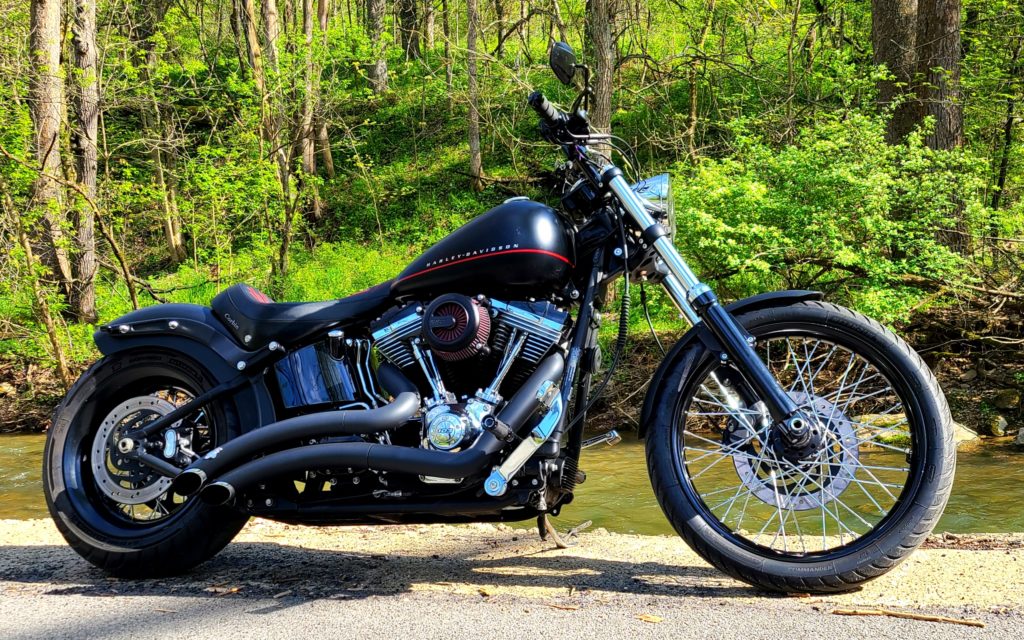
In Pittsburgh, Mother Nature’s springtime attitude can be as unpredictable as some of my ex’s. So while 70 degrees in March isn’t expected, it’s not surprising either and when it happened, I did the only thing you can do: I called in a sick day, fueled up the bike and backed it out of the garage… then went to get a new battery because, of course it was dead. That sorted, I fired it up and went for a ride on the new Corbin seat. Coming out of the driveway, my first thought was that it was a firm seat… About a mile down the road I forgot about the firmness. A few miles later, I realized just how comfortable it was. As the tires warmed up, I began riding a bit more spiritedly. I immediately appreciated how the seat held on to me as I dipped the bike into the bends, probably faster and harder than I needed to. Dodging the potholes and piles of road salt in early March, the Corbin Solo kept me firmly planted on the bike, switching left to right, dragging the pegs (and my heels) around the sweeping two lanes, I never lost confidence. Compared to sitting “on” the old seat, with the Corbin Solo, it felt like I was sitting “in” the seat. The difference is that of the bench seat in dad’s old Nova and the bucket seats in a Camaro.
A snowstorm blanketed the area 2 days after that first ride. But I soon had another day to get out on the bike and test the seat. With temps in the high 60’s, sunshine and the taste of road salt in the air I fired up and went for a longer ride. I spent a few hours non-stop, through downtown Pittsburgh, then south into the rolling, dormant farms of southwestern PA. The Corbin Solo simply didn’t disappoint. It held on to me, firmly and comfortably. Gone were the days of a numb butt, the odd waddle we do as you get off the bike and can’t feel your ass. The planted feeling leaning into the turns is something I certainly enjoy. Though the look of the pegs and the scuffed heels on my boots after being drug on the salty pavement is something I’ll never enjoy…
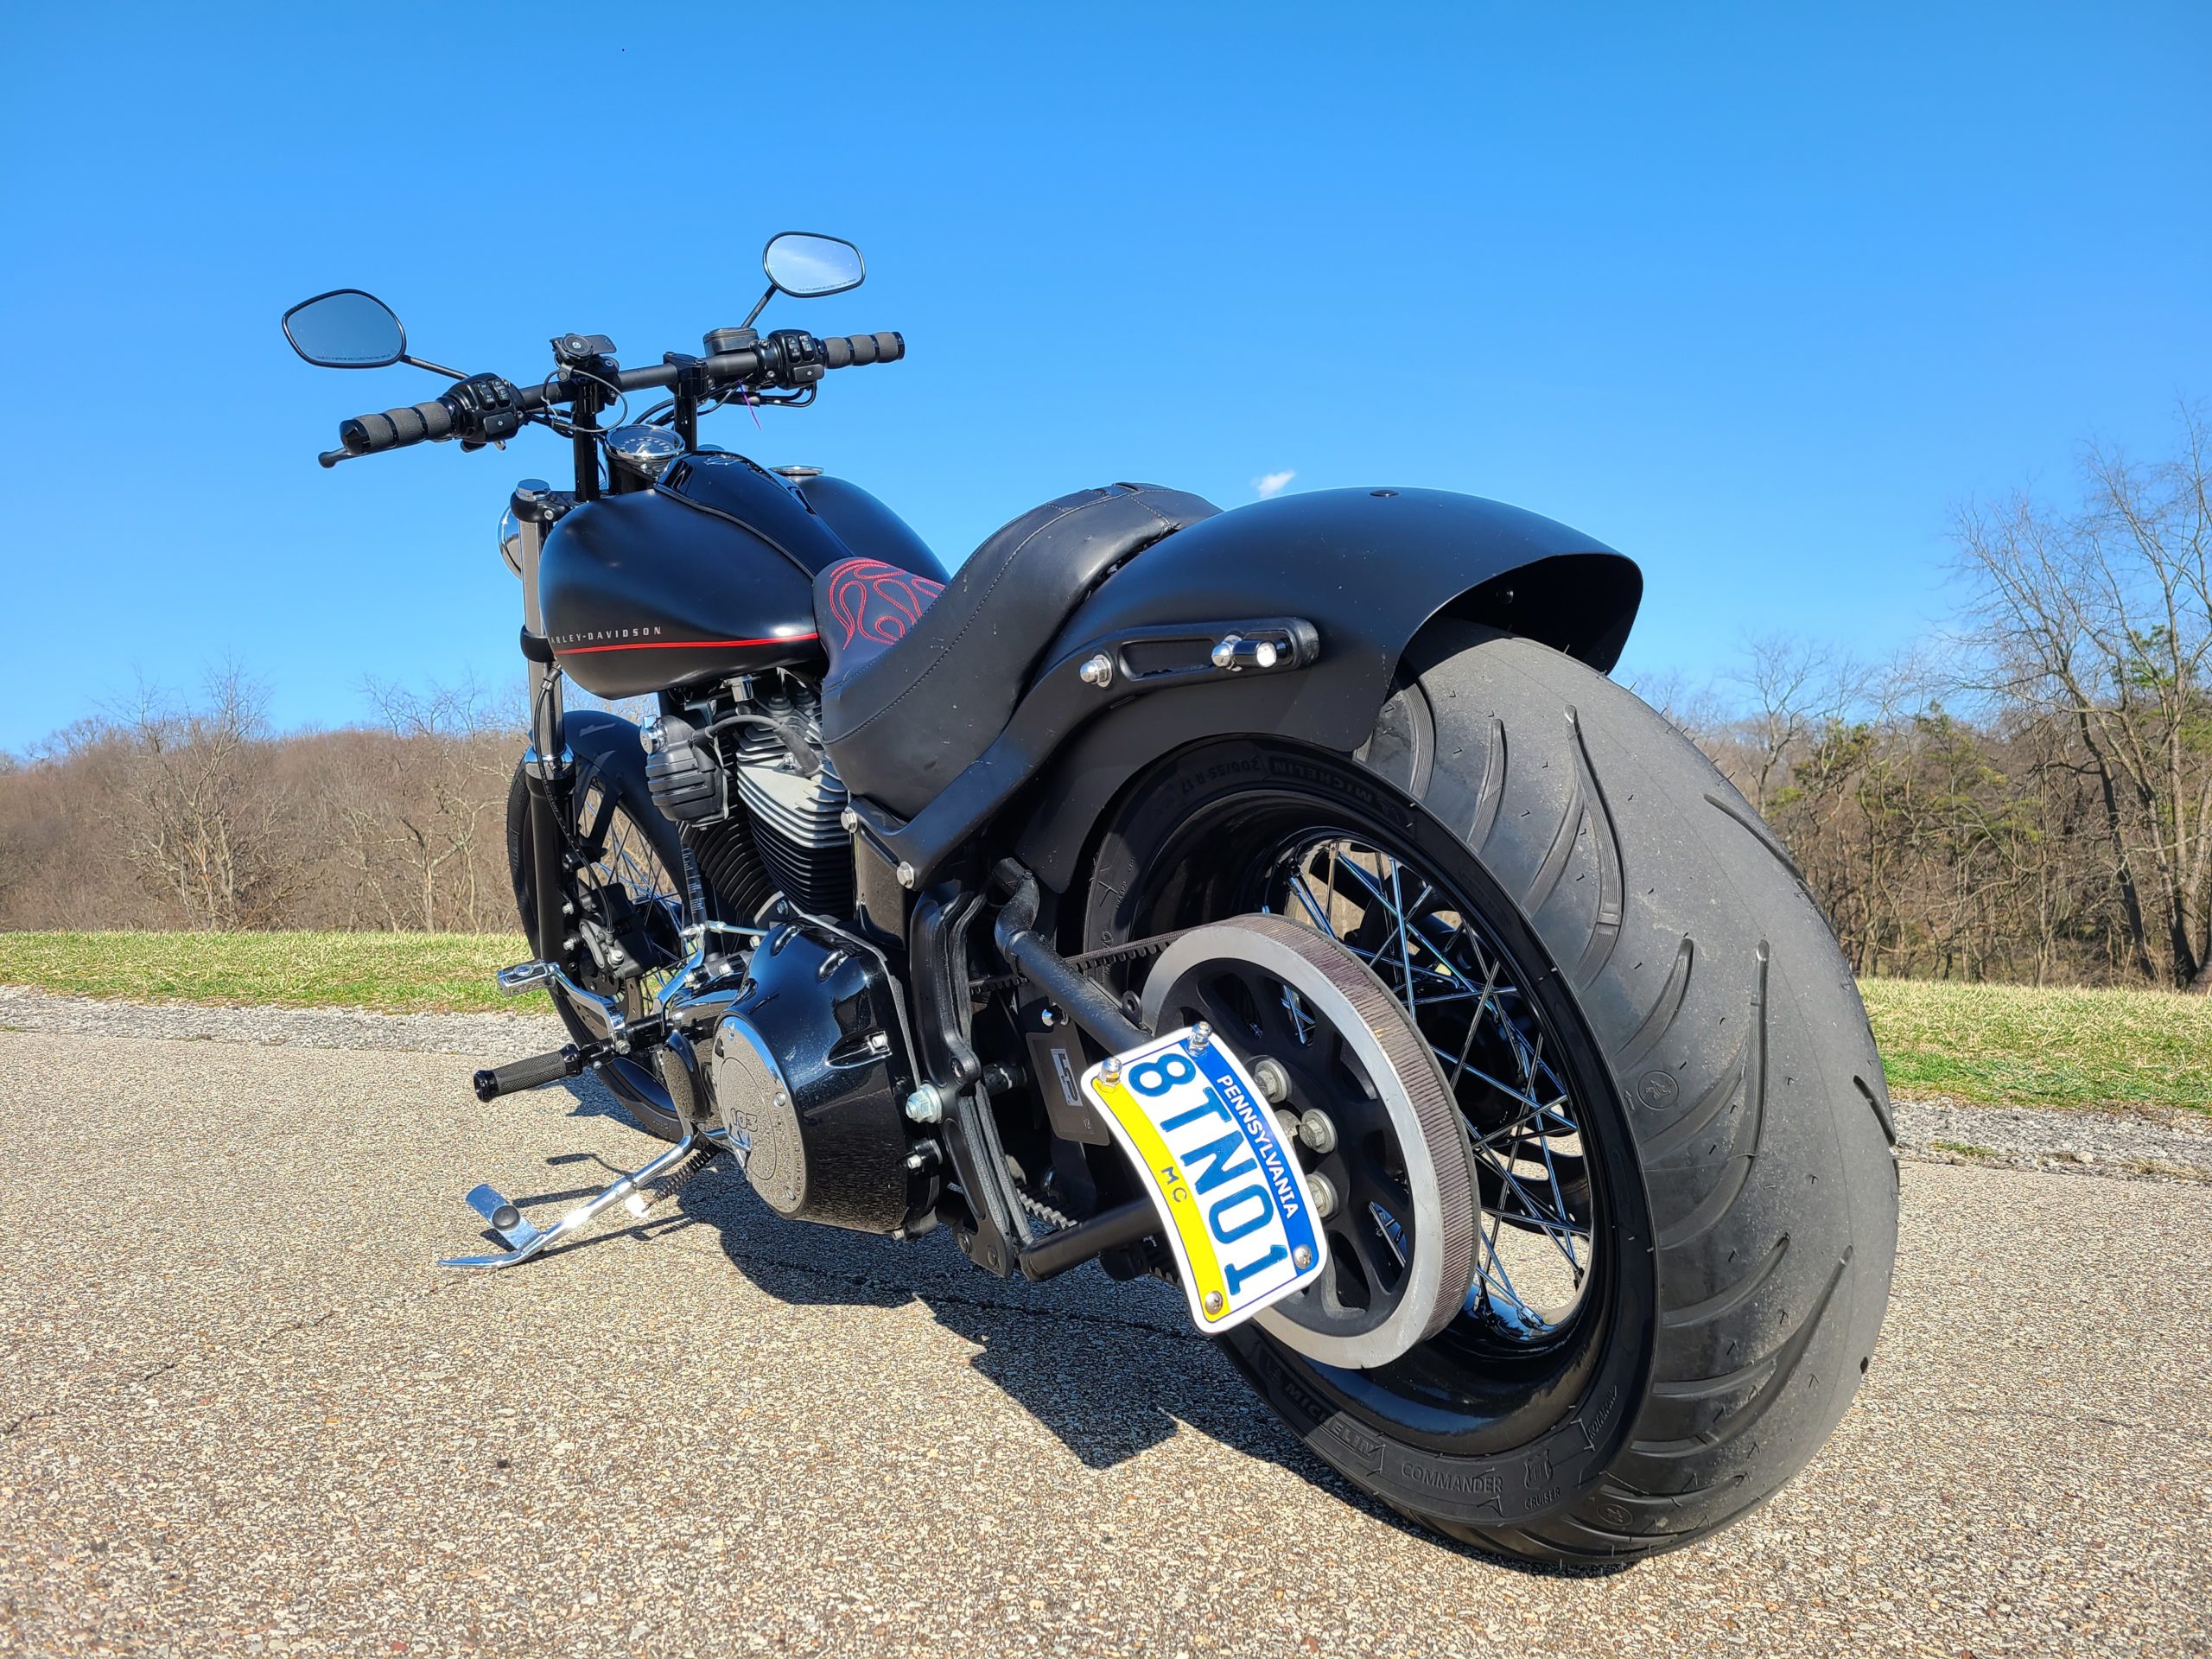
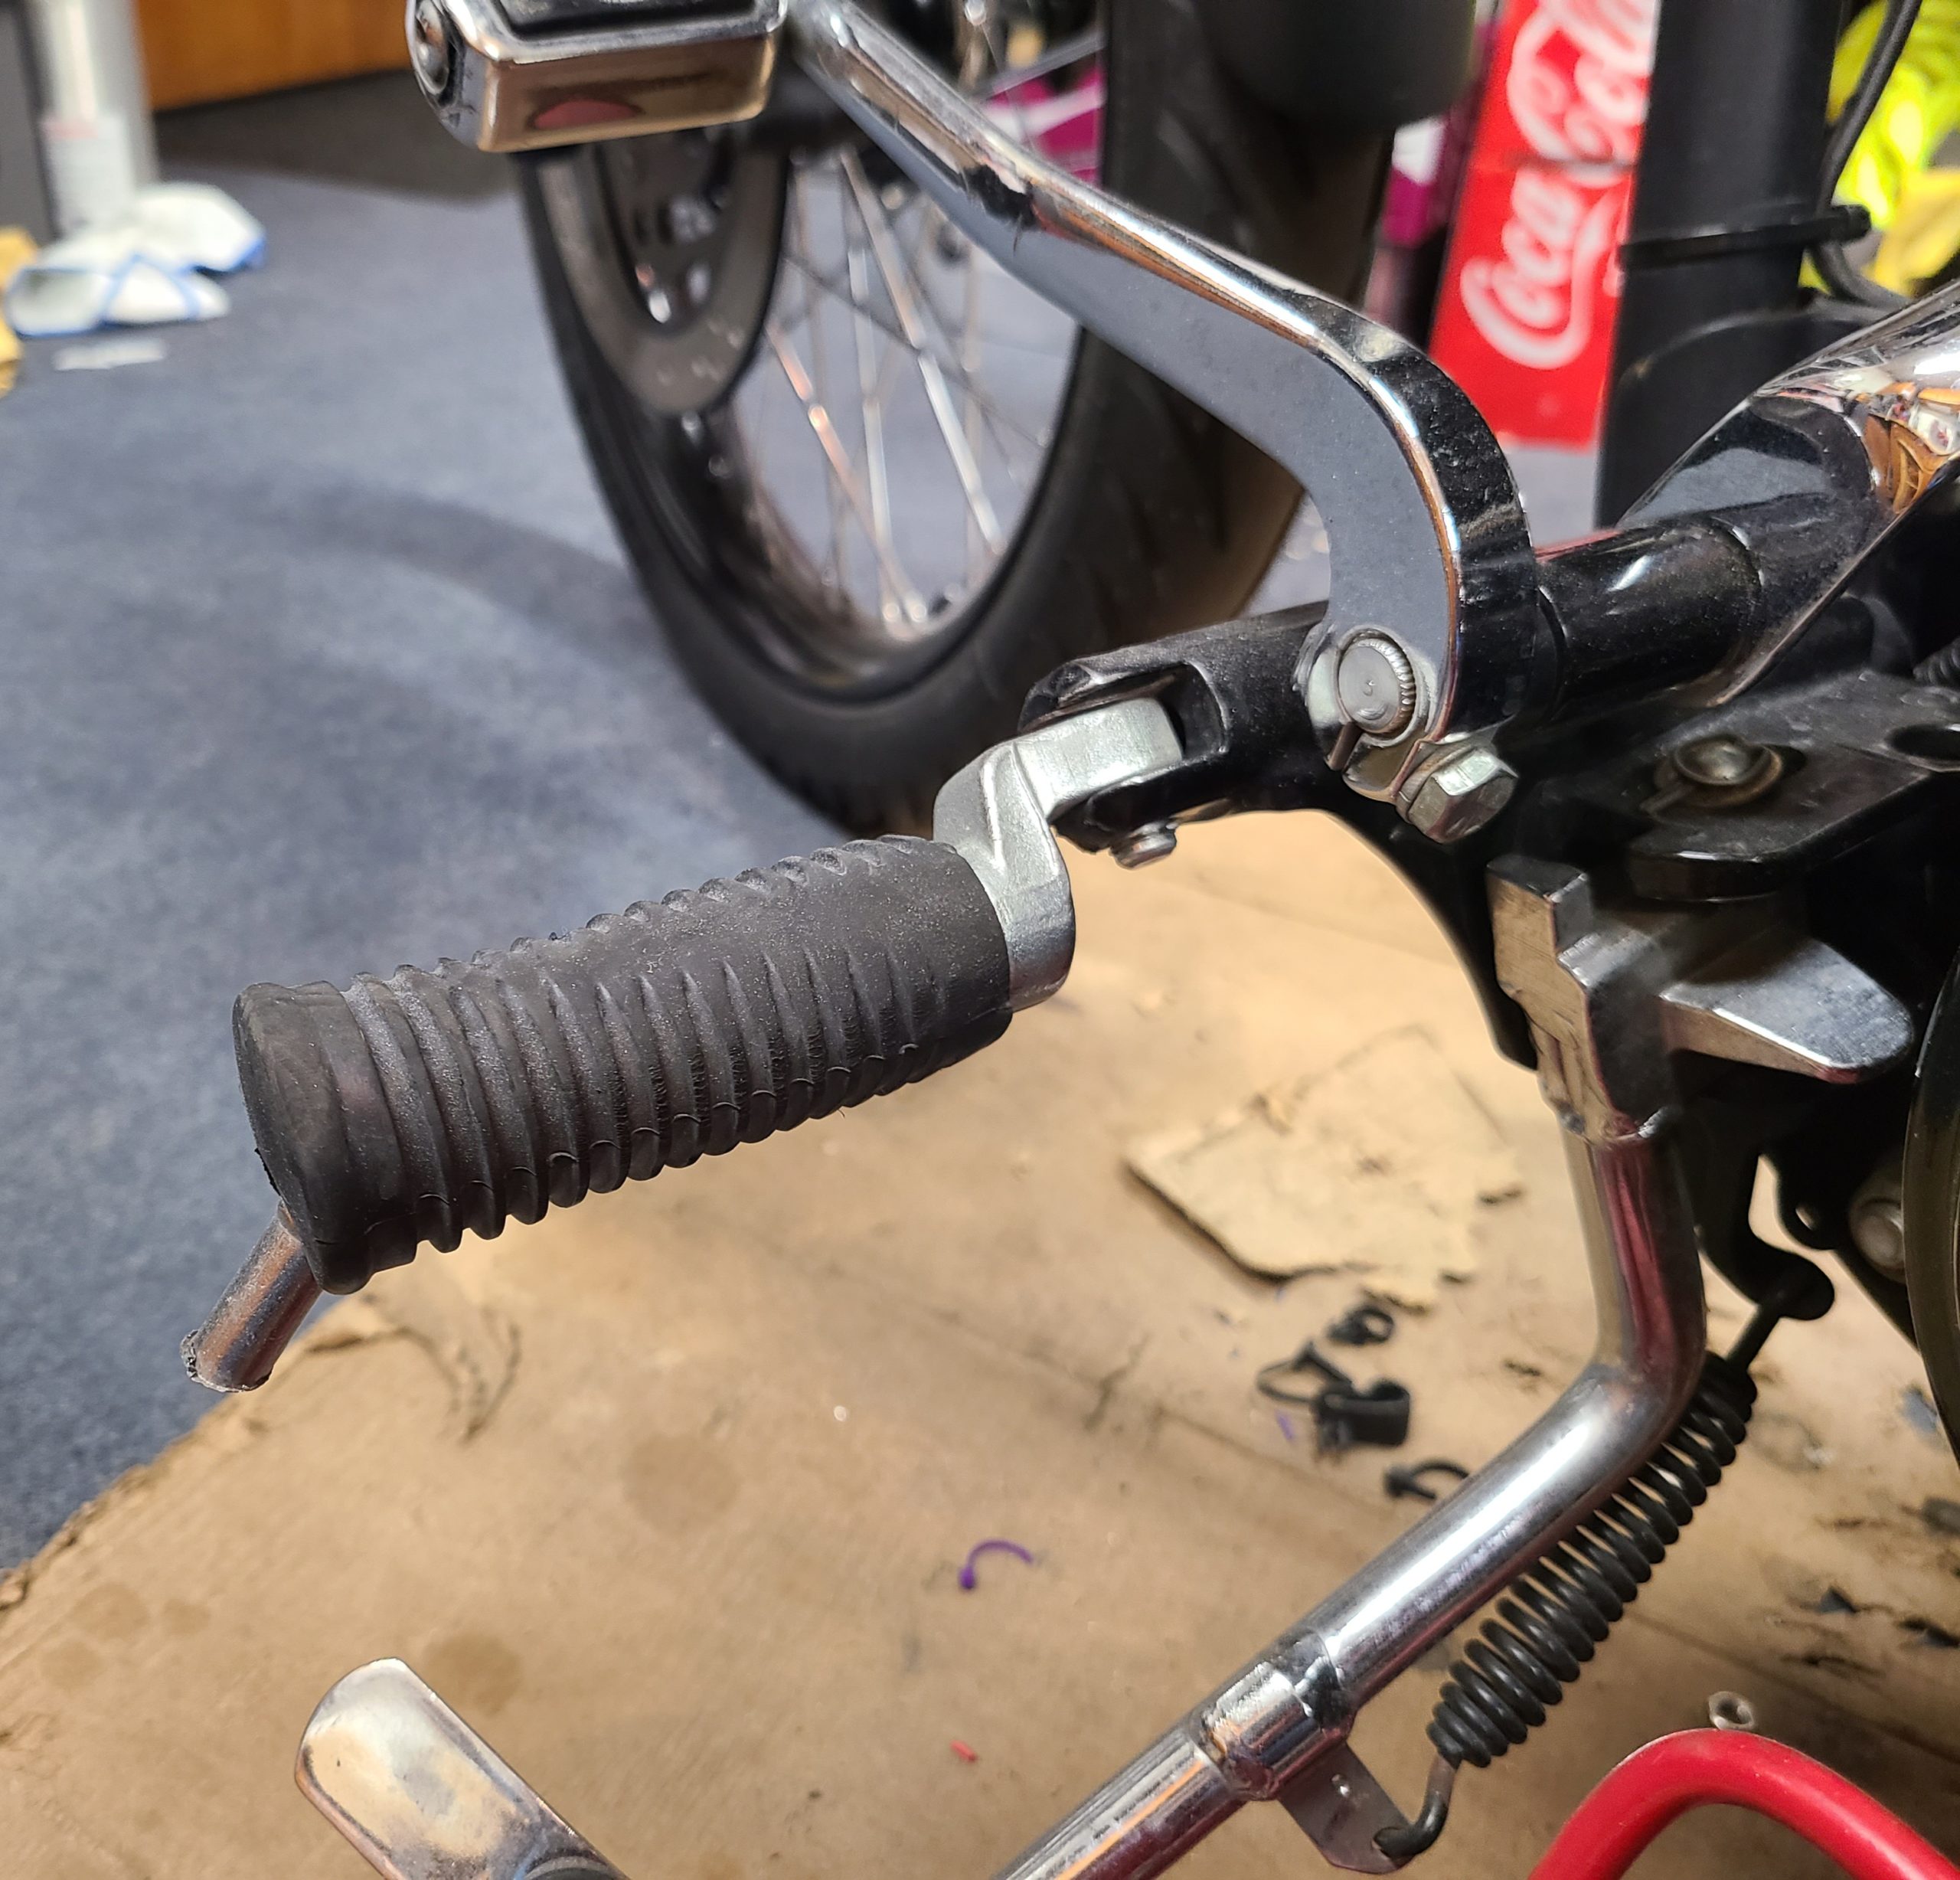
Speaking of pegs, after 10 years in the Georgia heat and sun the factory pegs wre starting to show their age and the rubber was becoming… slick. Because my boots wouldn’t stay on the pegs, I found myself being aware of holding my feet on them or pushing forward to keep my feet in place. An unnecessary distraction. I figured I was gonna change the pegs eventually, just for beauty if nothing else. Turns out, function matters, too.
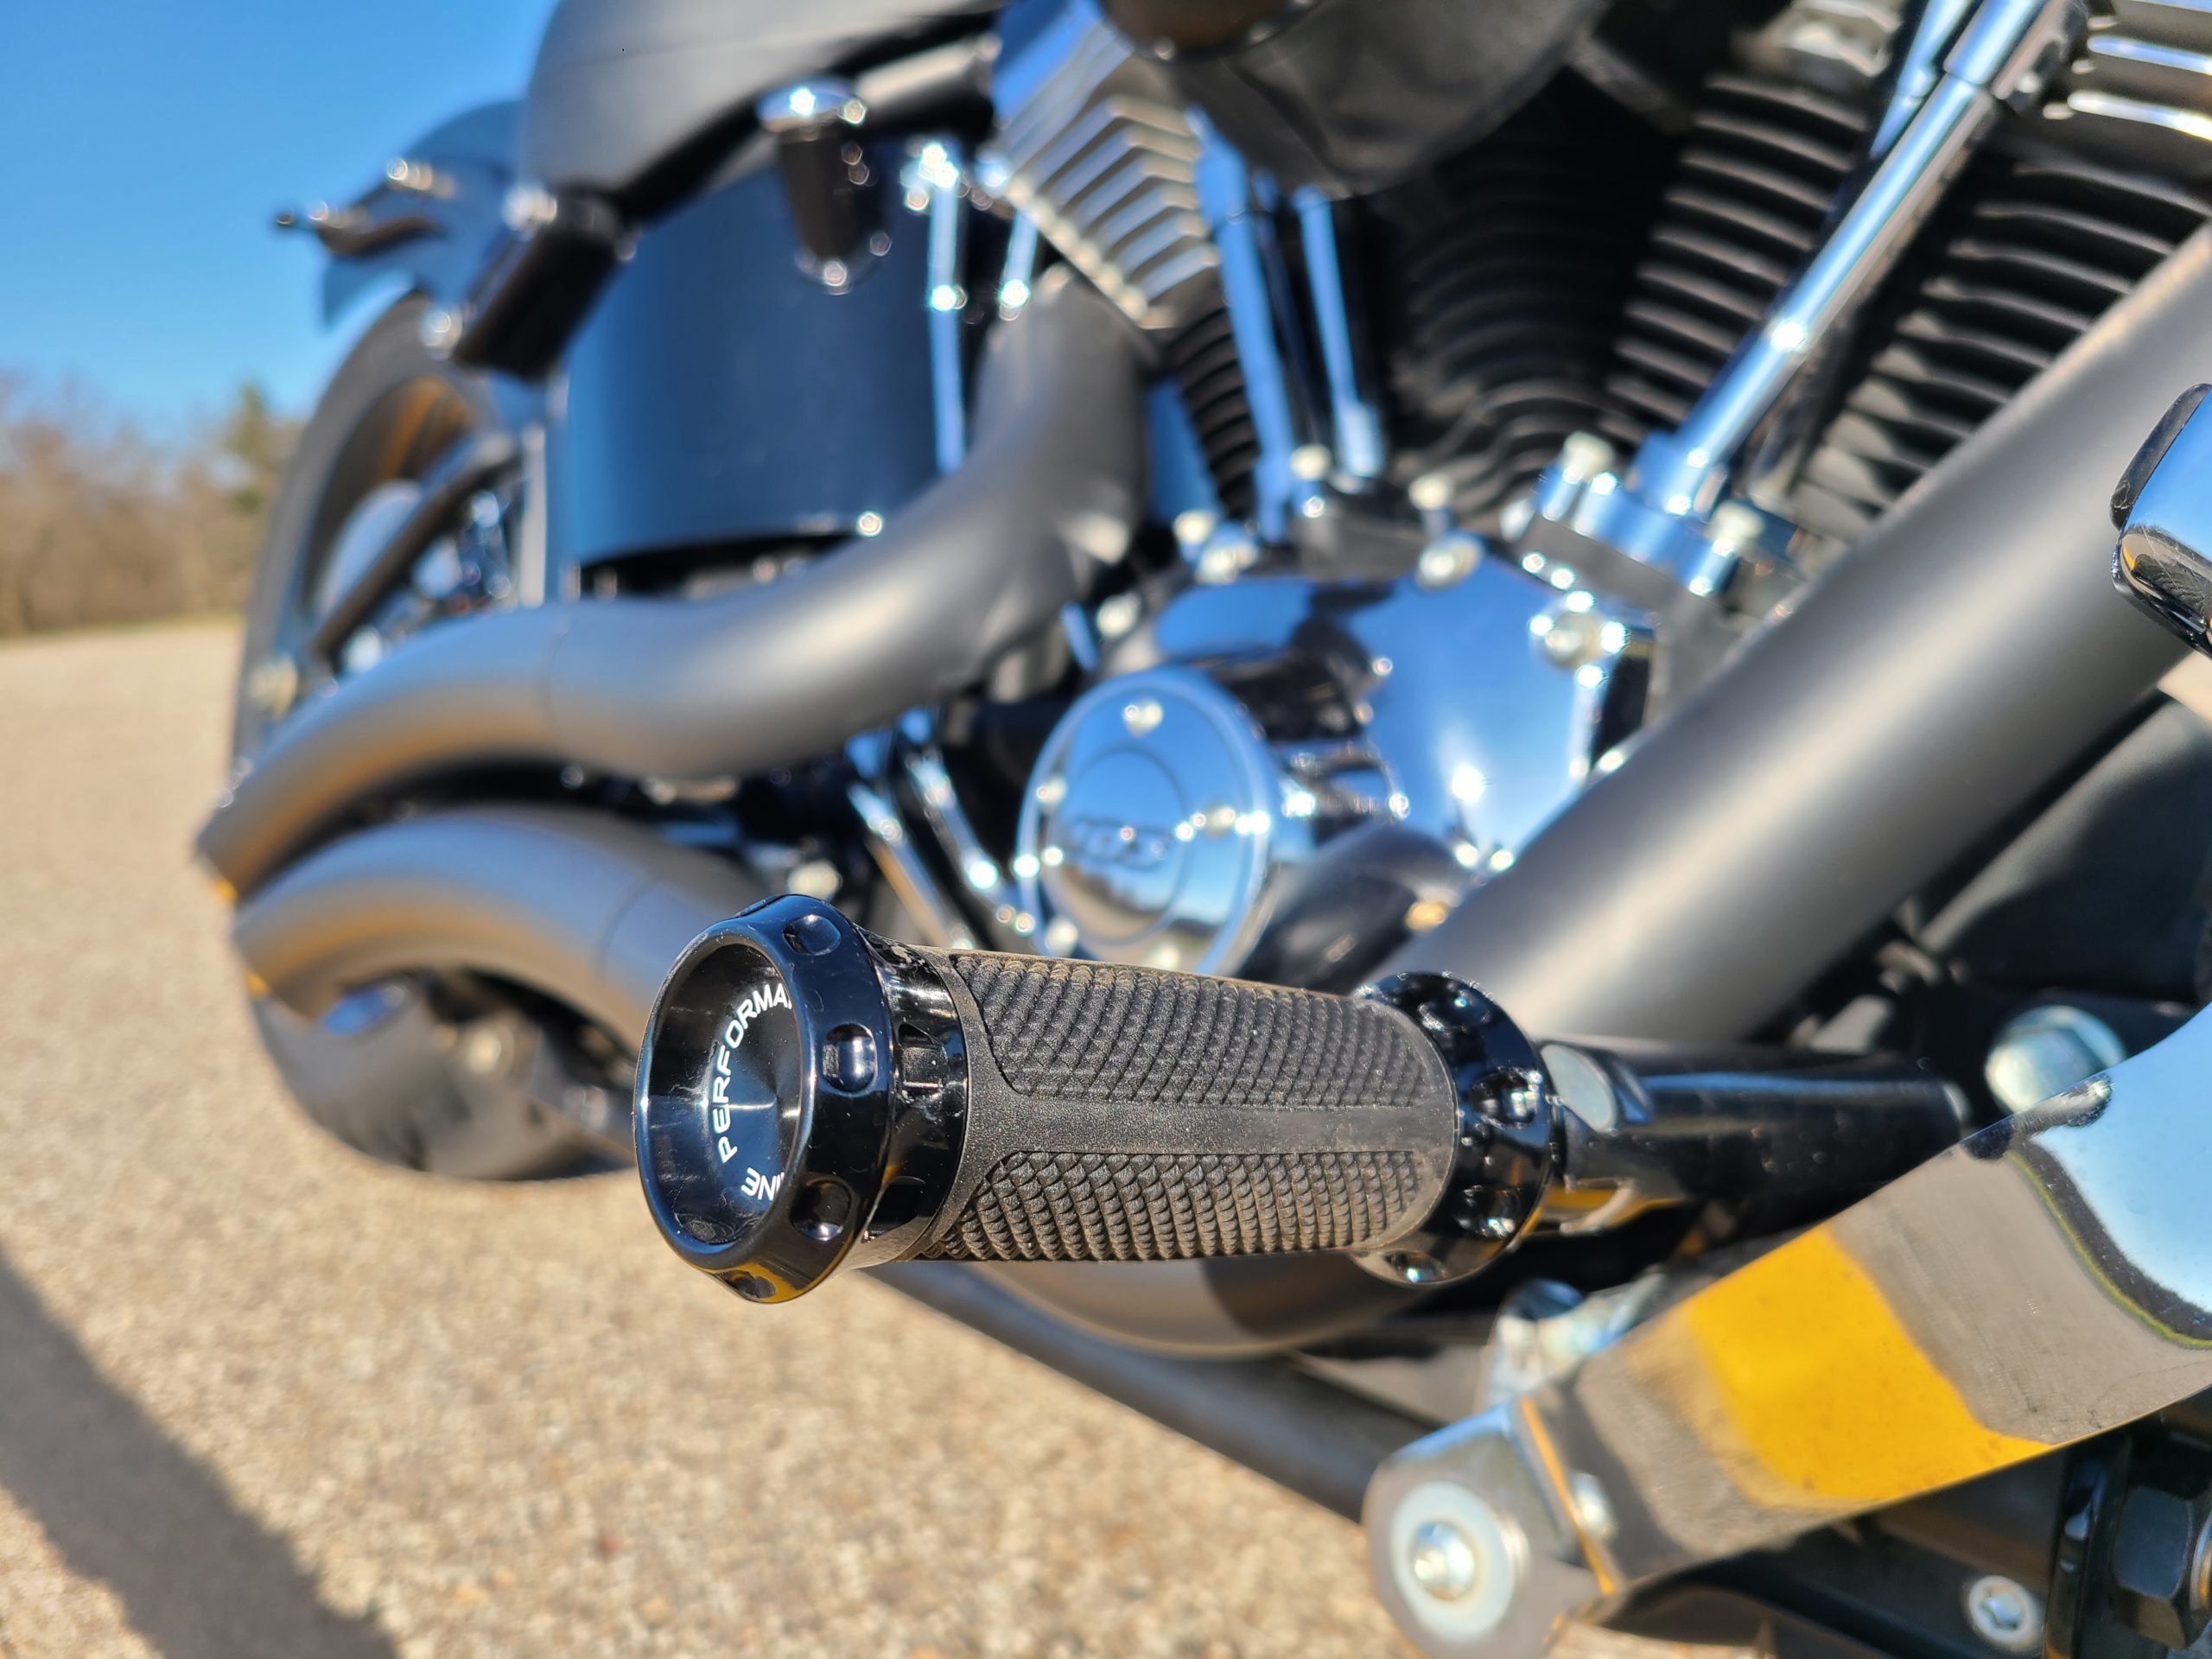
Looking at options, there was lots of chrome, points, spikes and skulls to choose from. None of that would go with the theme I was building. Then I found Performance Machine Overdrive Pegs. Simplistic and classy with their gloss/flat black contrast and a low key logo. I couldn’t order them fast enough.
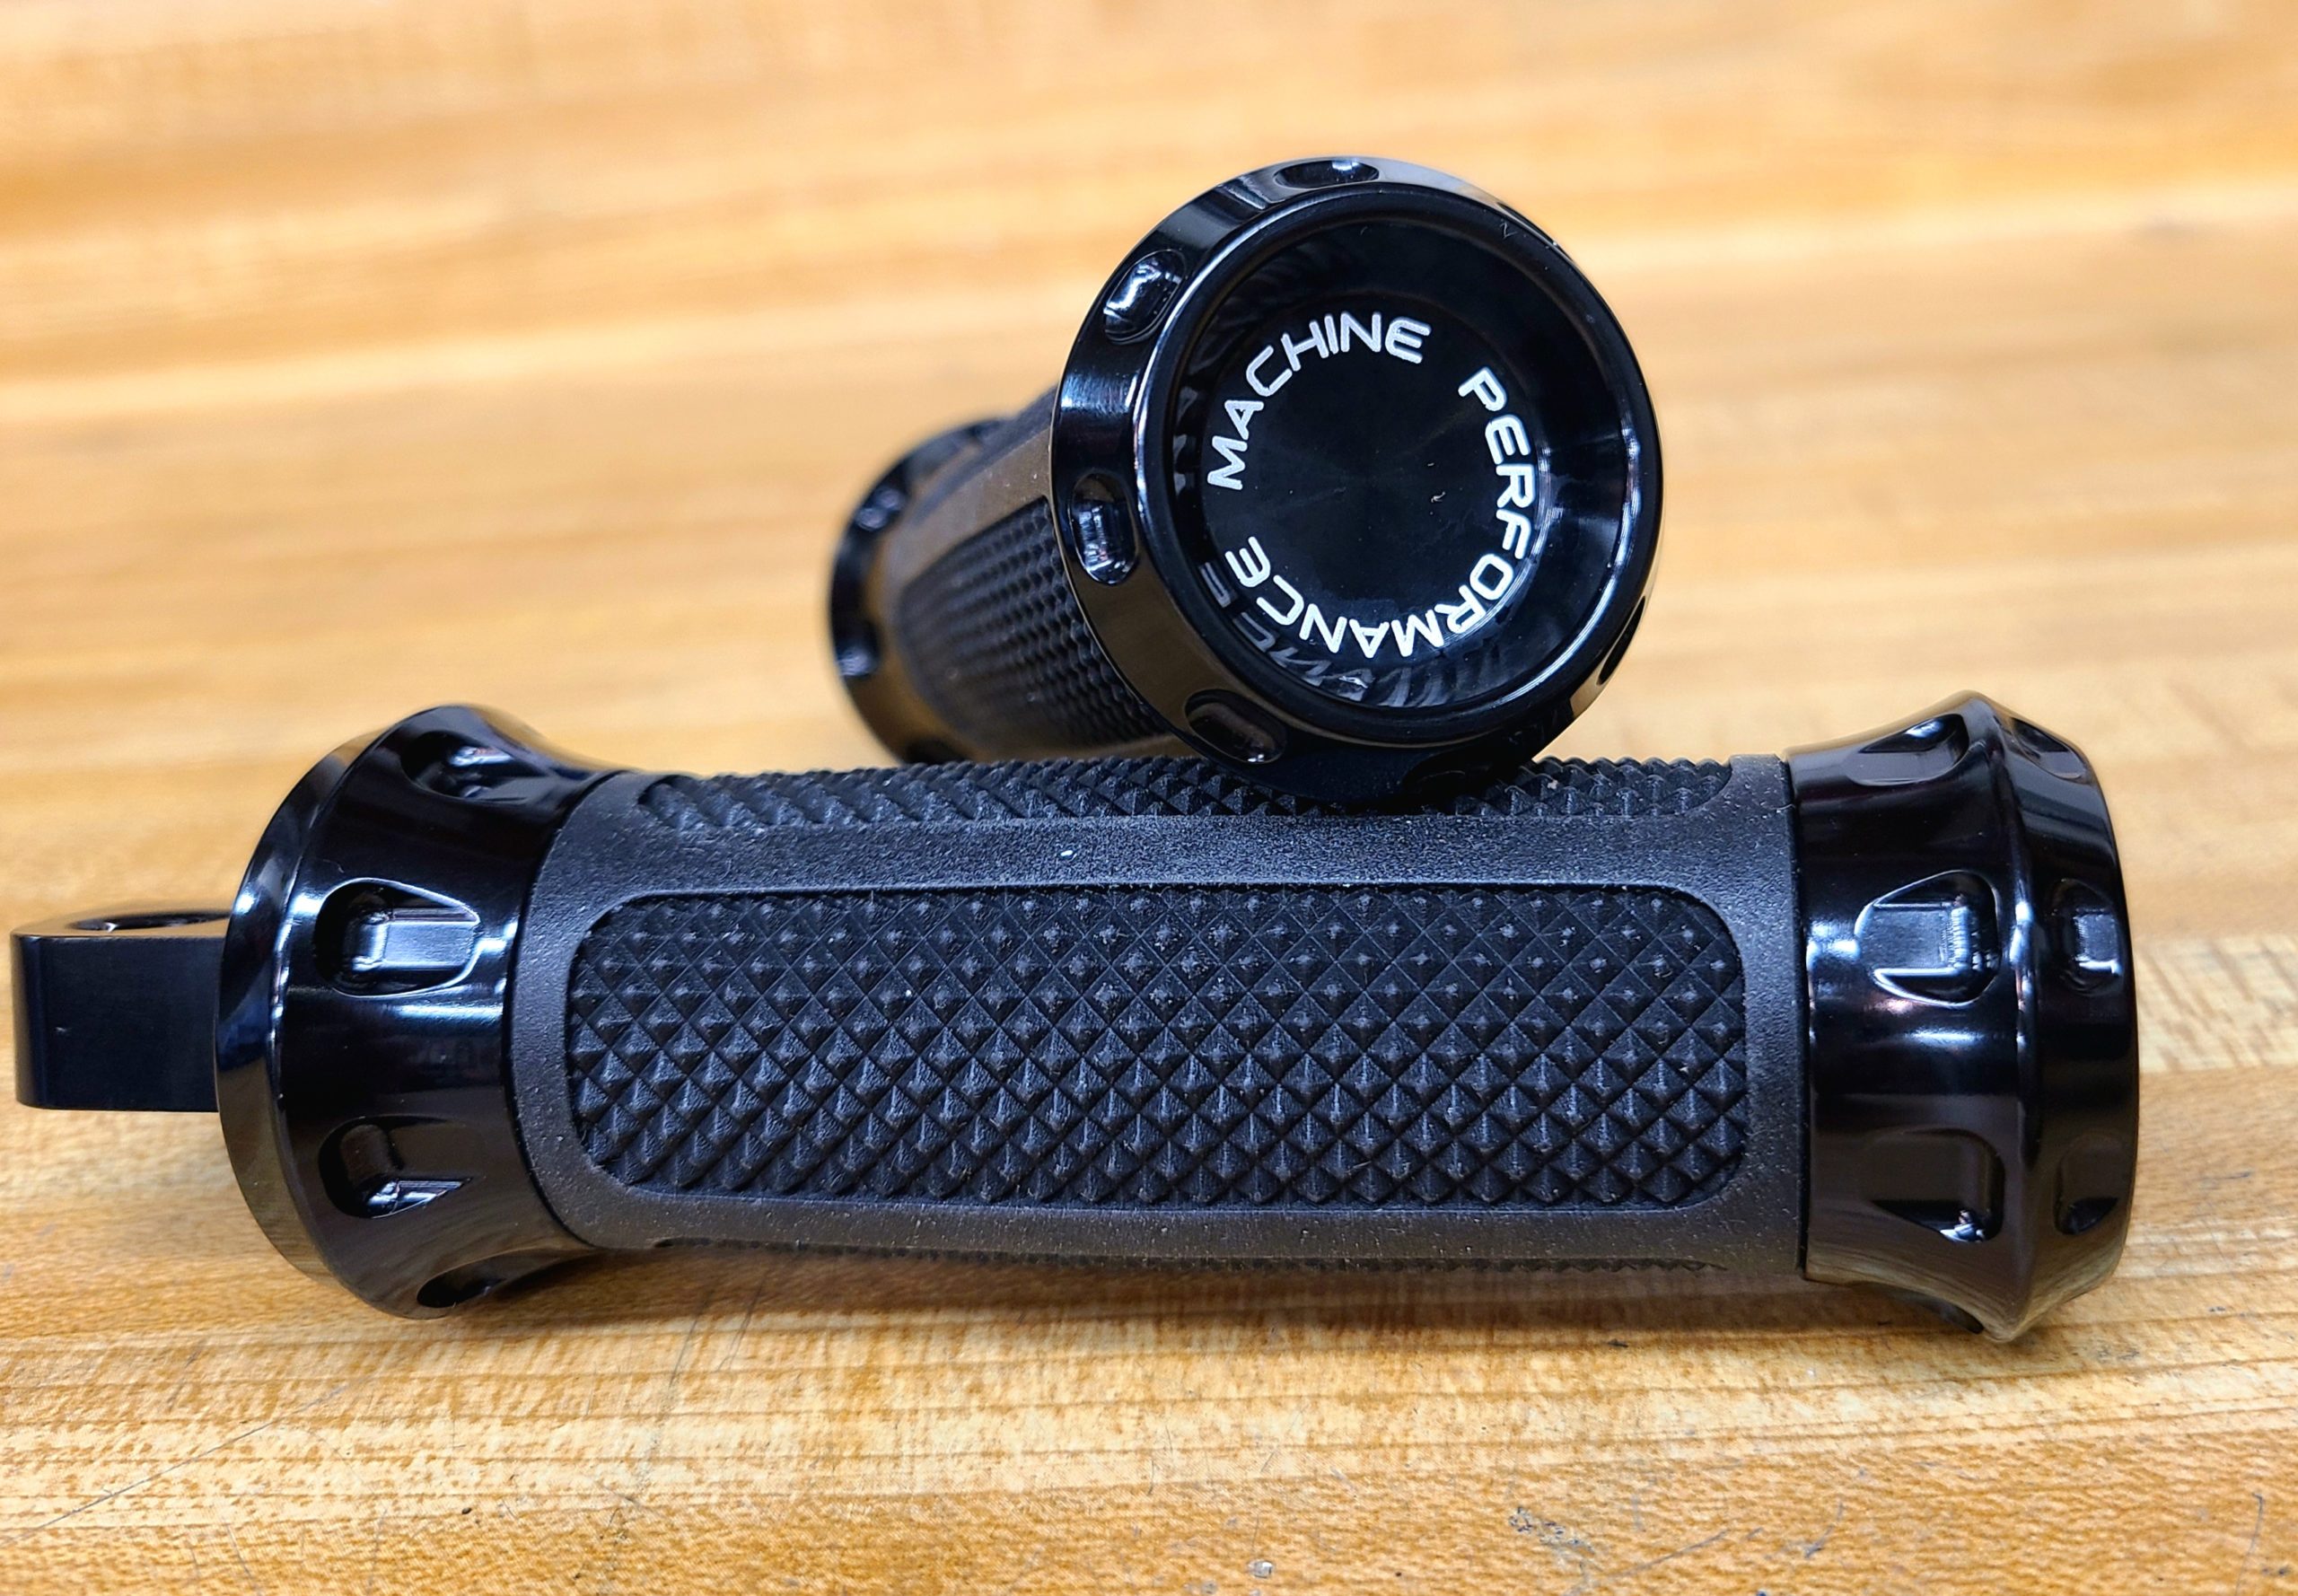
I’ll be honest, I never thought I’d have much to say about a peg. It’s a pokey bit to hang your boot on, right? Aside from how they look, I didn’t think there was any more to it. Well…. Still learning new things. The first ride with the Performance Machine Overdrive pegs proved a night and day difference. It felt like my boot was stuck to the pegs. In fact I didn’t realize how much effort I’d been putting into keeping my feet on the pegs while riding. That is, until I didn’t have to put any effort into it any longer. The difference in these pegs from the worn factory ones is stunning. I’m now the annoying guy in the shop telling everyone they need get new pegs and, “Trust me, it makes more of a difference than you could ever believe.”
The install was simple enough. Just a small snap ring that is easy to get with a small screwdriver while engaging the safety squints. Knock the pin out and catch the spring shim. Re-assemble with the new peg, and done. Takes 10 minutes to install, 30 minutes if you try to find the right snap ring pliers. (Side note, why are the snap ring pliers always missing the tip you need?) Once they’re installed, admire your work and go for a ride. Thank me later when you notice how much a simple peg swap can change the ride.
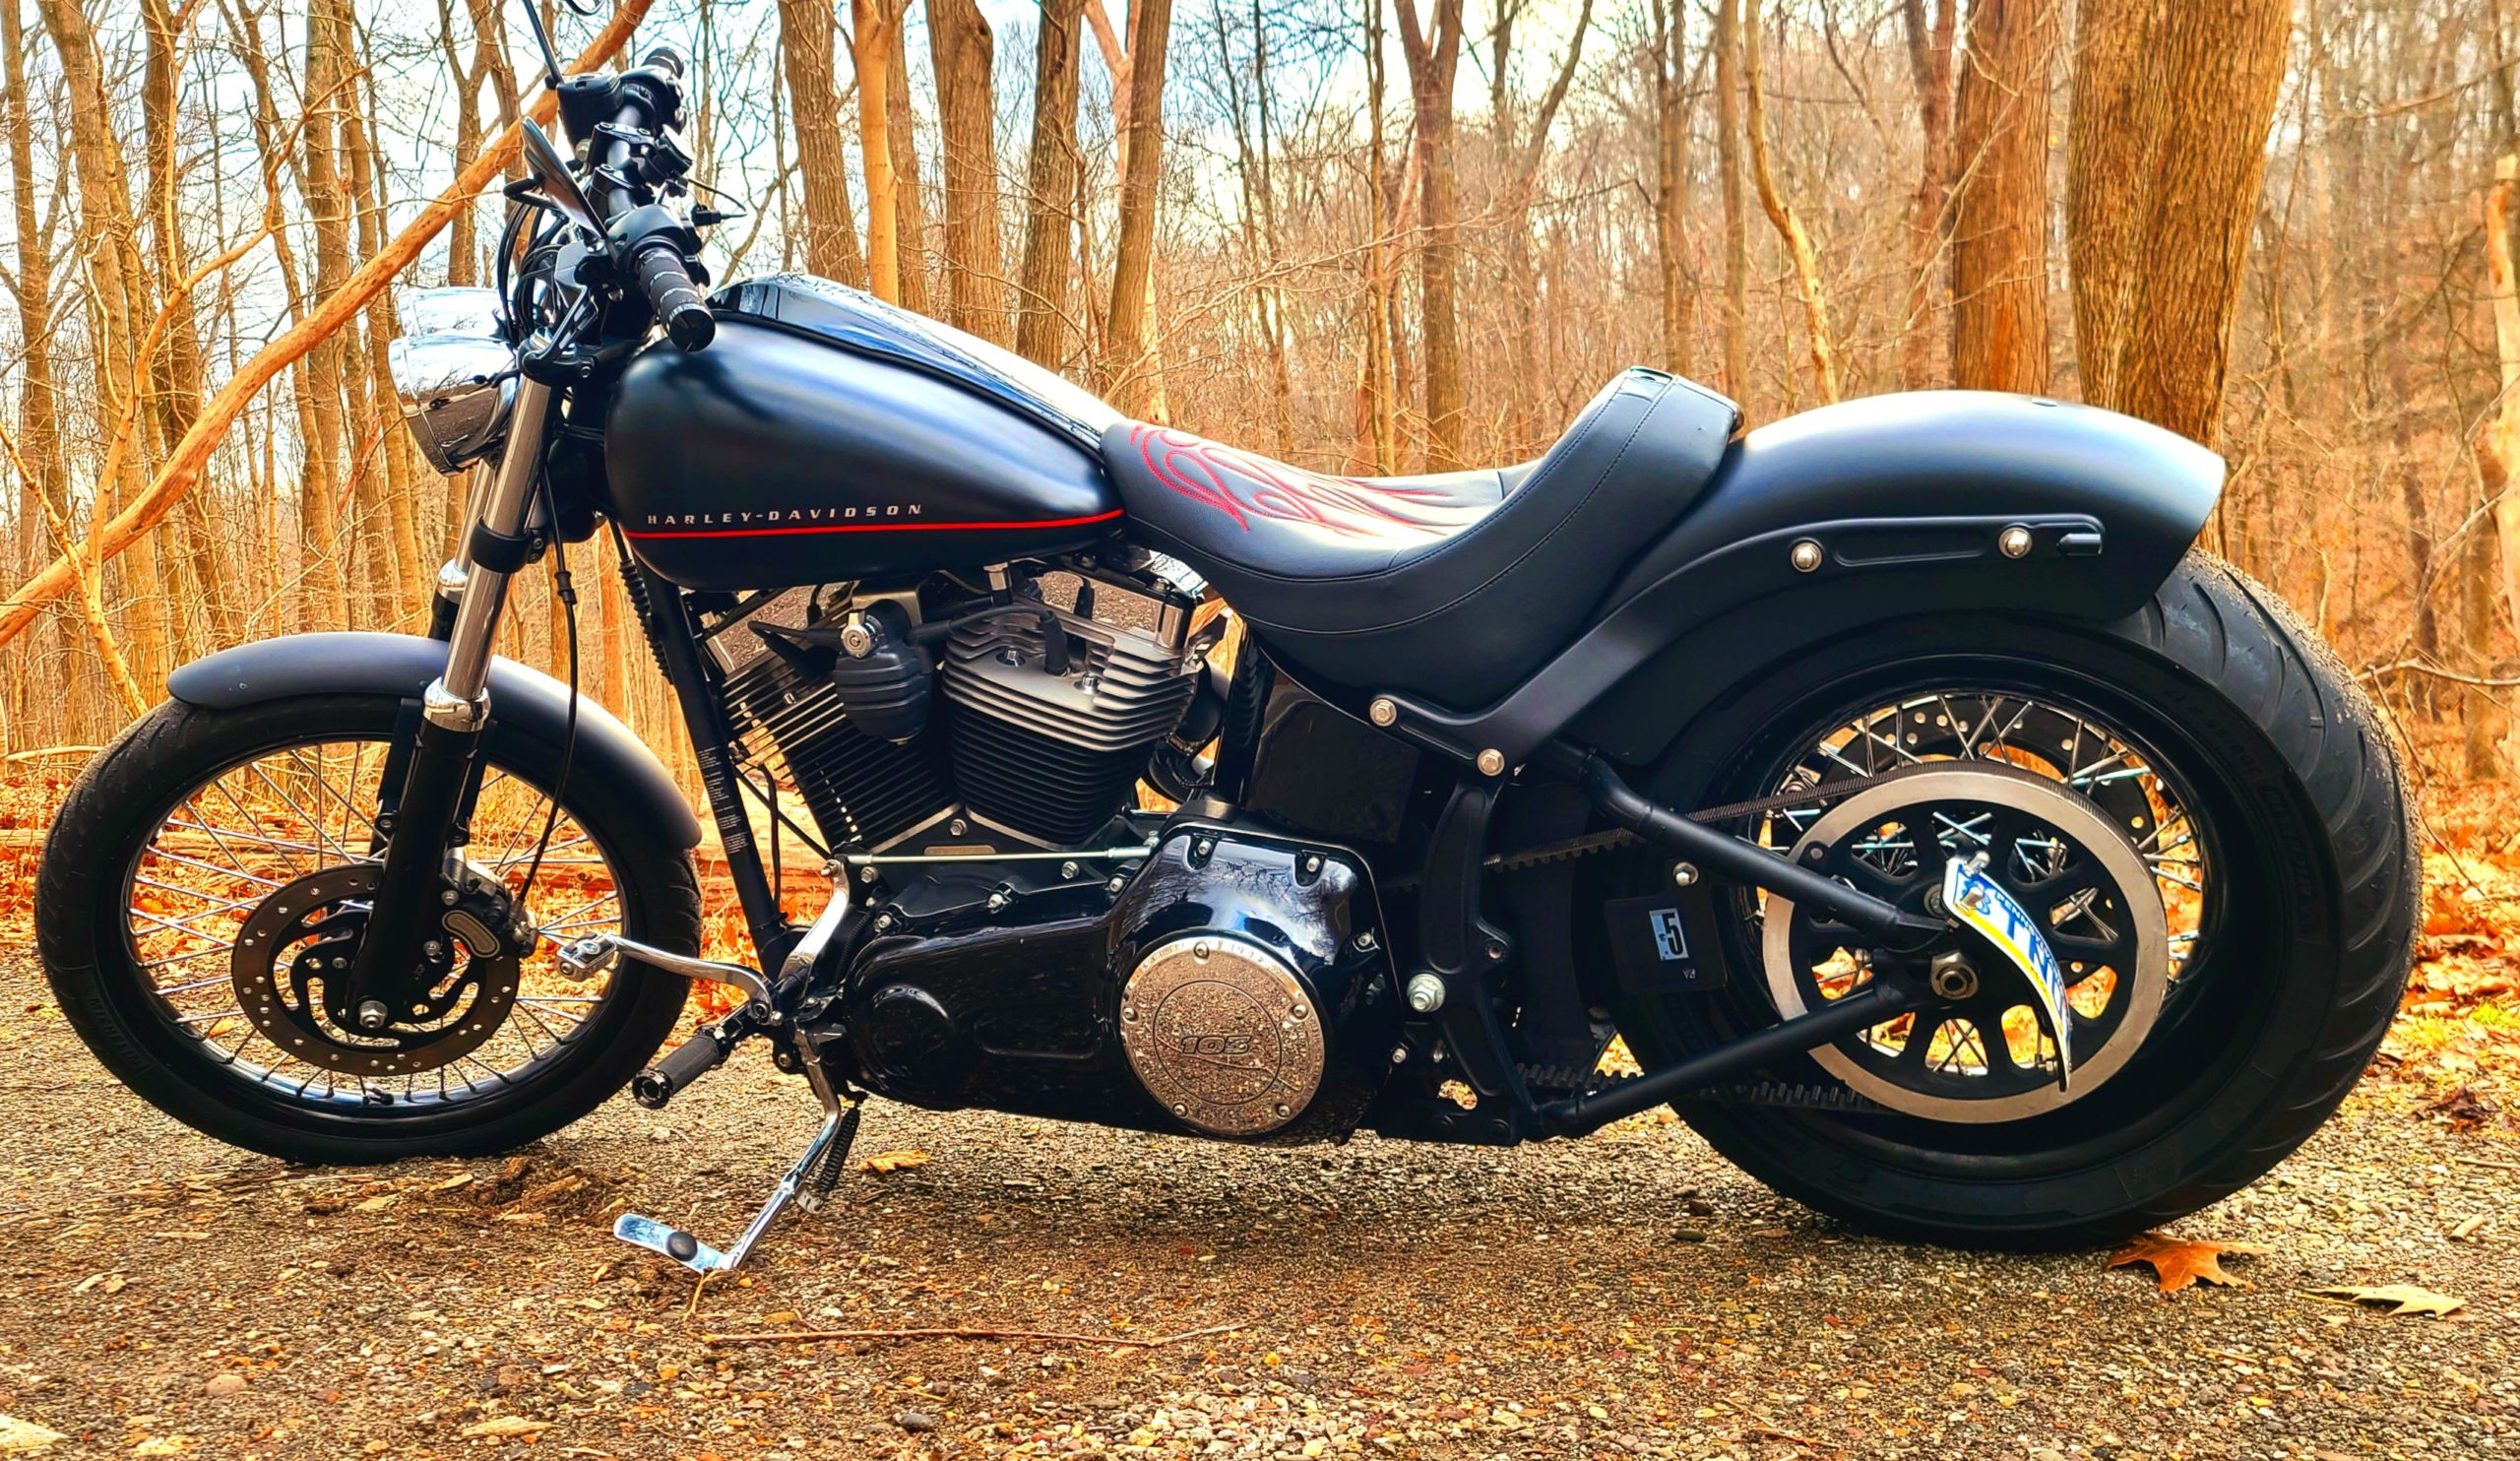
Now that I’m happier with how the bike looks, I can comfortably reach the bars, my ass isn’t falling asleep and my feet aren’t falling off the bike, it’s time to make it a bit more fun to ride. Next, I’ll be finishing the Stage 1 performance upgrade with a Vance and Hines Rogue intake and FuelPak tuner to go with the pipes that came on the bike. Then I’m moving on to cams, heads, and clutch upgrades to replace the worn original parts and add a little scoot to boot.
Not one to just make something look flashy or pretty, I’m gonna get inside the engine and see how much fun I can build into a 30K-mile Twin Cam. It’s either gonna be reliably fun, or a spectacle of poor decisions and broken parts. Stick around, this could get interesting…


More Stories
Crush the Darkness, Introducing the NEW EOS Light Kit by KRAUS Motor Company
From Biltwell: New/Old EXFIL-32 Sissy Bar Bags
S&S Cycle continues support of H-D engines from 1936 to 2026